
*Some links mentioned in this Blog Post are Affiliate Links. I earn money when you shop through these links. Thank you so much for shopping with me!
Hi friends! Today I will be taking you through a Step By Step process of how I refinished my new dining table chairs! If you’ve been following along on my Instagram, you may have already seen a lot of what I have been up to with these chairs! I had many of you request a Blog post for this, so I am going to teach you how to paint and distress furniture using chalk paint!
As I mentioned, this will be a step by step blog, so be prepared for LOADS of pictures and minimal text because I believe that SEEING something done is easier than reading how to do it. I hope this Blog post will be super helpful and informative! And if you love this kind of Blog post from me, drop a comment and let me know what you think!
Selecting your project piece!
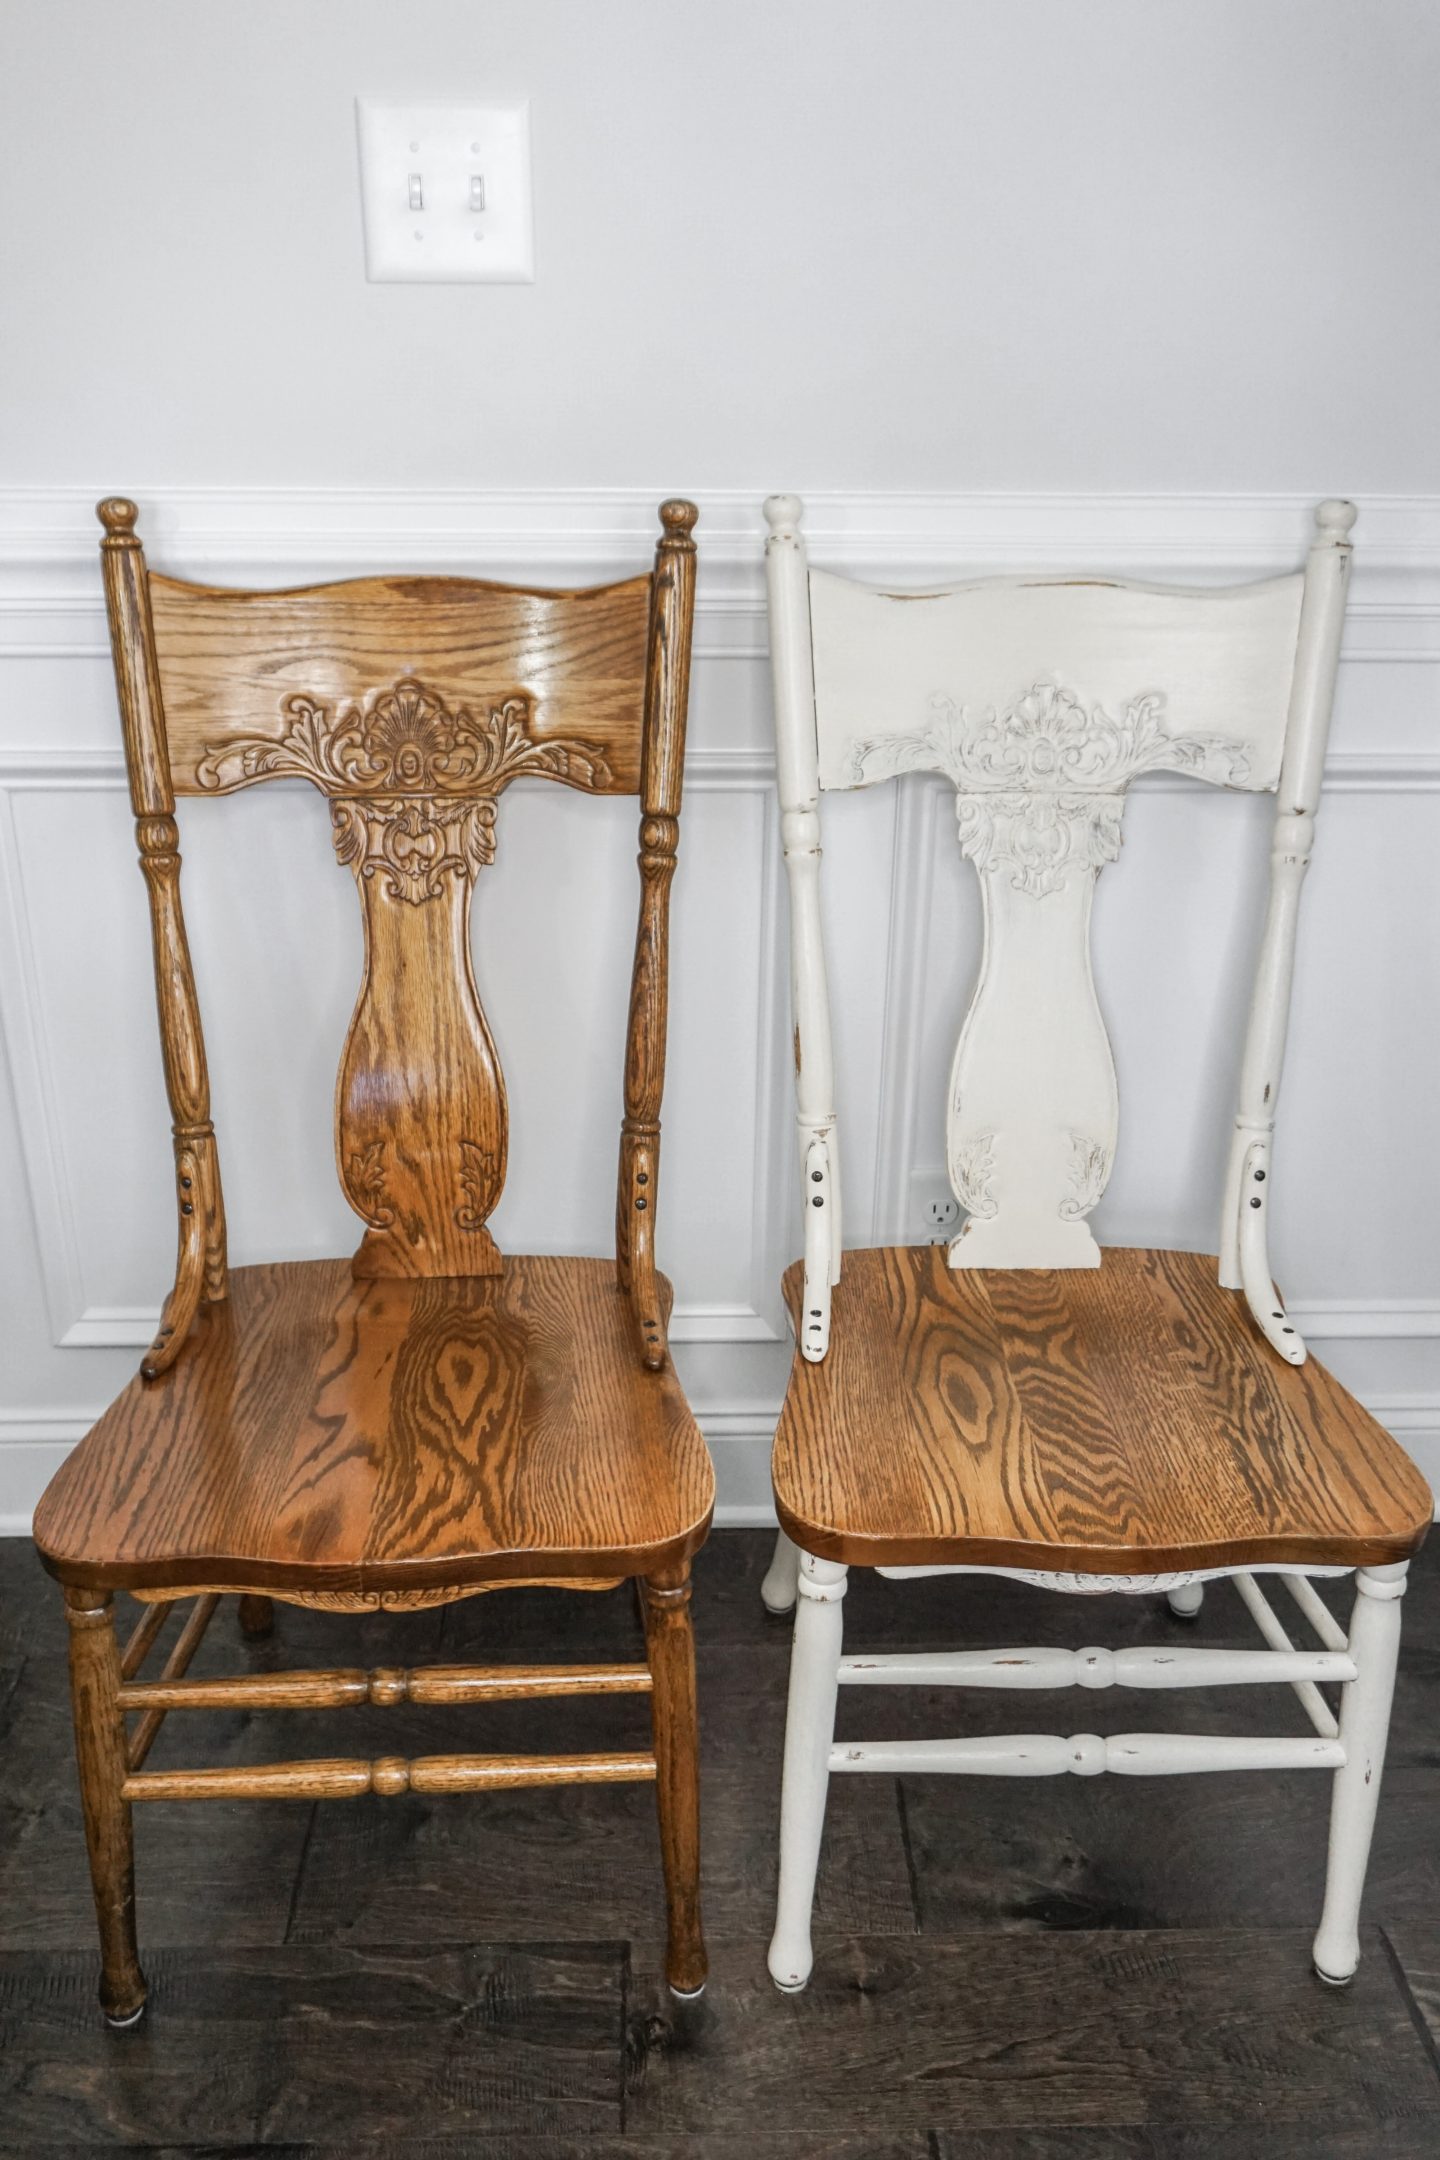
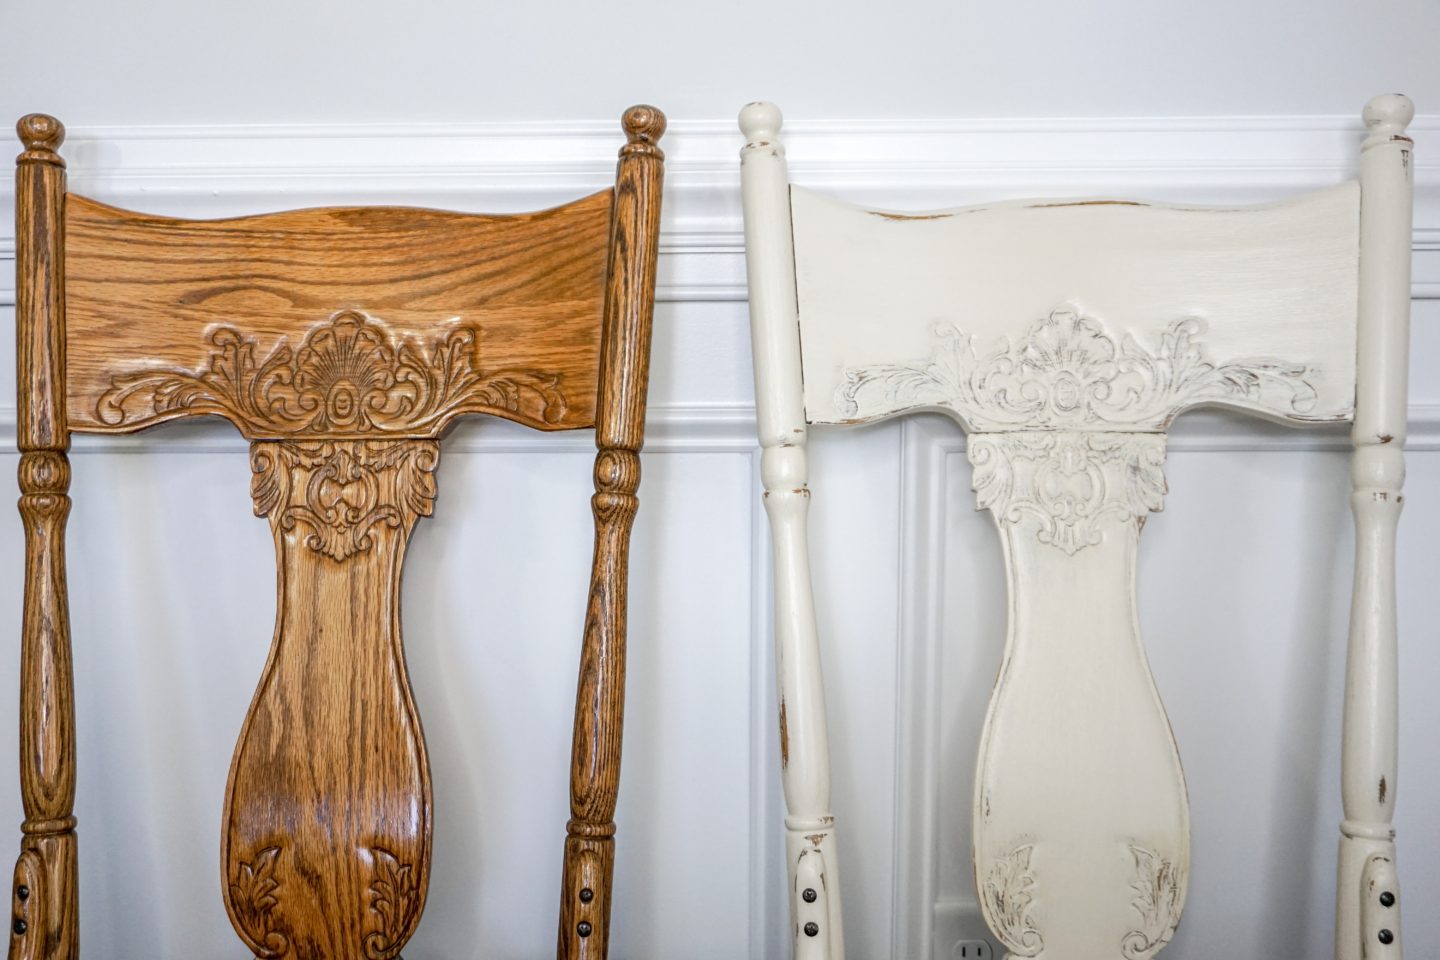
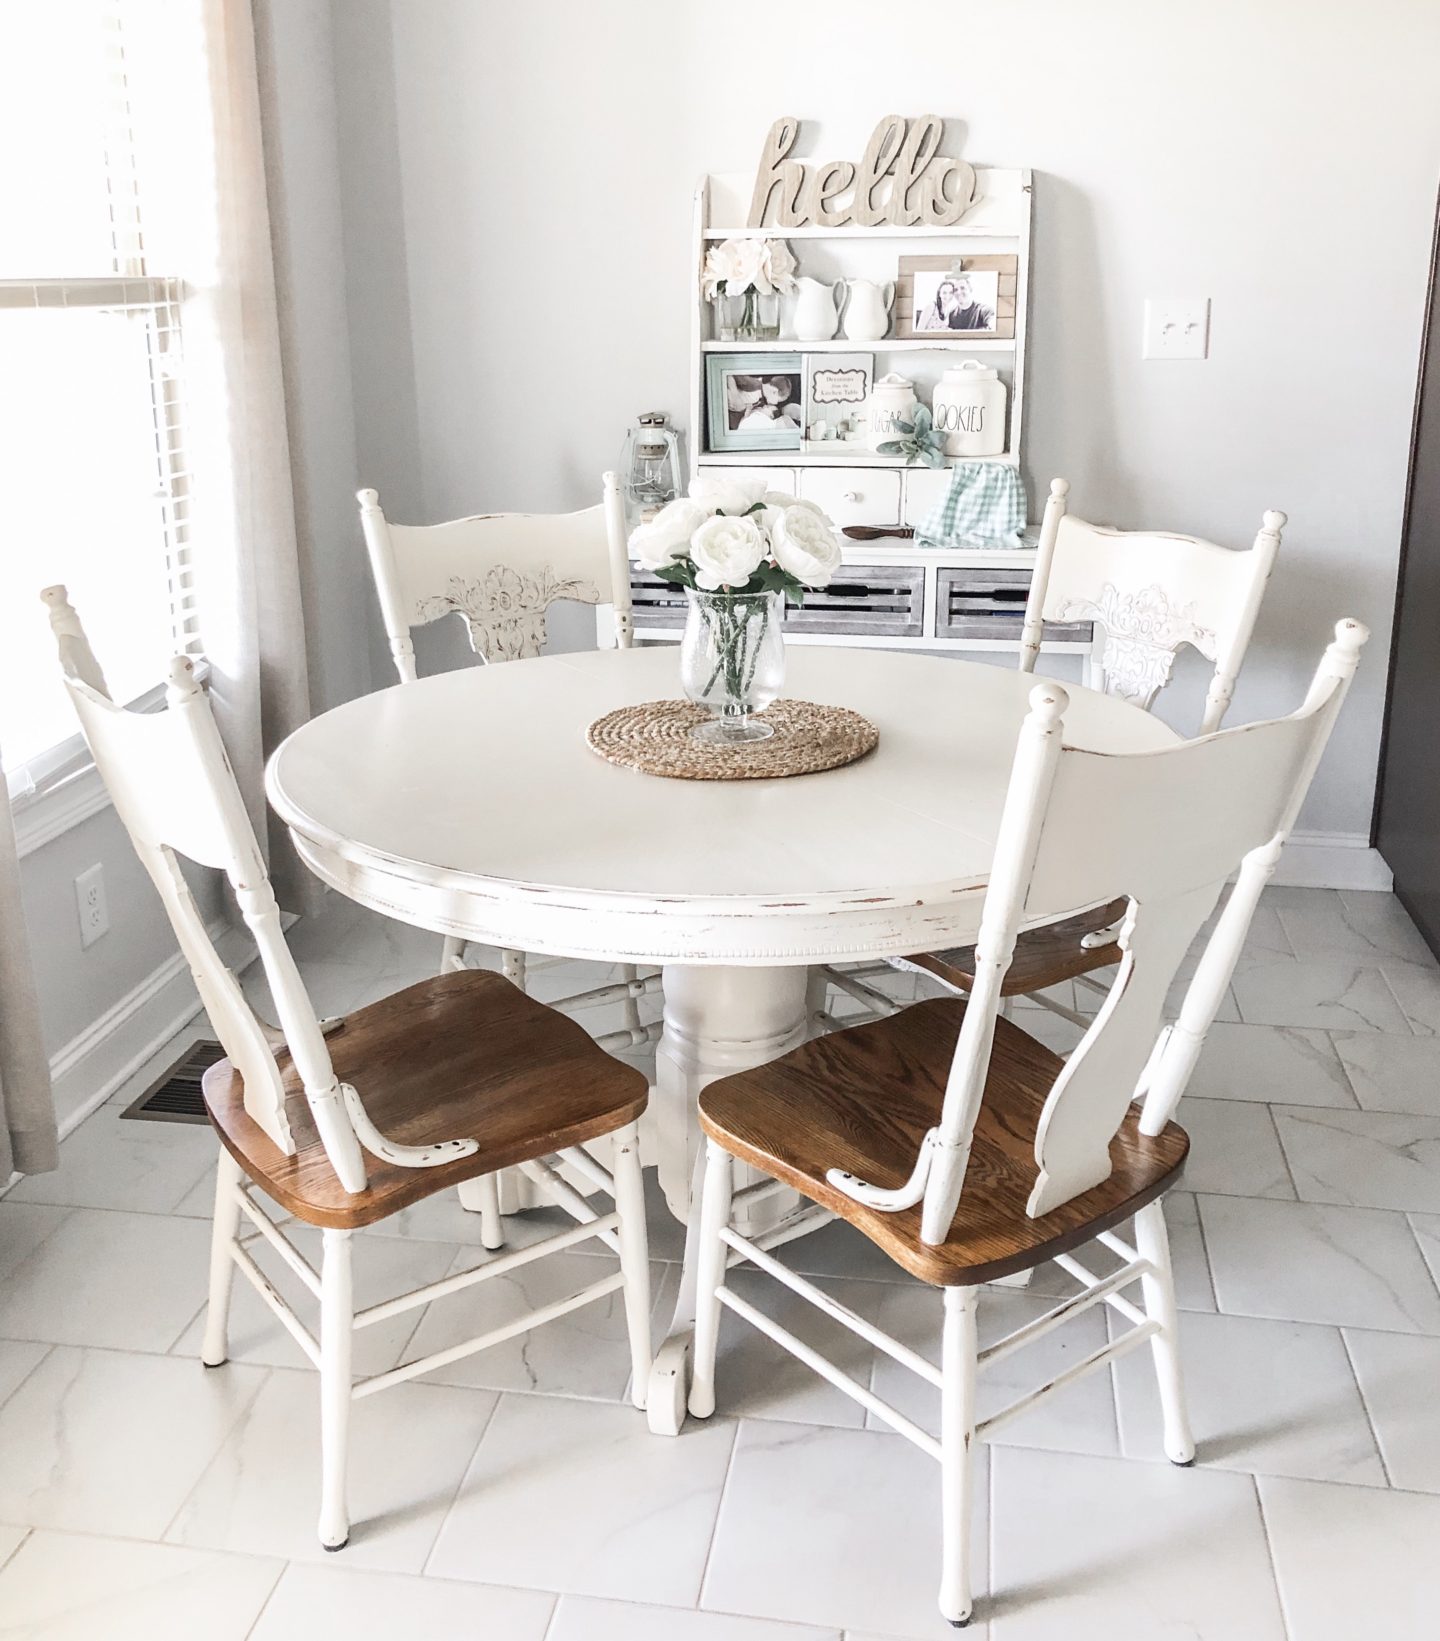
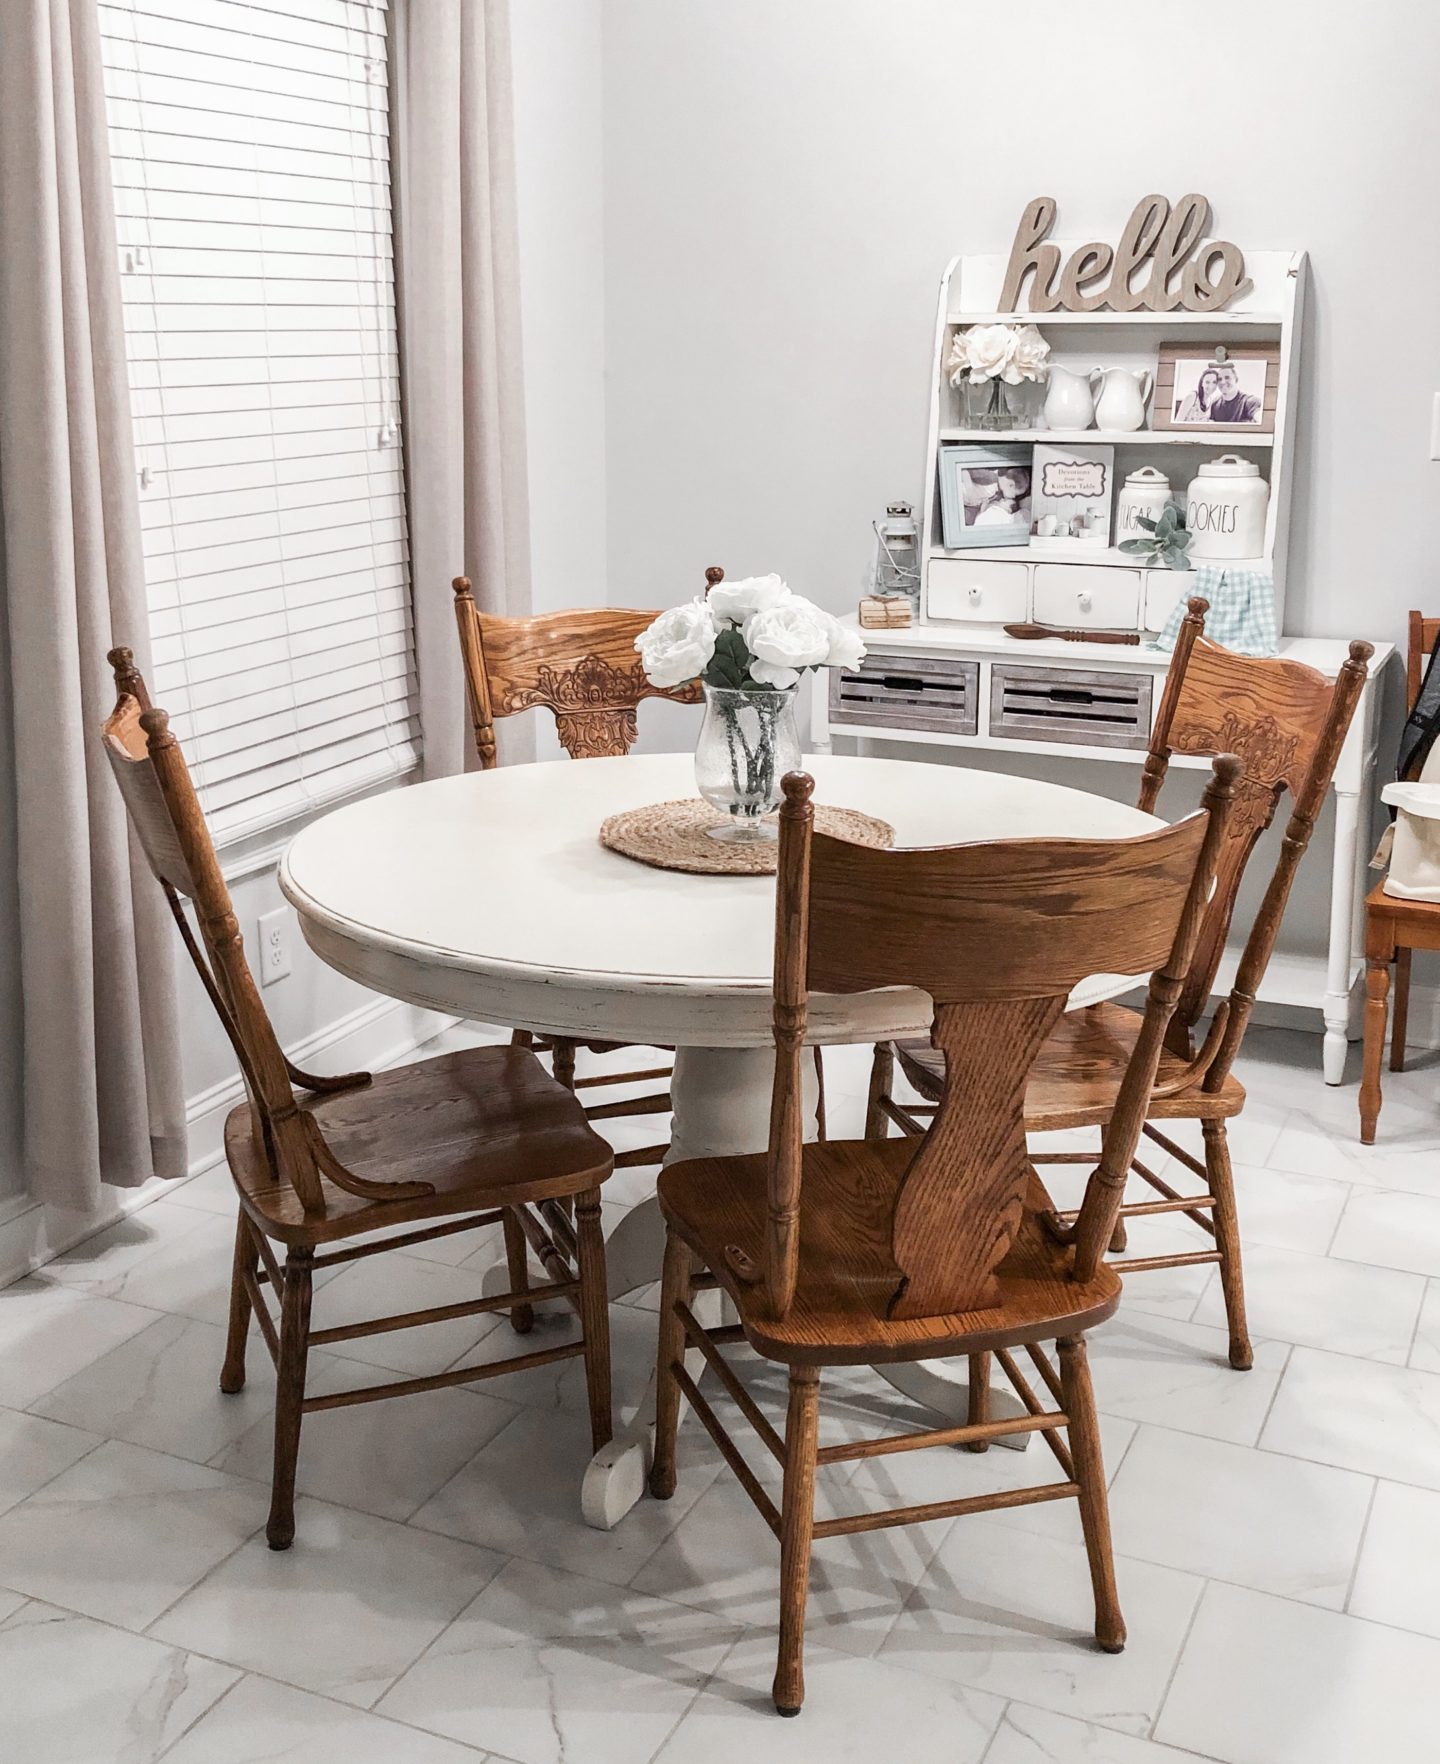
So, you found a really awesome piece of furniture! It might be an antique, it might even be new, but hey, it’s just not the right color for the space you want it for. That is such an easy fix, guys! For example, I found these gorgeous solid Oak dining chairs for only $25 a piece on Facebook Marketplace (total steal), but the color totally clashed with my decor. My home is filled with hand-painted furniture I have refinished myself, so I wanted my new chairs to match.
Let’s start with the basics: what you need to start your refinishing project!
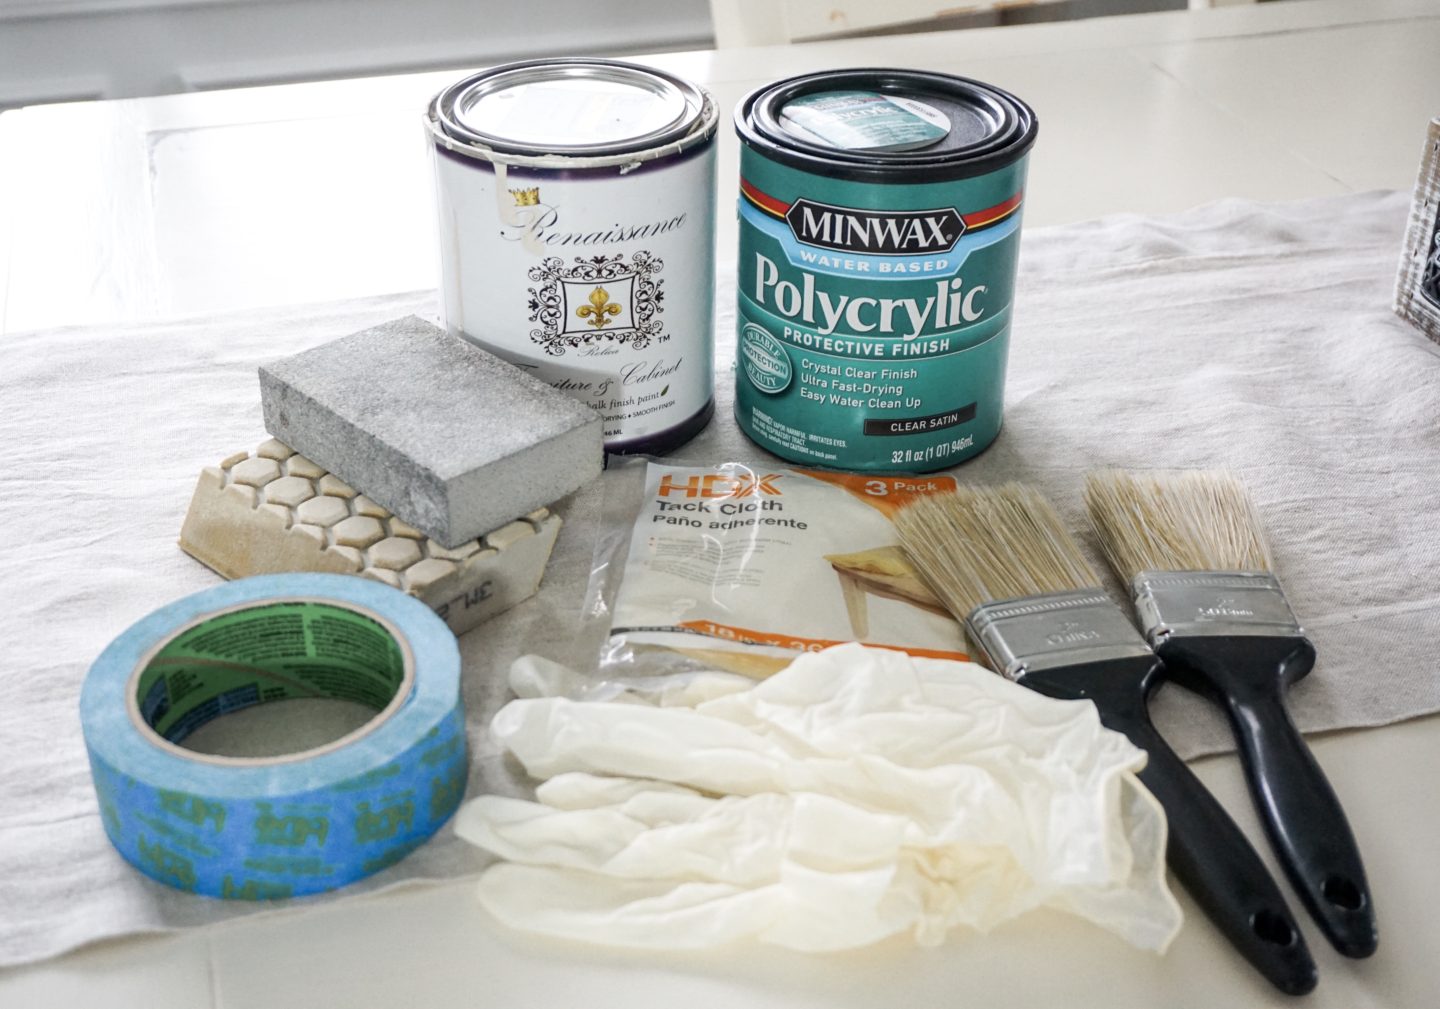
- Renaissance Furniture Paint in your color of choice (there are tons!)
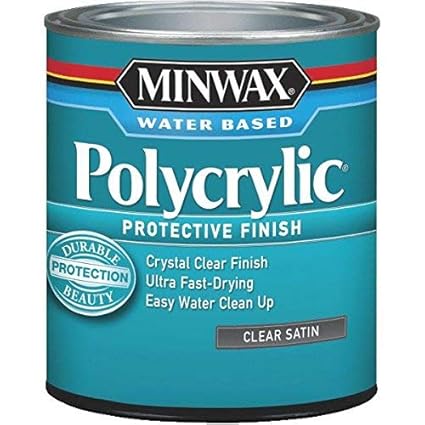
- Minwax Polycrylic Clear Satin Protective Finish
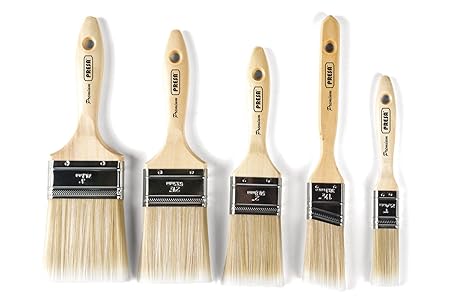
- Paintbrushes (at least 2-3)
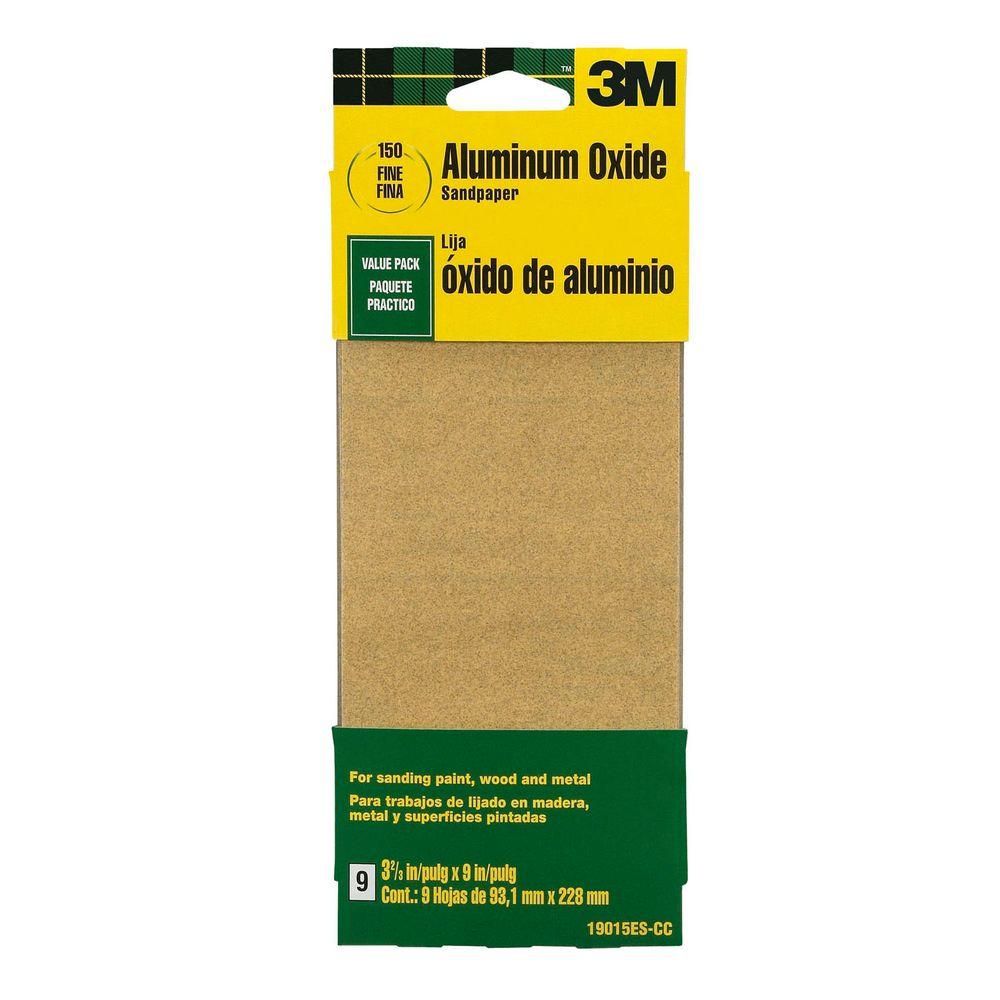
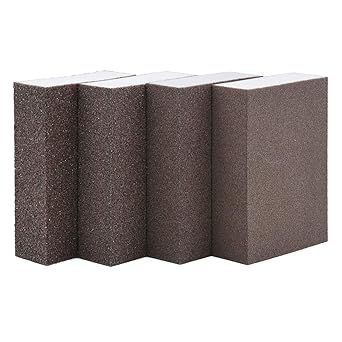
- Fine and Coarse Sanding Block
- Fine 100 Grit Sandpaper (optional)
- Tack Cloth
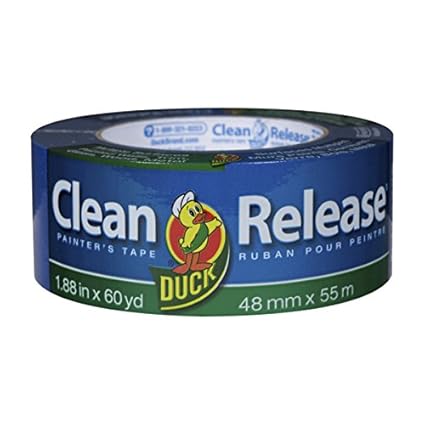
- Painters Tape
- Rubber Gloves (to keep paint and Tack Cloth residue off)
Prep the Surface
The first thing you are going to do before you start on your project is to clean the item you will be working on. There may be dirt, dust, and who knows what else on the surface and you definitely don’t want to paint over that! A clean surface ensures that the paint will adhere without any issues. I like to use a damp cloth or a very light cleaner that doesn’t leave any residue.
My Favorite Refinishing Paint
Renaissance Furniture Paint is the little secret weapon I have been using for the past few years! I swear by this stuff and always recommend it to anyone looking to refinish furniture. Even better, you can find it on Amazon! The color I am using for this project is called Ivory Tower.
Why I love it!
One of my favorite things about this paint is that it is non-toxic and eco-friendly! I even painted my whole dining set with this paint while I was pregnant two years ago. Besides that, it is thick and has wonderful coverage and also dries quickly, but the BEST thing about this paint is: you do not need to sand, strip, or prime the surface you will be painting on. A LOT of people are MINDBLOWN when I tell them this because that is amazing, right?!
So, let’s get started!
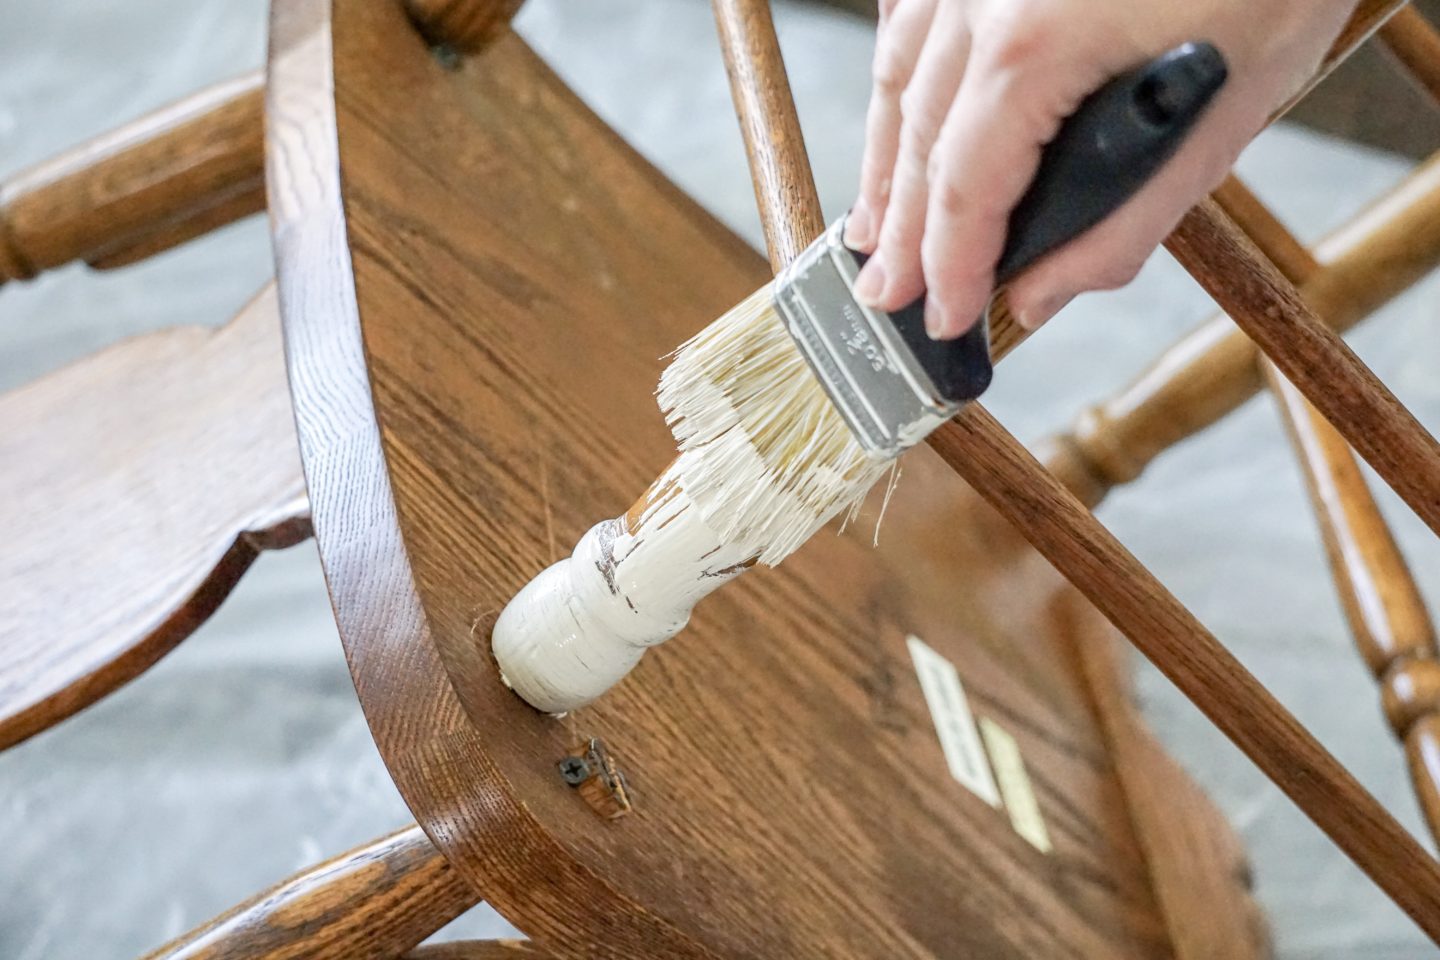
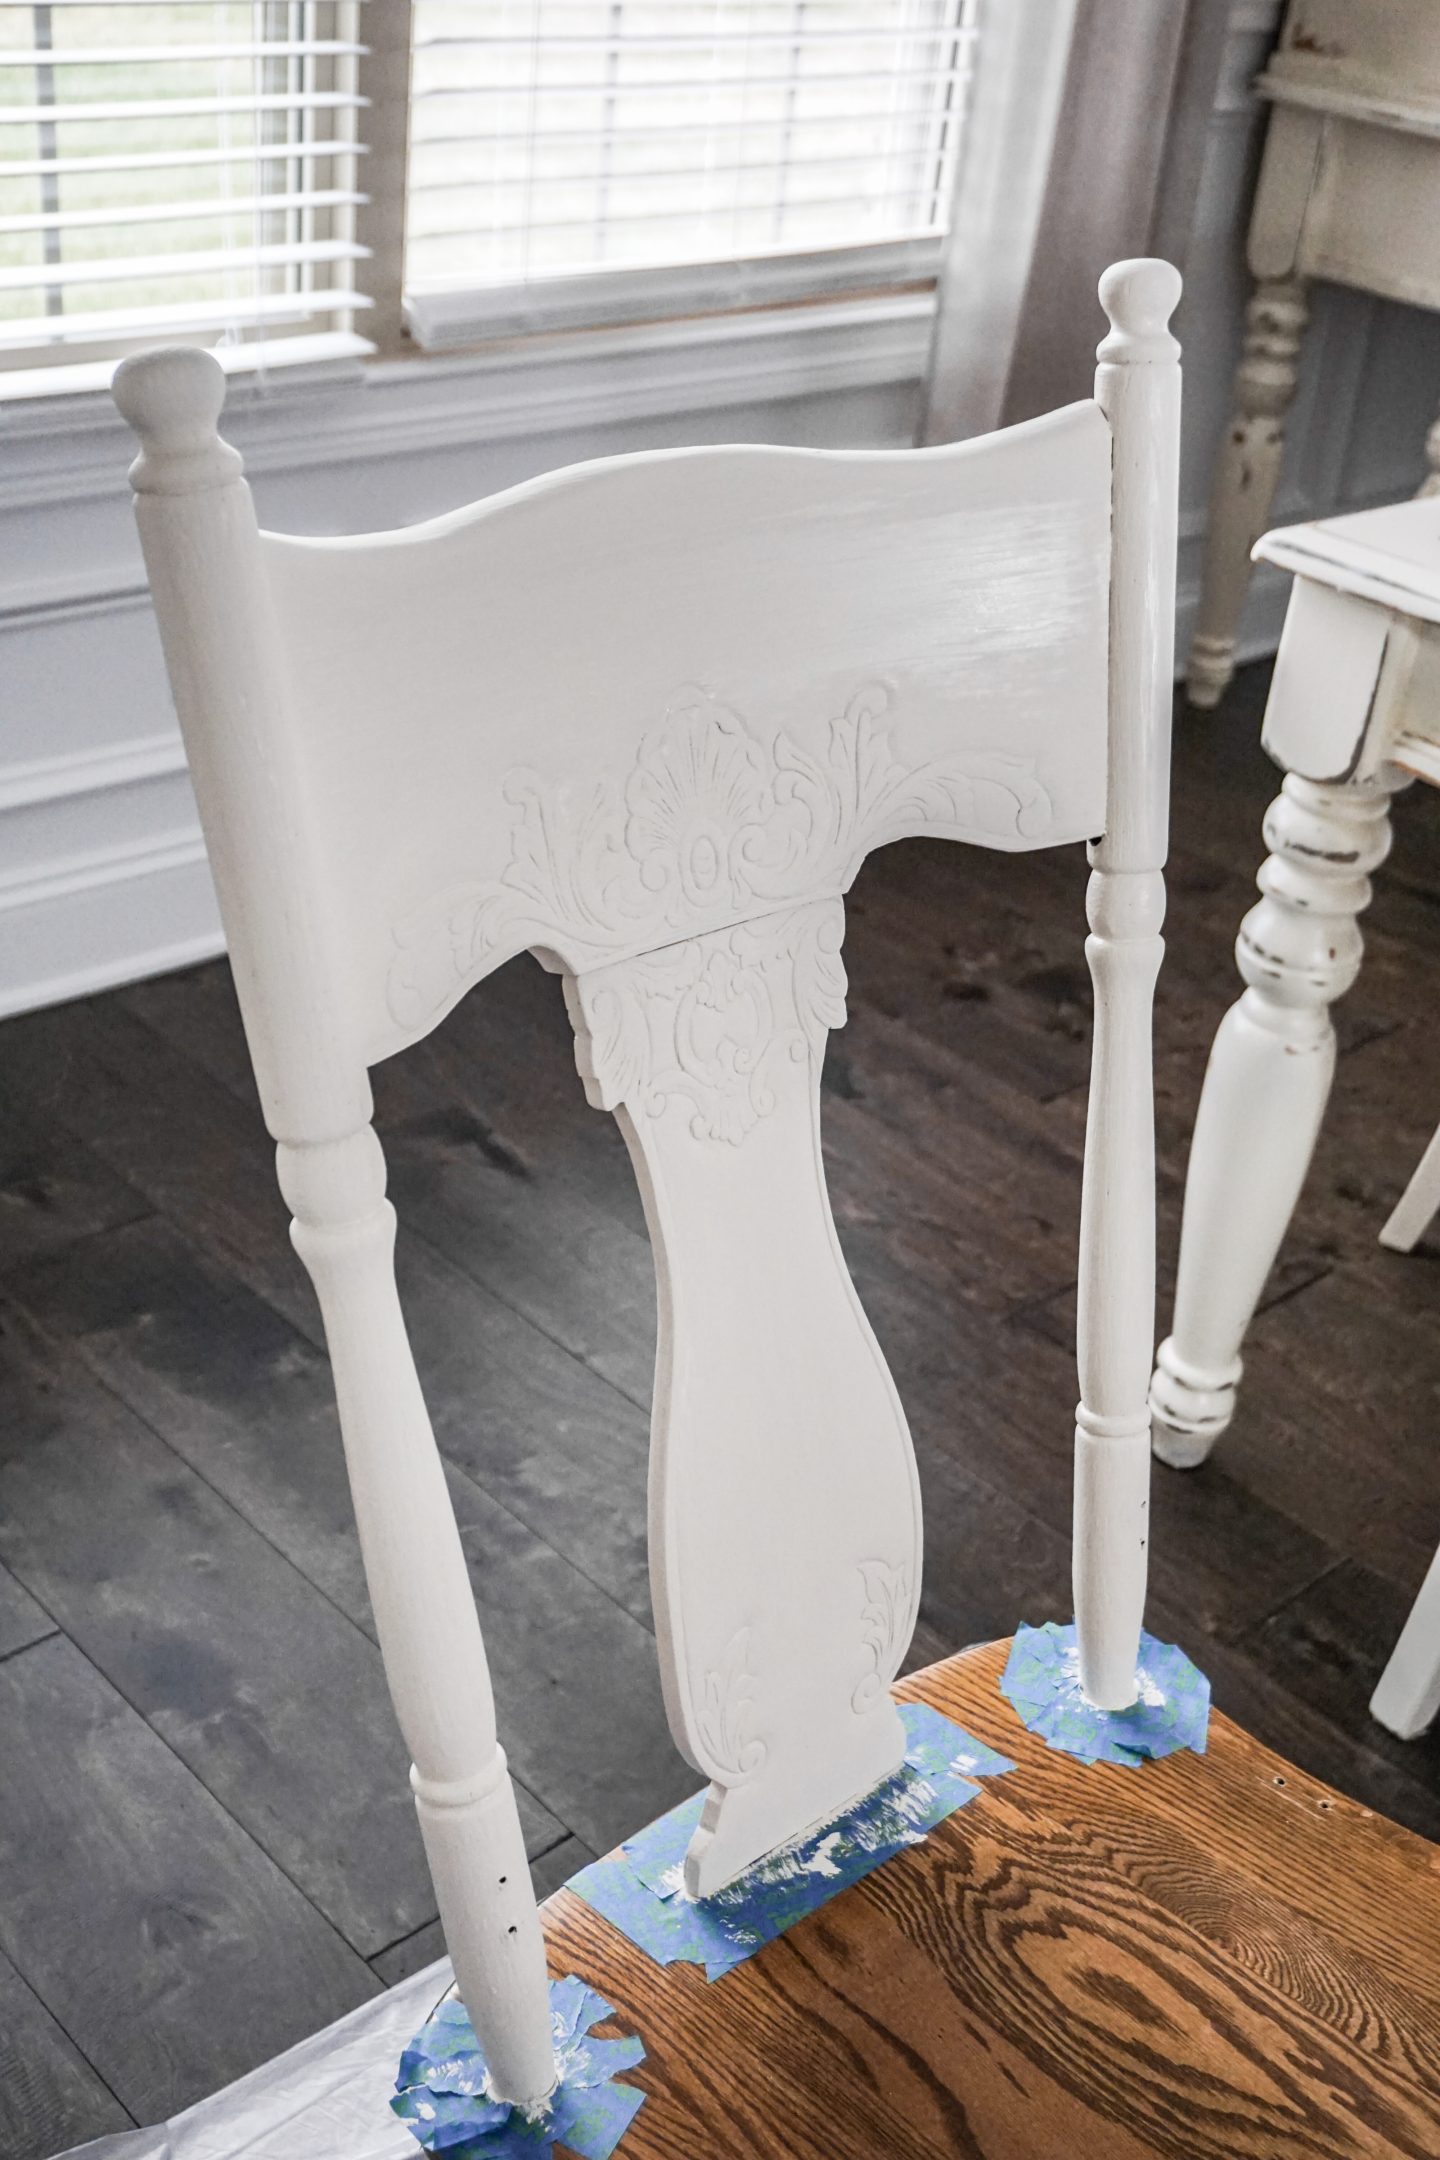
Once I had cleaned my chairs, my first step is to flip my chair upside down. For me, this has been the easiest way to get all the spindles and legs!
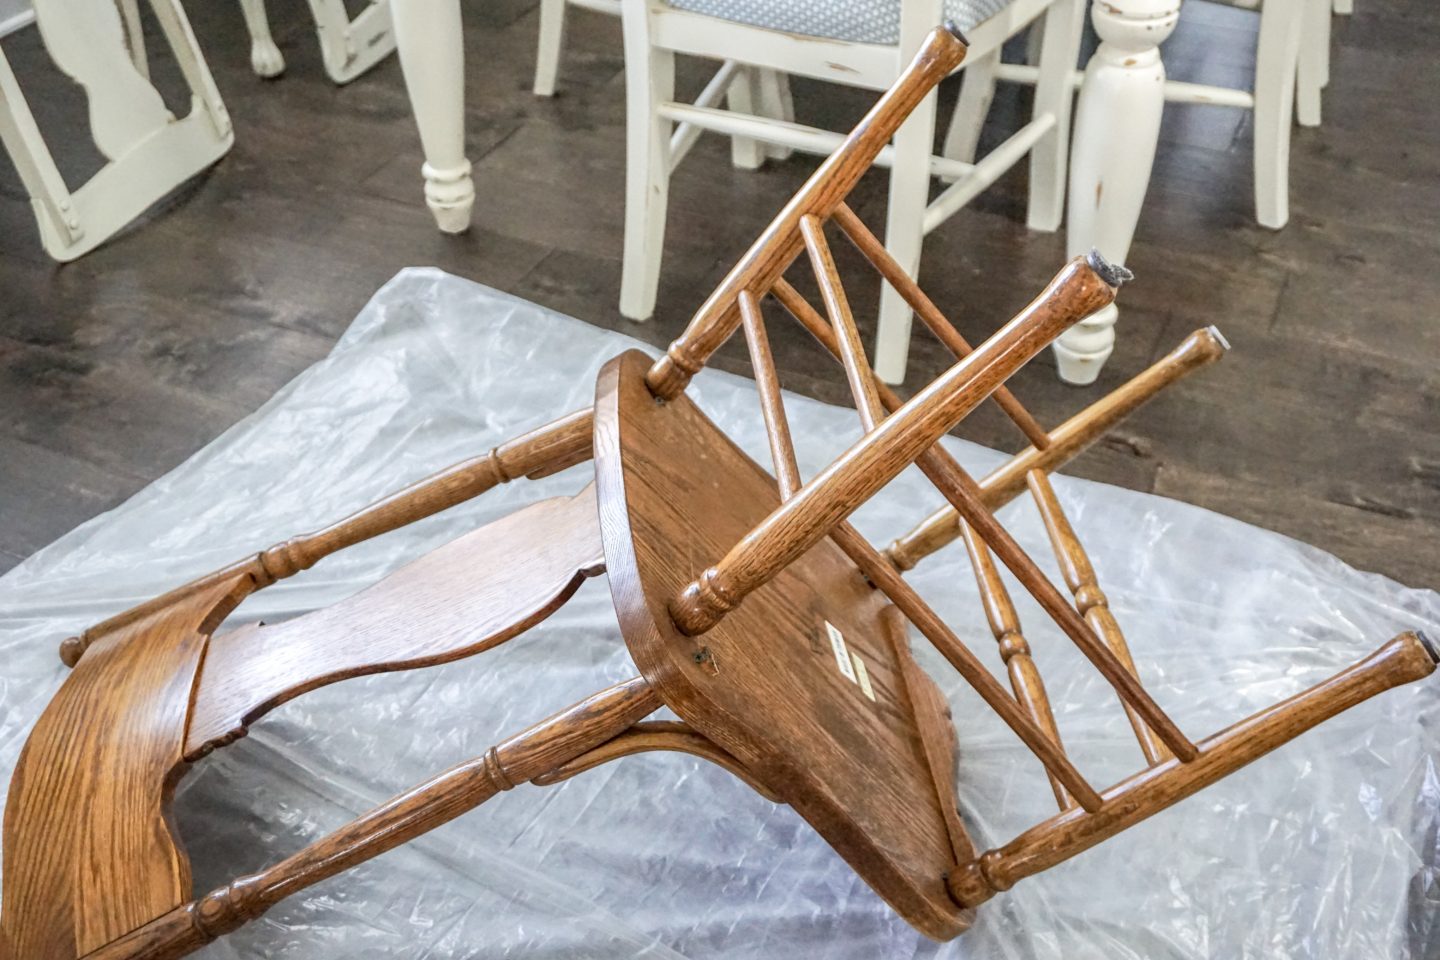
Next, you stir up your paint with a paint stick, grab your paintbrush and apply it directly to the wood as shown. Don’t worry about drips and mishaps! Chalk Paint is notorious for being super easy to clean up even after it’s dried (which is why it is so important to seal it when you’re done lol)!
*Keep in mind: this paint dries FAST. So you must also work FAST.
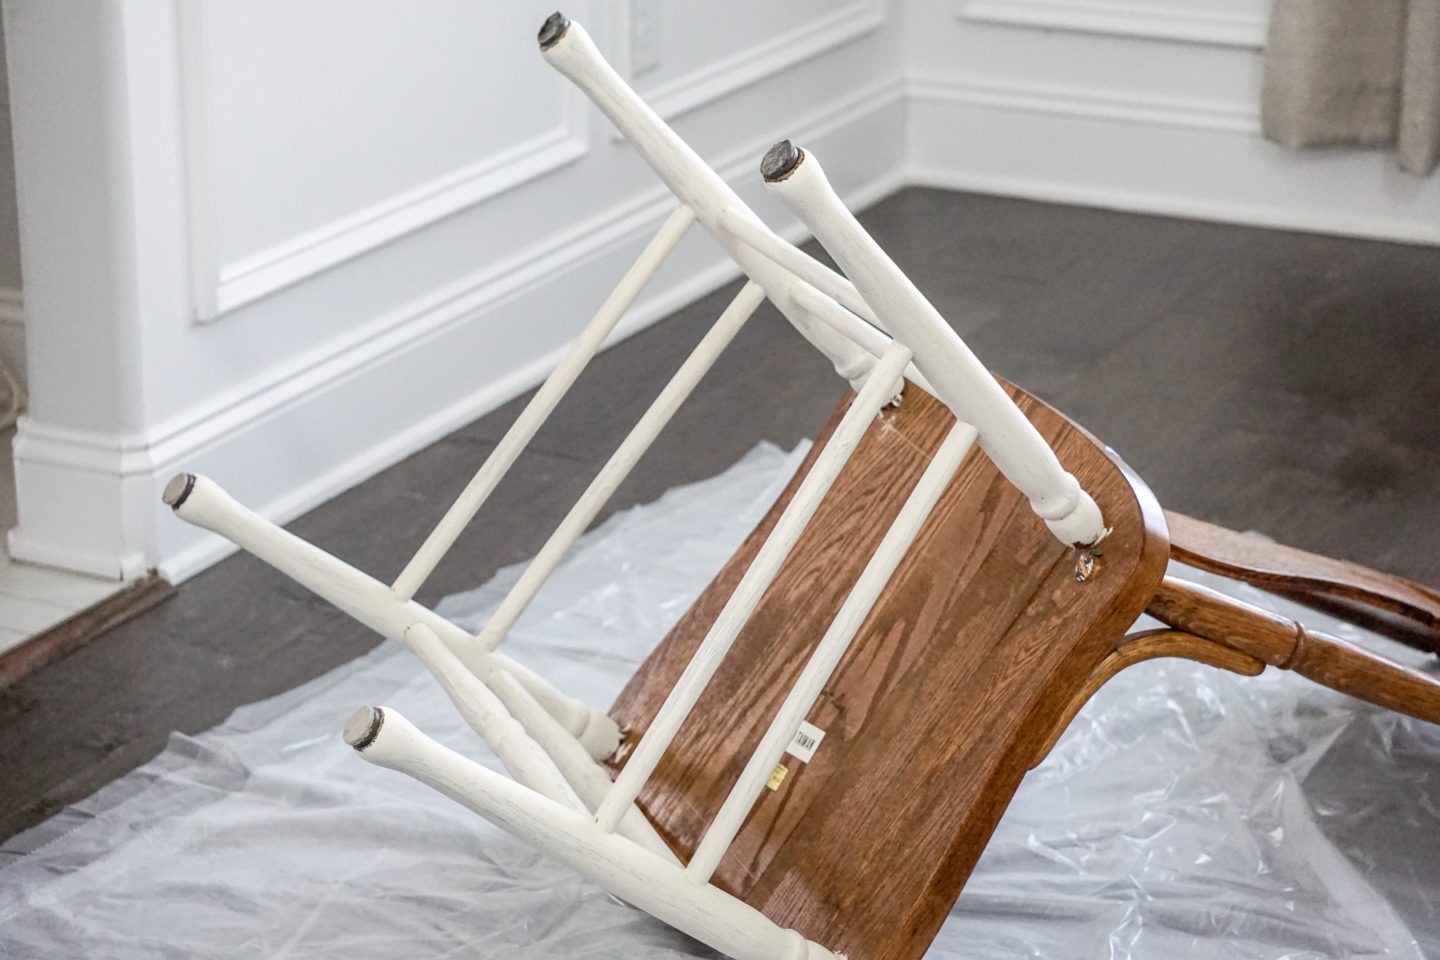
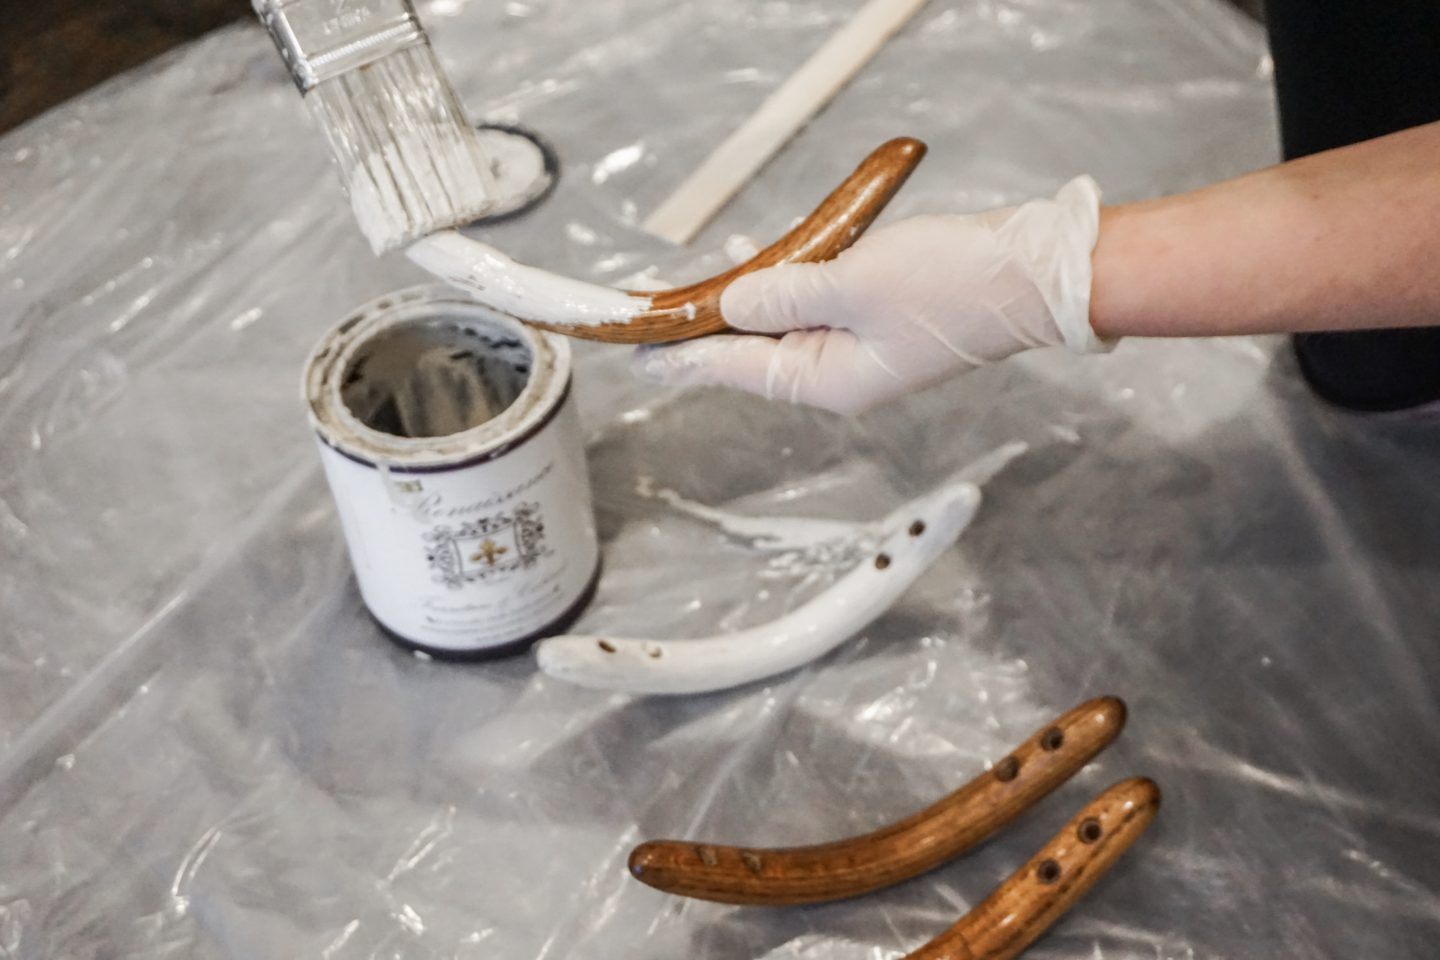
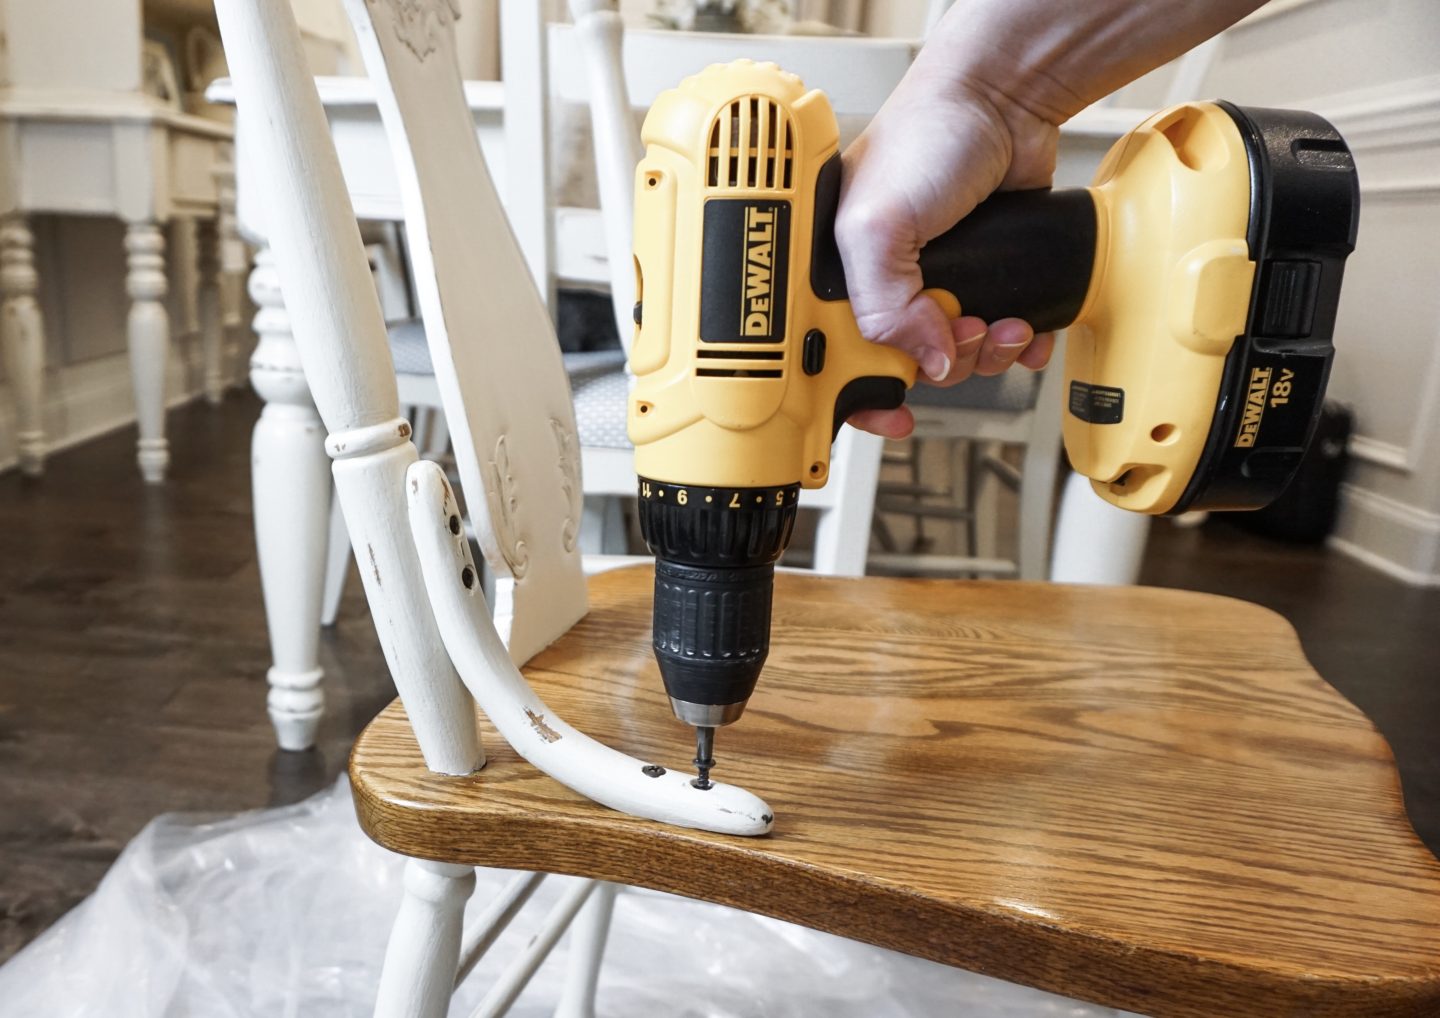
Once the legs are done, you can immediately flip the chair back upright and start on the back of the seat! But, before you do that, remove any hardware that you may want to avoid getting paint on, or you may want to paint separately to keep the project looking professionally done. The pieces I am removing here will be painted separately. I didn’t want to paint over those beautiful black screws!
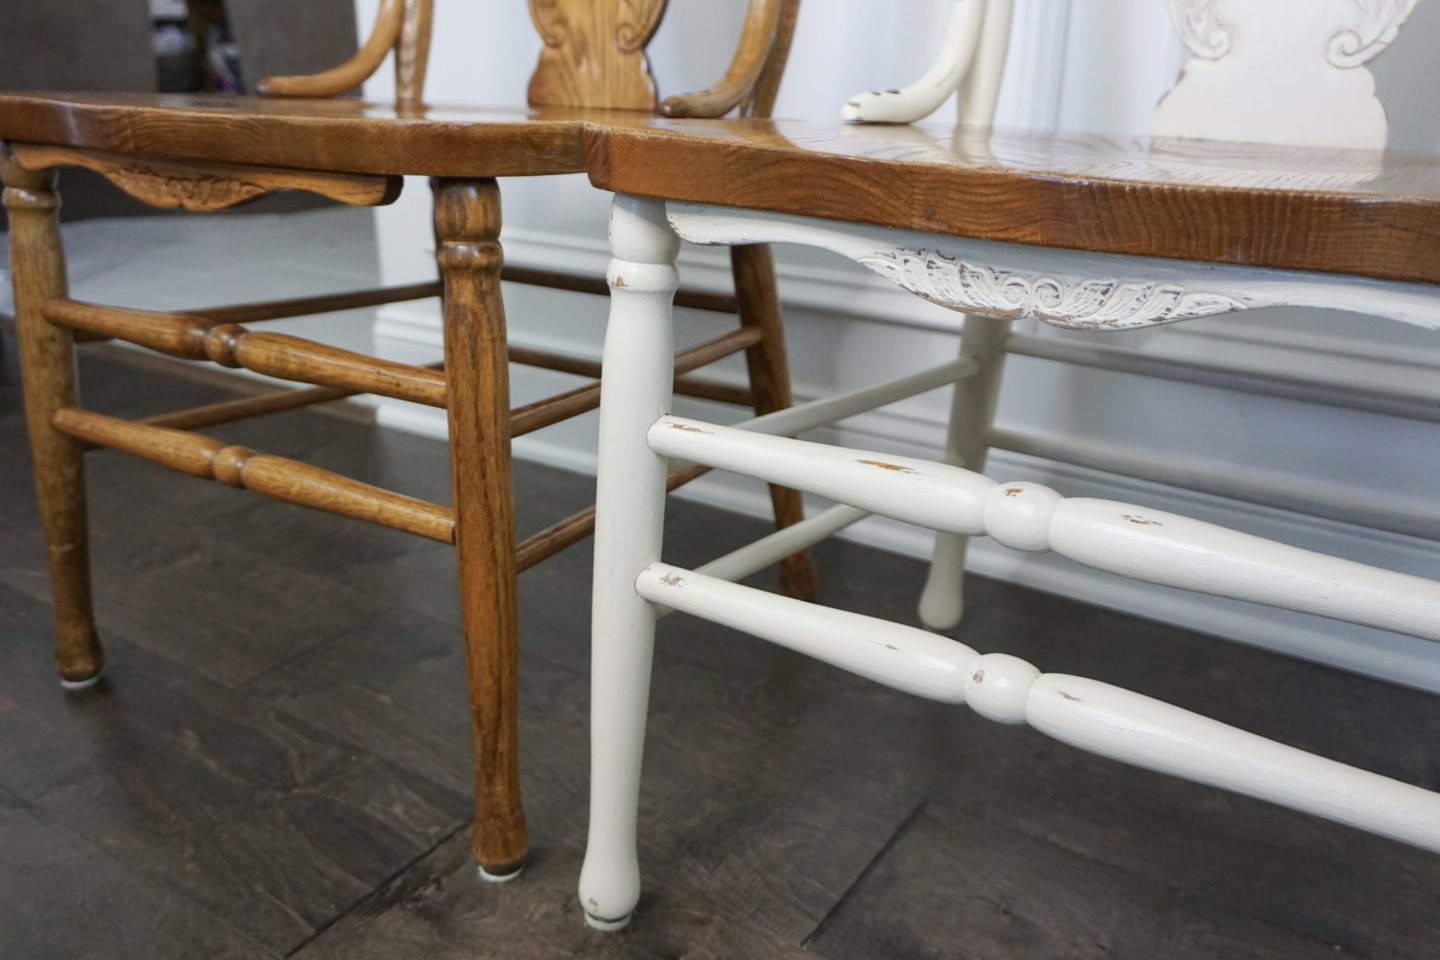
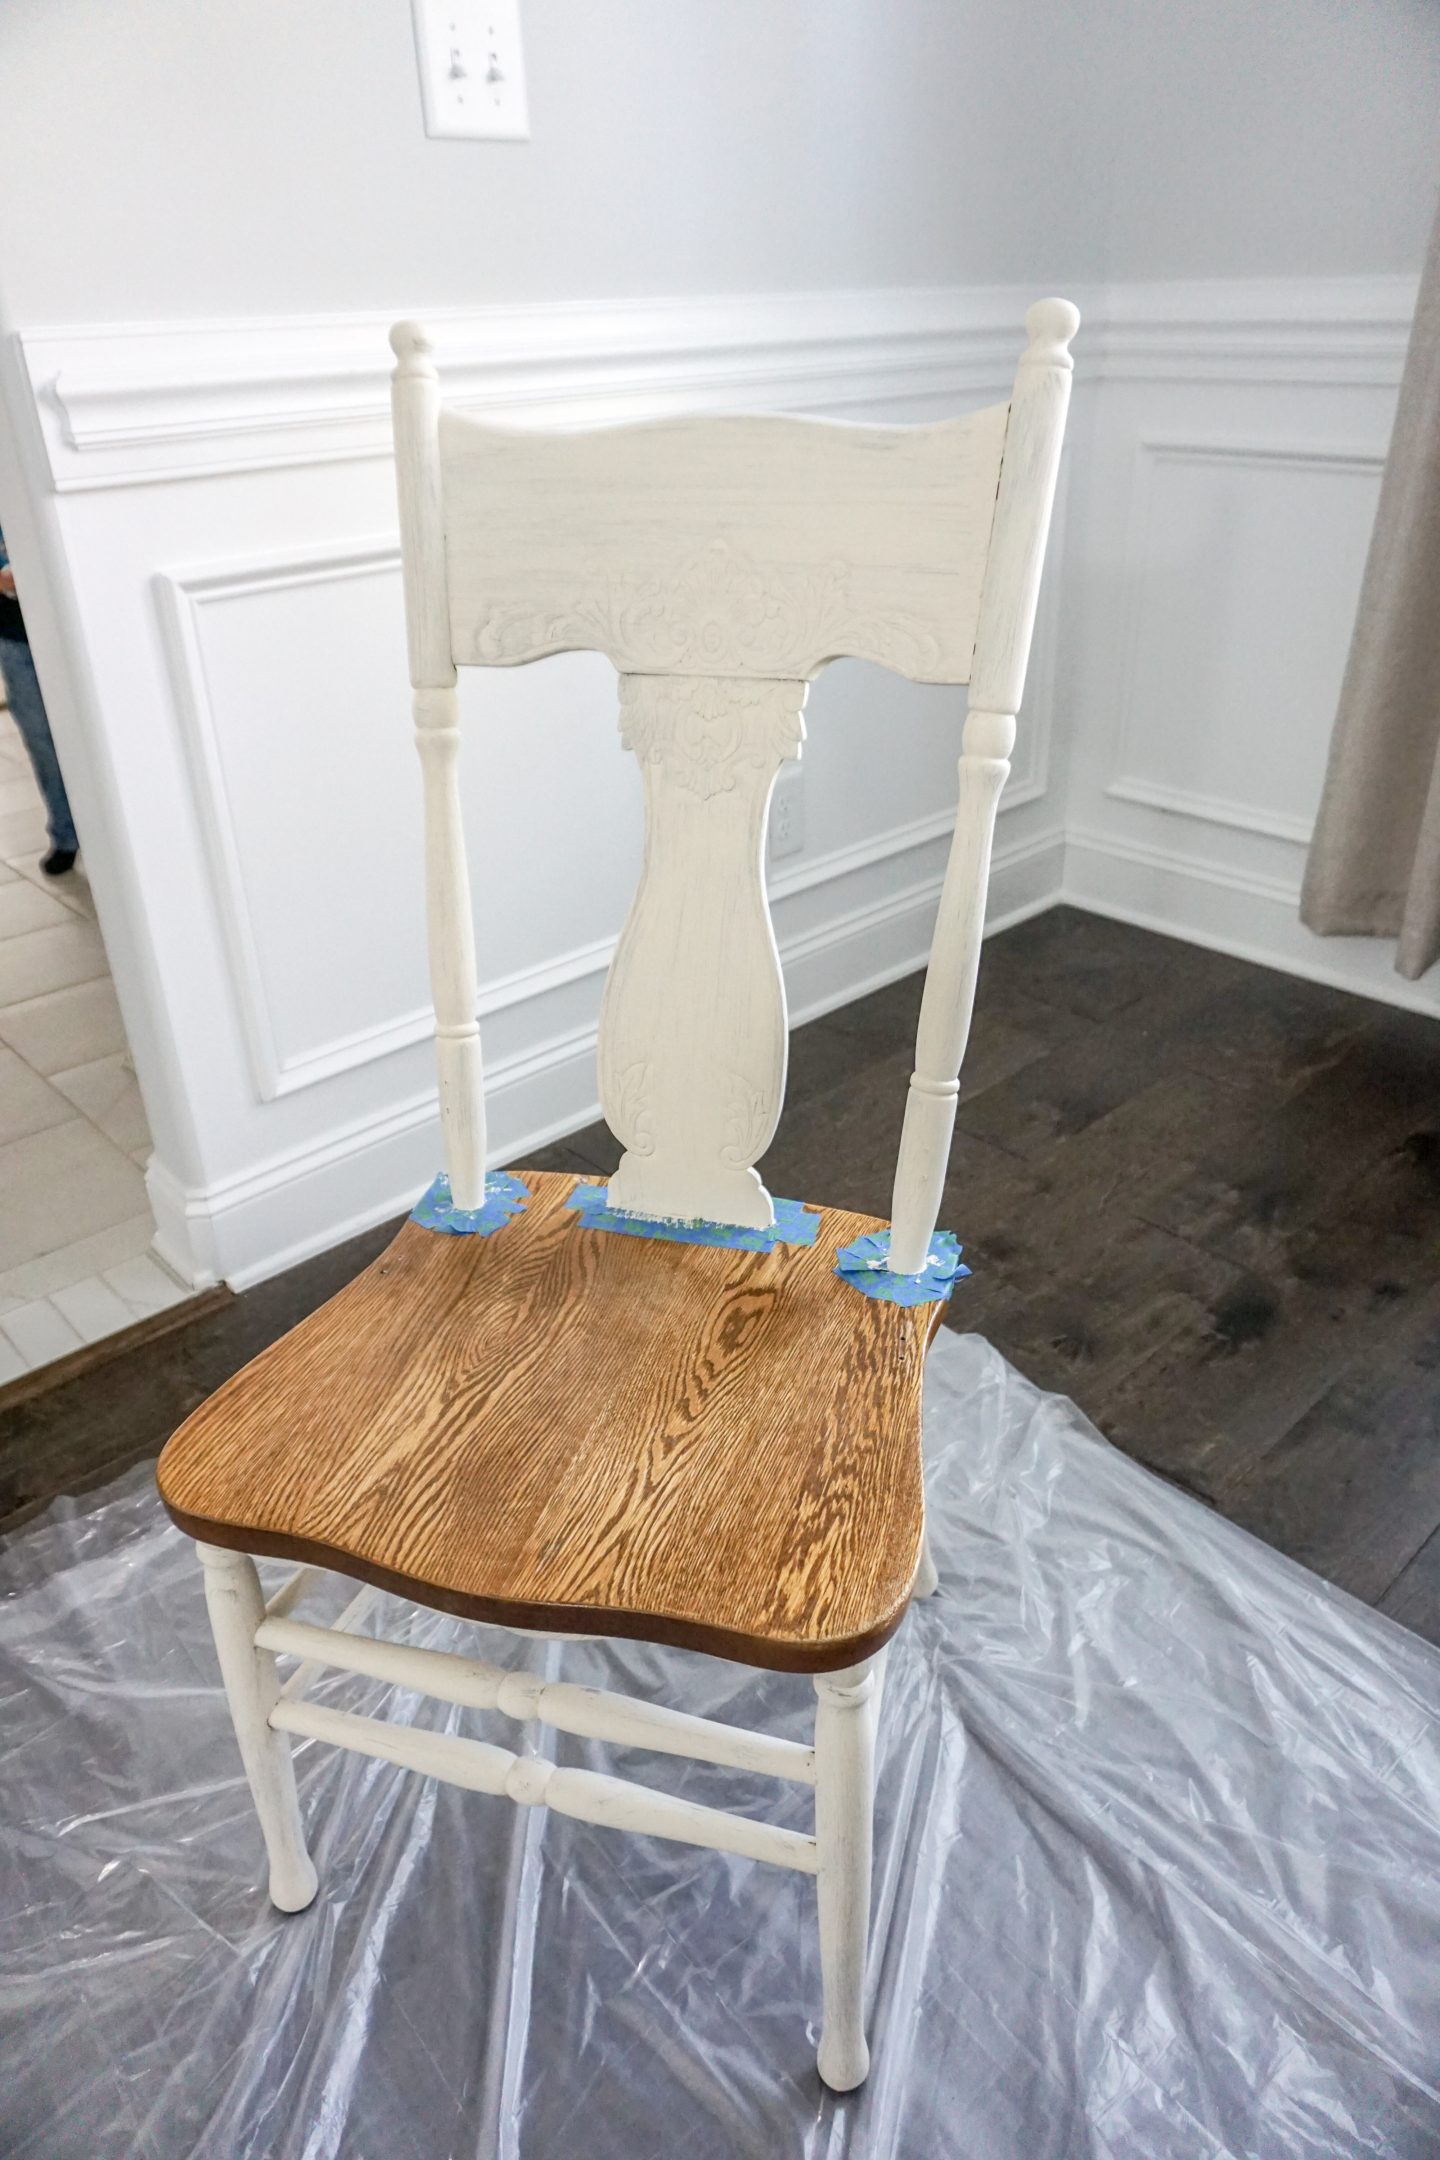
I decided prior to starting this project that I wanted to keep those gorgeous Oak seats intact, so for this next step, you may or may not want/need to do it. To keep the paint off of my seat and keep everything neat and clean, I used my Painters Tape to create a protective barrier.

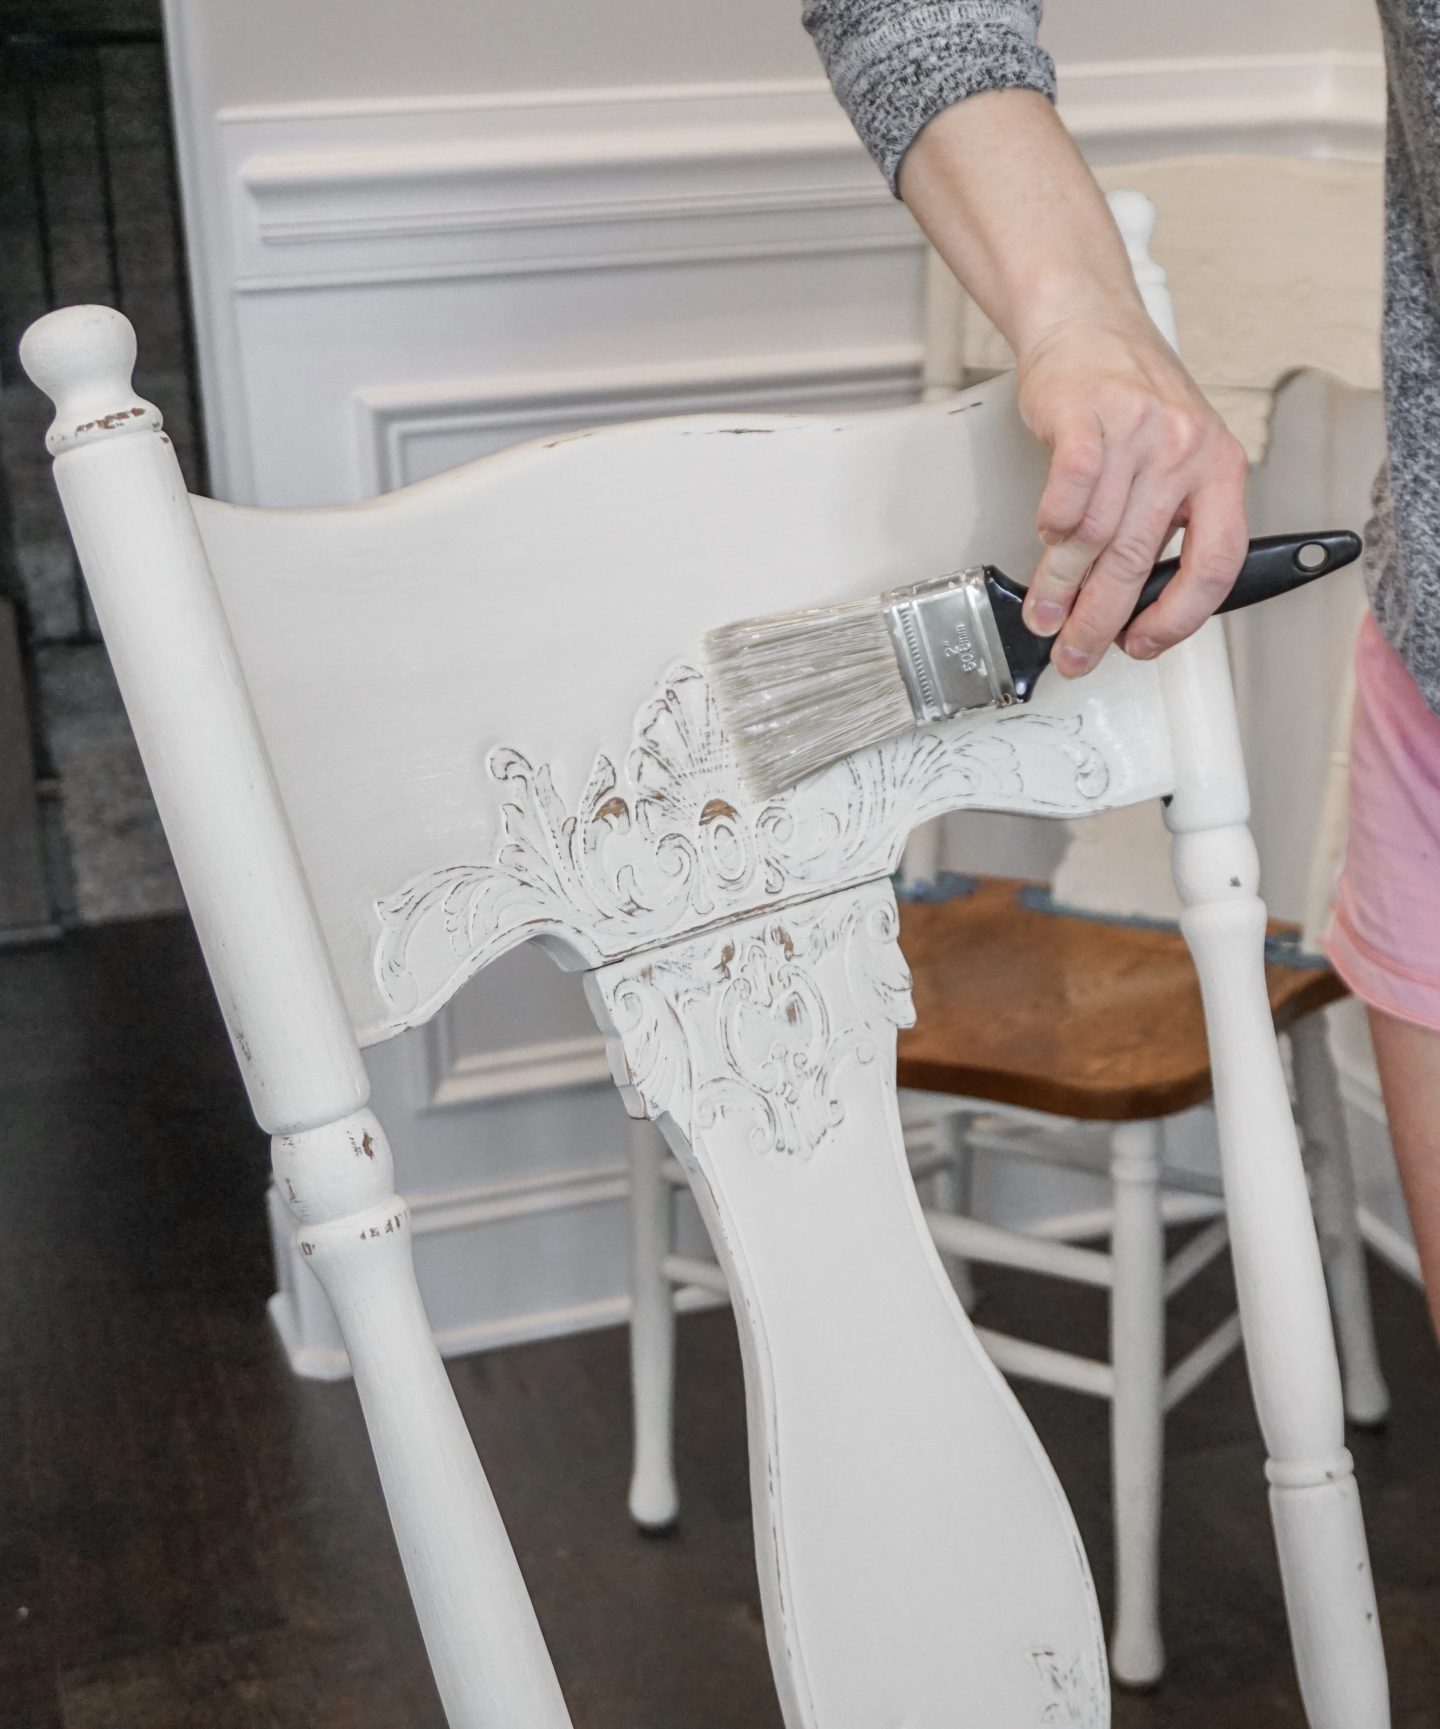
After you have finished taping, you can go ahead and start on the backrest of the chair! Just like on the legs, you can go ahead and apply the paint directly onto the back of the chair. After you have fully finished the first layer of paint, you will need to wait about an hour before starting on the next step.
The first layer of paint will be thick, but also semi-transparent. Your next step is to grab your fine grit sanding block and very gently sand the painted surfaces so as not to distress it just yet.
After you have sanded, you can grab a soft-bristled vacuum (I like to use my Dyson Cyclone V10 Absolute stick vacuum) and your Tack Cloth. Tack Cloth is a sticky cloth made specifically for catching dust particles and keeping your project piece dust free, but it can also leave your hands very sticky, which I why I recommend wearing the Doctors Gloves! They are super useful for projects.
Once you have your project piece dust free, you can go ahead and start your second coat of paint on the legs and chair back. Shown below is the second coat of paint that is drying. You can noticeably tell that the coverage is amazing with this paint.
How To Distress Your Project Piece
This next part, I thought it might be easier if I actually SHOW you how I do it. When you have such small details to distress, you most certainly don’t want to overdo it (unless that’s what you’re going for). Instead of grabbing for that Mouse Sander, grab your 100 Grit Sandpaper! It’s a lot easier to get into small spaces and crevices with sandpaper than the sanding sponges and electric sanders.
After you have done the details, you can move onto distressing other parts of your project! This is the easy part because you really can’t go wrong, but my #1 Tip for distressing a piece of furniture is to only distress where natural wear might occur. If you distress where a hand may have pulled back the chair over and over again, or maybe years of mopping around the legs cause some scuffs and chips etc! Your project piece will look more authentic and professional if you keep it simple. Grab your Coarse Sanding Block and get to it!
After you have finished distressing your project piece, grab your vacuum and get up all of the heavy dust. When you have cleaned up the majority of the dust, go back with your Tack Cloth (while wearing your gloves) and get all the smaller particles that aren’t easily seen.

We’re almost finished, I promise!! This next step is the last big one: It’s time to SEAL your project piece. When sealing over chalk paint you can use Clear Satin Polycrylic like I do, or you can use wax. I like how quickly the Polycrylic dries and applies, so I always opt for this instead of wax. When applying Polycrylic, you do not need a ton! Polycrylic can go a long way, and you definitely don’t want drips. So when you are applying it, do nice thin coats making sure you cover every chalk painted surface.
Products Mentioned in this Post


These next few steps are Extras I needed to complete my project, so if you’d like to skip this part, just scroll past!
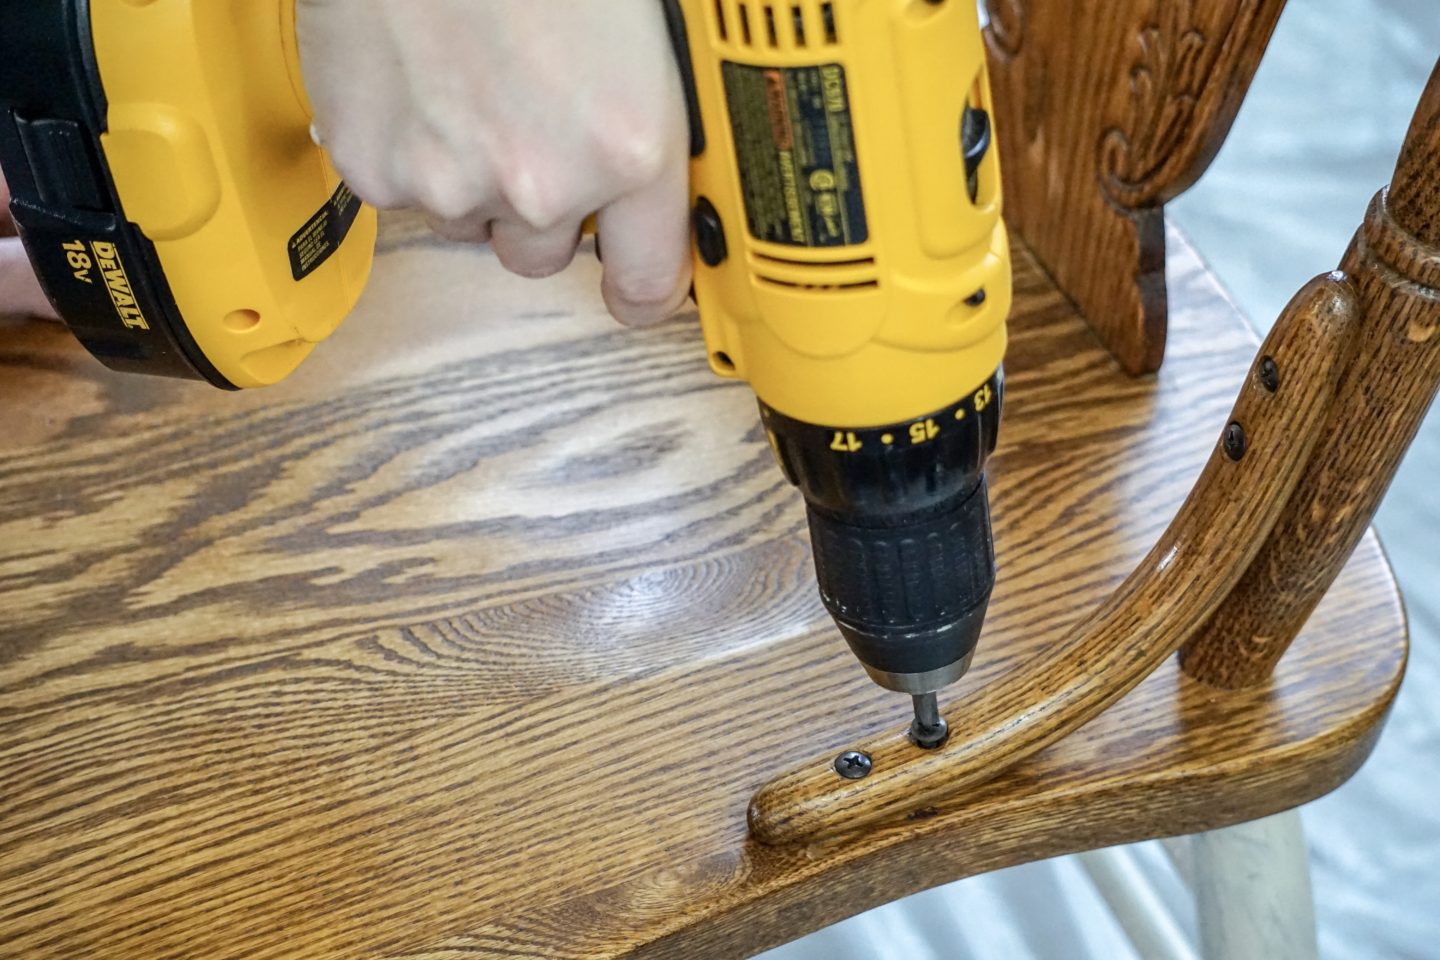
Because I removed the side piece from my Farmhouse Style Oak Chairs, I needed to also paint those separately. I followed all of the same steps as the rest of the chairs, but because these pieces are so small I was able to finish them super fast!
After I was finished painting, distressing and sealing these smaller pieces, I just needed to grab my pretty black screws and reattach the pieces!
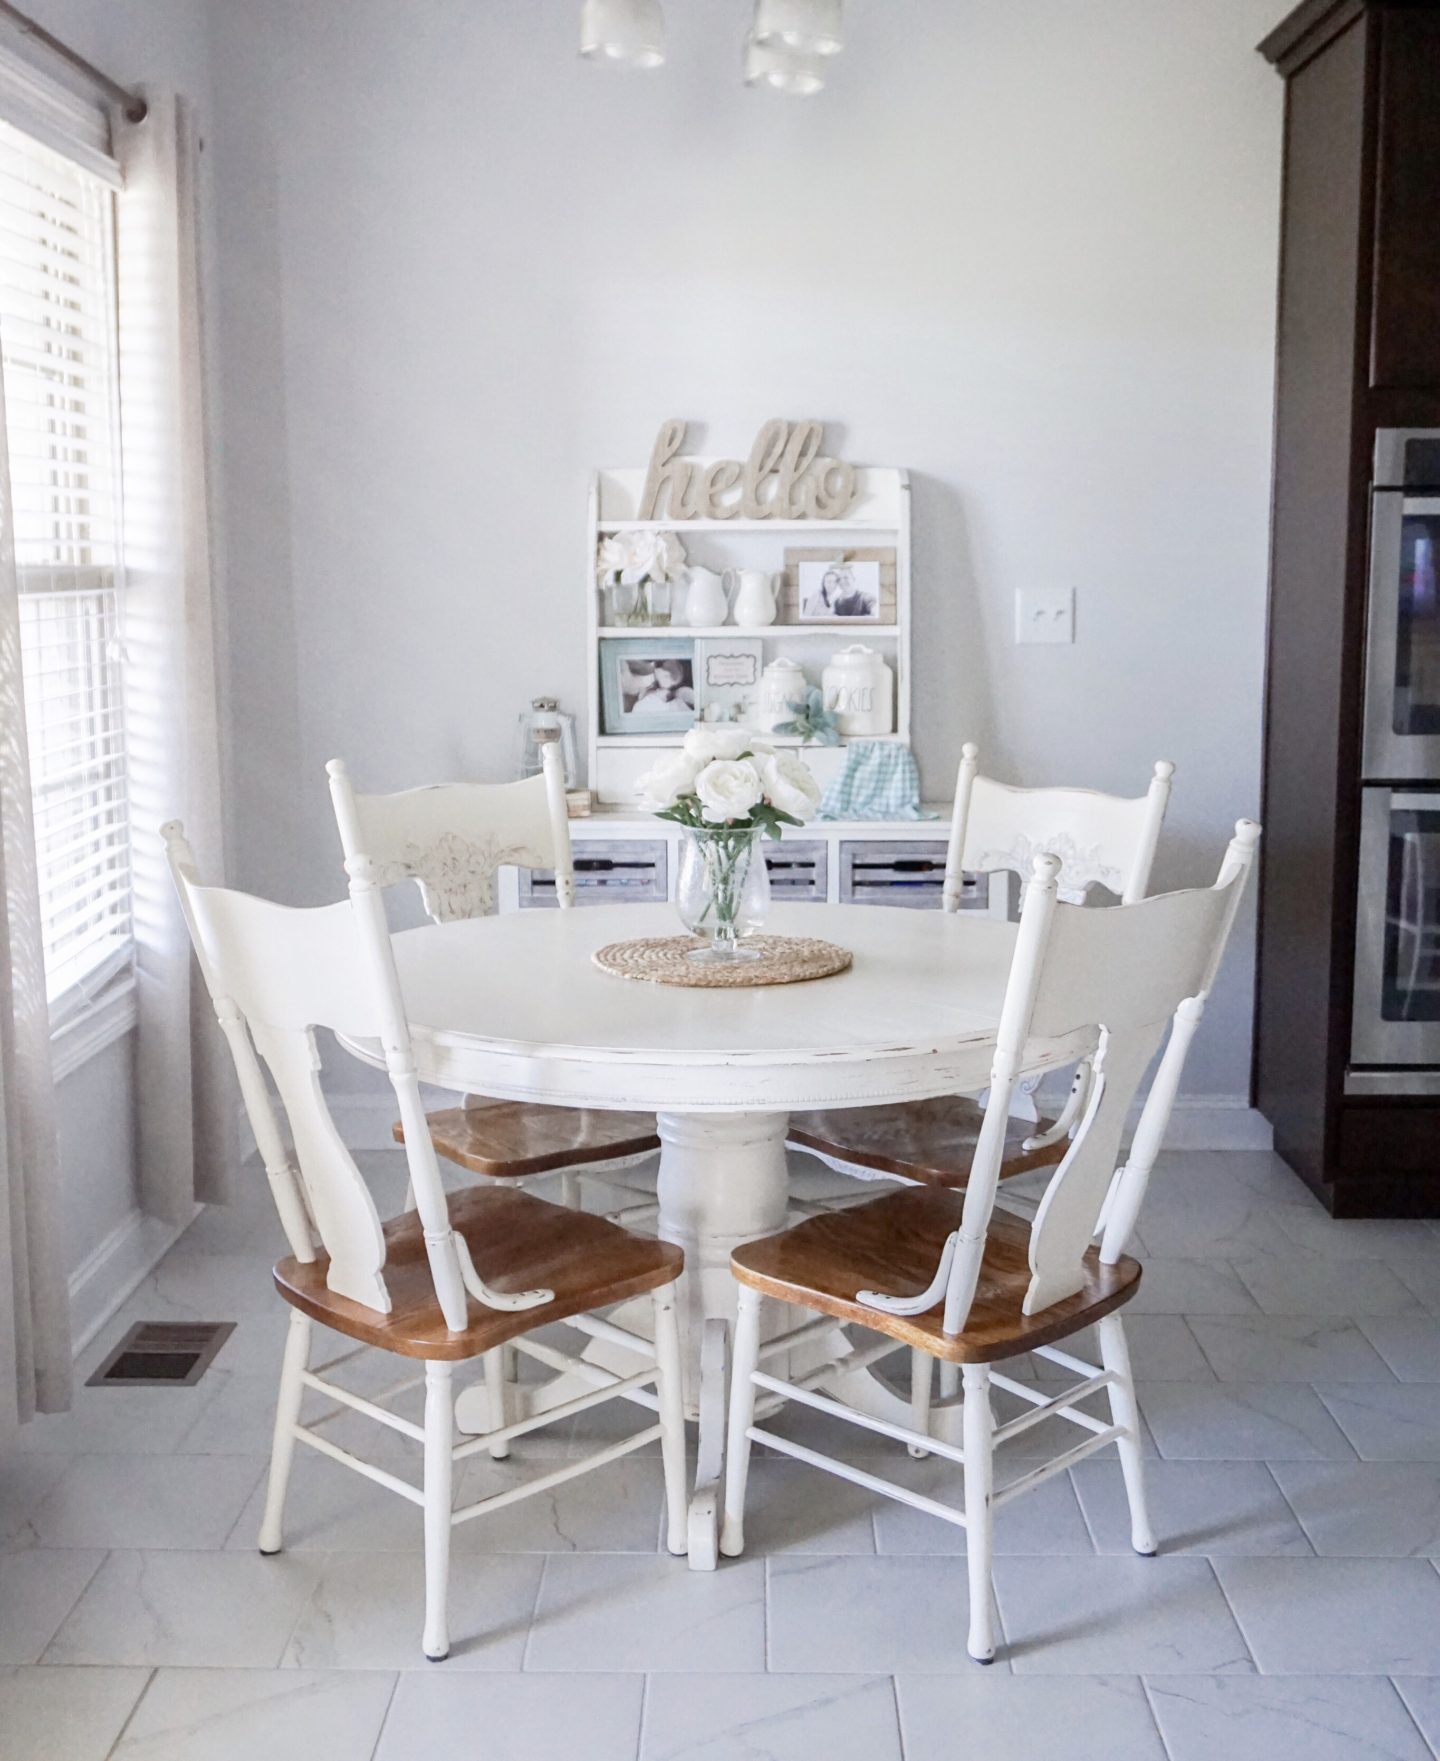
Now, I was officially done!!! With ONE CHAIR. I still had THREE to go lol! It was a lot of work, as chairs usually are, but overall I love how they turned out! Check out more photos below for the finished product with Before & Afters for comparison! I hope you loved this Blog post! Thank you so much for stopping by!