How To: Refinish a Toddler Bed Using Chalkpaint!

How To: Refinish a Toddler Bed Using Chalkpaint!

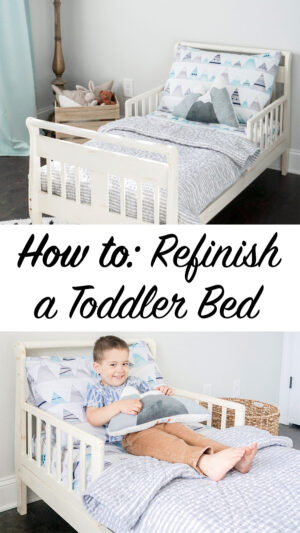
Hi friends! Welcome back to my blog for another fun How To! I have used this particular toddler bed for my middle and eldest sons, but now it was time for my littlest to move into it! After he started climbing out of his crib, I knew it was time to transition him. The only problem was, this toddler bed was a very yellow/natural pine wood color and I just couldn’t deal with it lol! It totally clashed with my decor. So, in today’s blog post, I am going to teach you How To Refinish a Toddler Bed to make it match the rest of your decor, whatever it may be! Stay tuned to the end to see how I fixed his room up too!

This post contains Amazon Affiliate Links to my Amazon Shop. When you shop through these links I earn a small percentage of the sale. Thank you for your support!

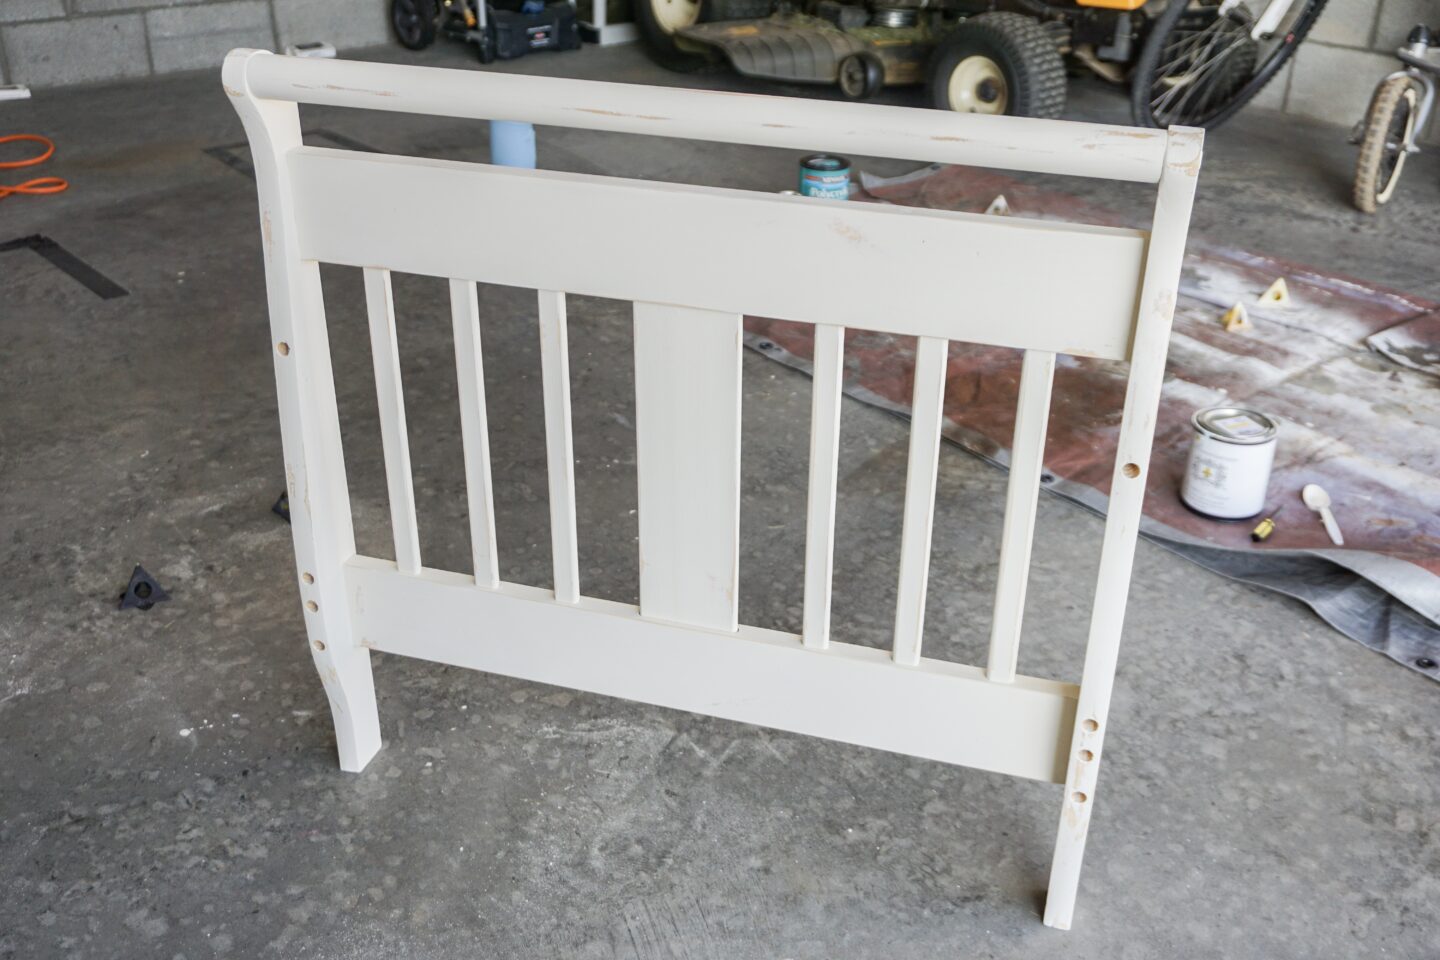
Let’s start with what I had to work with

adventure decor, chalk paint, DIY, farmhouse decor, farmhouse nursery, farmhouse style, how to, how to chalk paint furniture, how to distress furniture, how to refinish a toddler bed, how to refinish furniture, kateschwanke, kateschwanke blog, kids room decor, linen quilt, mountain decor, nursery decor, nursery furniture, pottery barn kids, pottery barn kids montauk, ticking stripe, toddler bed, toddler bedding, toddler room decor, before and after

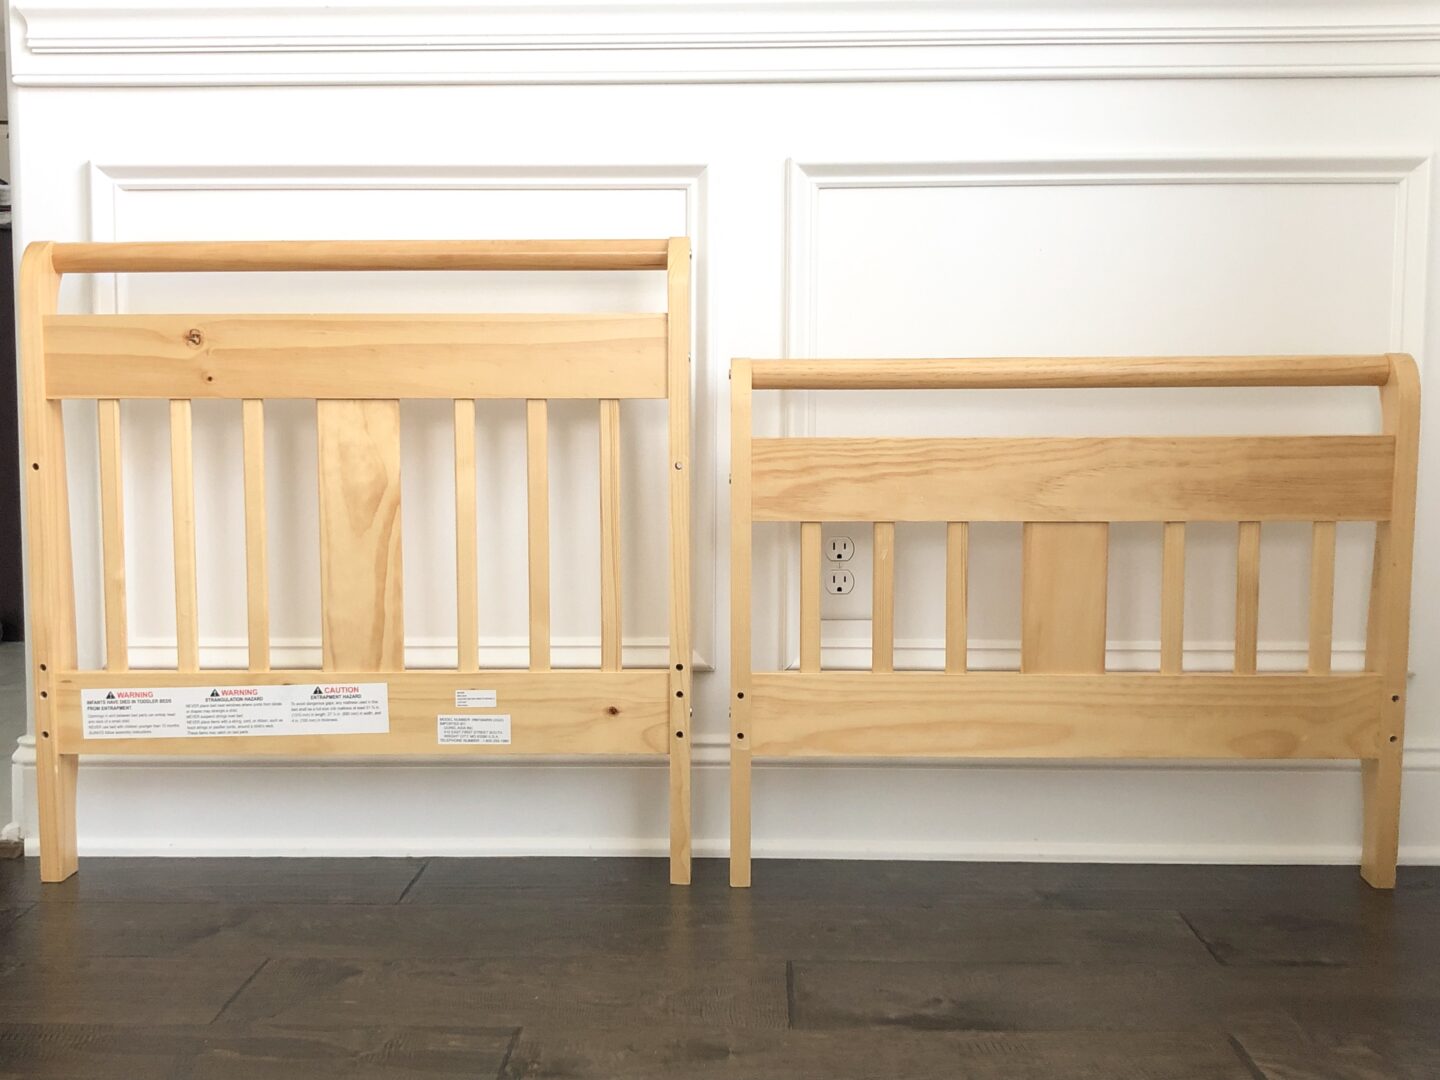
Yep. Here it is. The yellowish pinewood toddler bed I mentioned before. This bed has been begging to have a makeover since the day I bought it 8 years ago lol! And today’s the day I’m finally making it happen.

This particular project was actually very easy to do and didn’t require too many extras. I wasn’t trying to make this perfect, in fact, because I was going to distress it anyways, I didn’t need it to be perfect!

Here’s what I used for this project

I decided to focus on one piece at a time for this project. The bed was already in pieces from our last move, so the headboard and footboard were the first to get refinished. Let’s take a look at the process below!

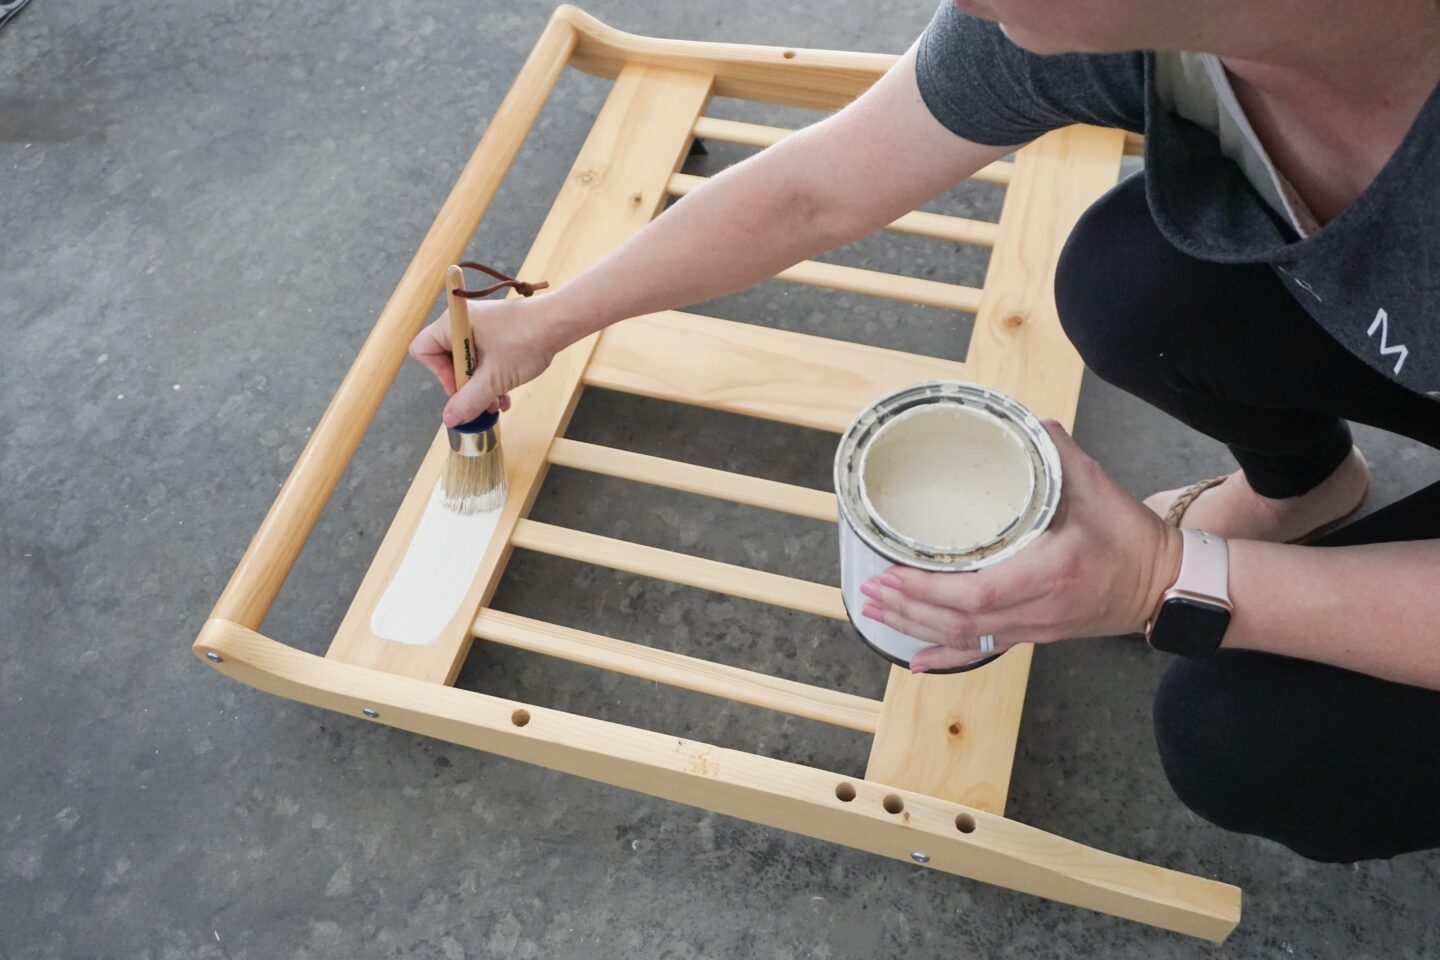
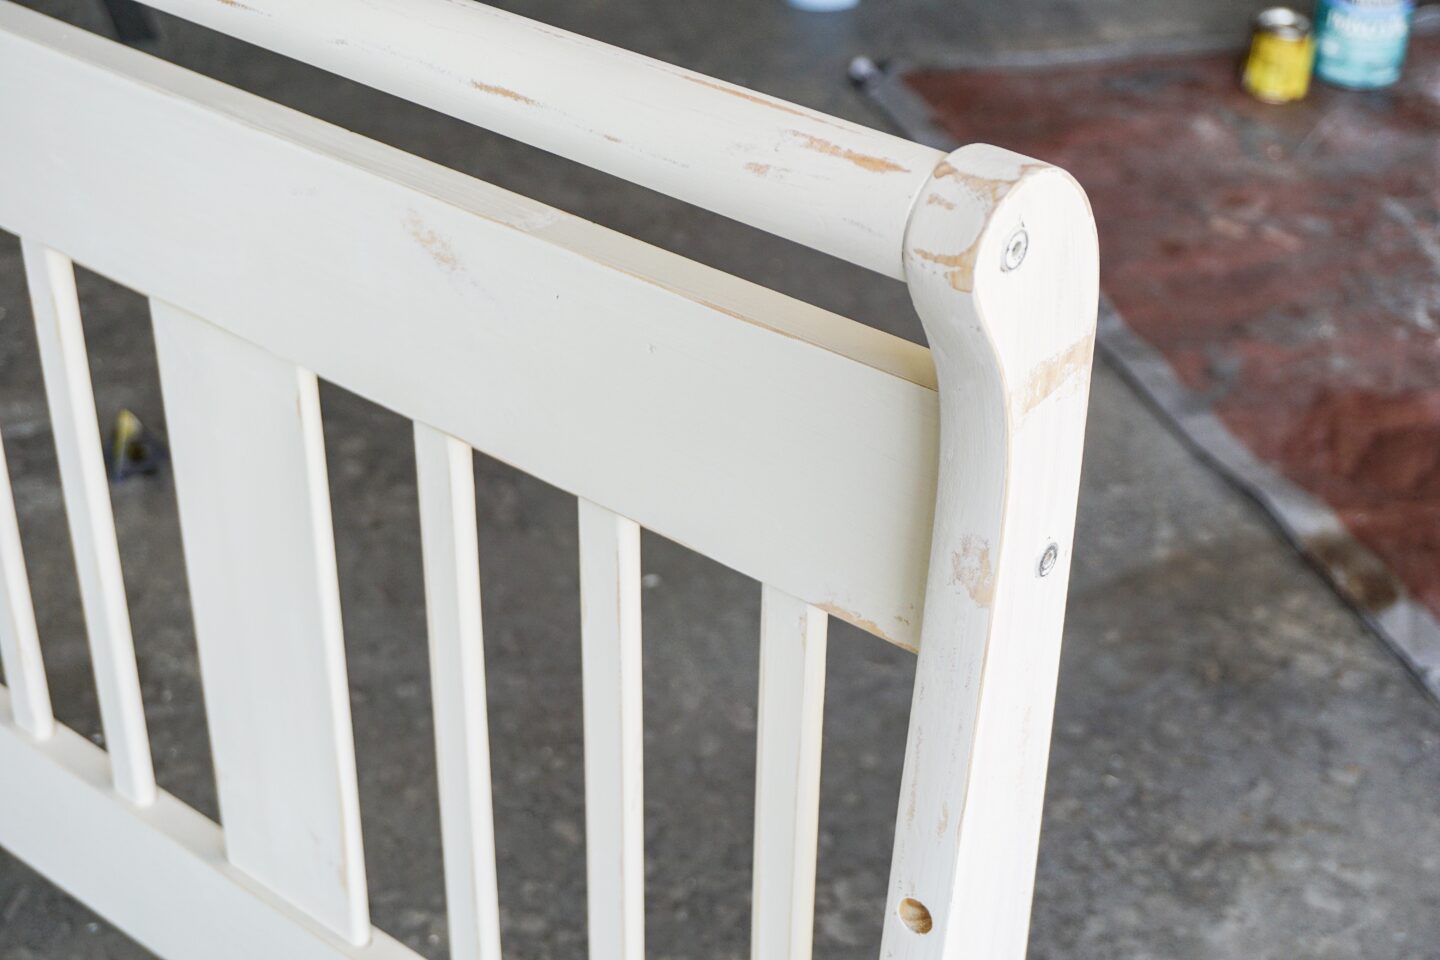
First, I wiped down all of the pieces I planned to refinish. You have to start with clean furniture before you can paint it! Next, I grabbed my favorite furniture paint, Renaissance Furniture Paint, and applied the first coat to the headboard with my chalk paintbrush. The thing I love about this paint is that it allows you to paint on top of practically anything, regardless if it has a topcoat or not! It’s also non-toxic, so perfect for using on cribs and toddler beds, and it comes in tons of beautiful colors!

adventure decor, chalk paint, DIY, farmhouse decor, farmhouse nursery, farmhouse style, how to, how to chalk paint furniture, how to distress furniture, how to refinish a toddler bed, how to refinish furniture, kateschwanke, kateschwanke blog, kids room decor, linen quilt, mountain decor, nursery decor, nursery furniture, pottery barn kids, pottery barn kids montauk, ticking stripe, toddler bed, toddler bedding, toddler room decor

After my first coat was on, I let it dry for about 10 minutes…YES…that’s all this paint needs! It dries super fast, which is good, but it also means you need to work quickly.

adventure decor, chalk paint, DIY, farmhouse decor, farmhouse nursery, farmhouse style, how to, how to chalk paint furniture, how to distress furniture, how to refinish a toddler bed, how to refinish furniture, kateschwanke, kateschwanke blog, kids room decor, linen quilt, mountain decor, nursery decor, nursery furniture, pottery barn kids, pottery barn kids montauk, ticking stripe, toddler bed, toddler bedding, toddler room decor

After the first coat of paint has dried, grab your fine-grit sanding sponge and gently sand the surface. Doing this will allow the next coat of chalk paint to go on nice and smooth. After you’re done sanding, make sure to vacuum up and wipe off any excess dust.

adventure decor, chalk paint, DIY, farmhouse decor, farmhouse nursery, farmhouse style, how to, how to chalk paint furniture, how to distress furniture, how to refinish a toddler bed, how to refinish furniture, kateschwanke, kateschwanke blog, kids room decor, linen quilt, mountain decor, nursery decor, nursery furniture, pottery barn kids, pottery barn kids montauk, ticking stripe, toddler bed, toddler bedding, toddler room decor

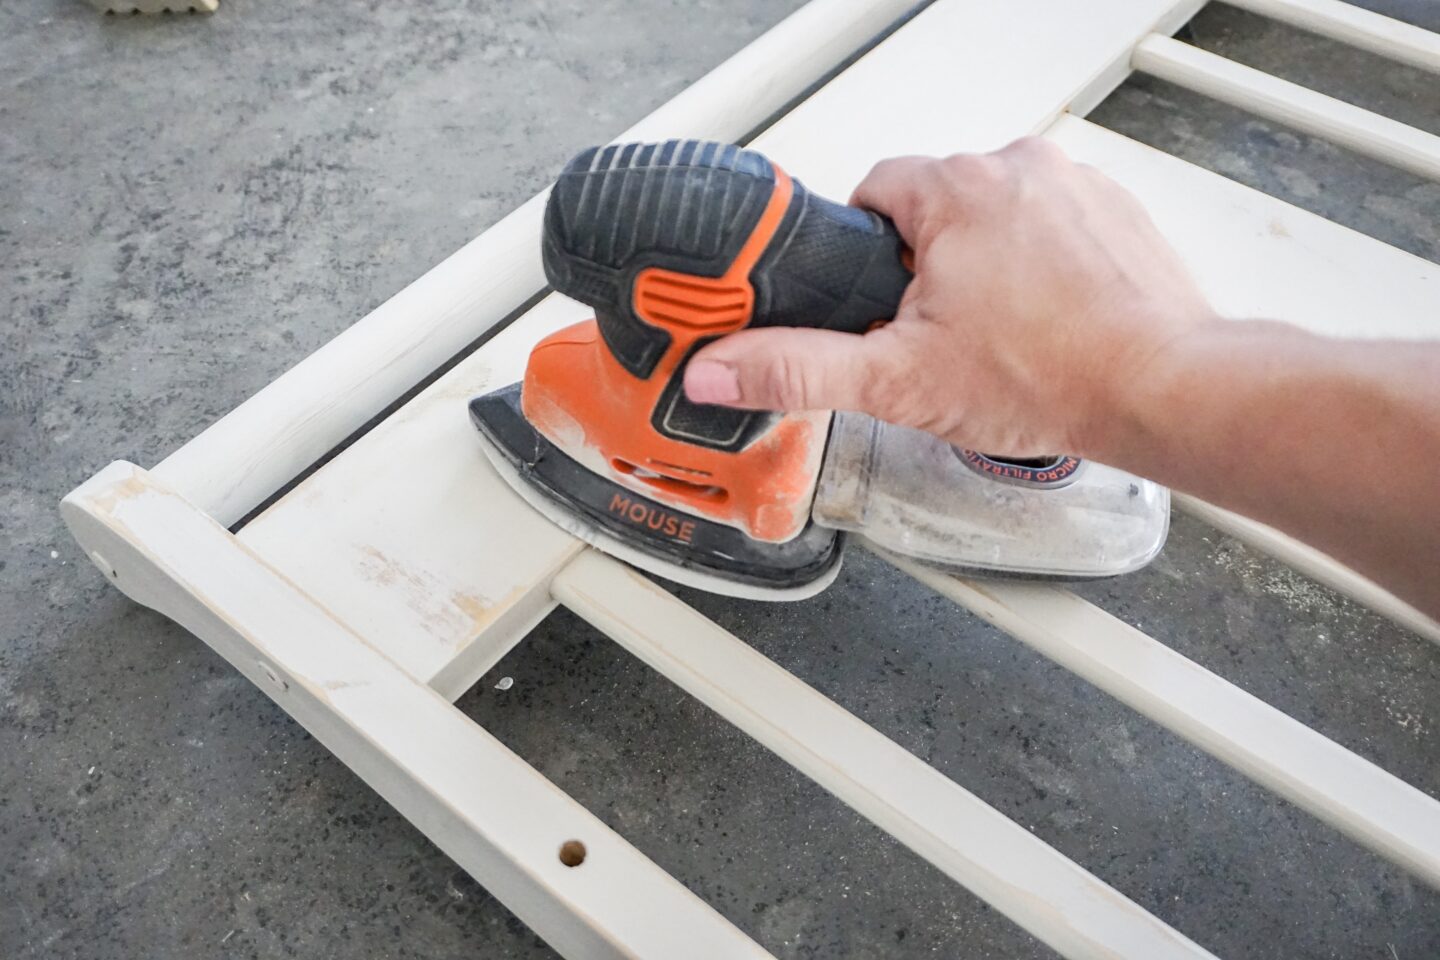
Repeat these steps one more time! You only need two coats of this paint to get a nice opaque finish. After you have let your second coat of paint dry, grab your mouse sander in place of your fine-grit sanding sponge and distress as heavily or as little as you’d like!

adventure decor, chalk paint, DIY, farmhouse decor, farmhouse nursery, farmhouse style, how to, how to chalk paint furniture, how to distress furniture, how to refinish a toddler bed, how to refinish furniture, kateschwanke, kateschwanke blog, kids room decor, linen quilt, mountain decor, nursery decor, nursery furniture, pottery barn kids, pottery barn kids montauk, ticking stripe, toddler bed, toddler bedding, toddler room decor

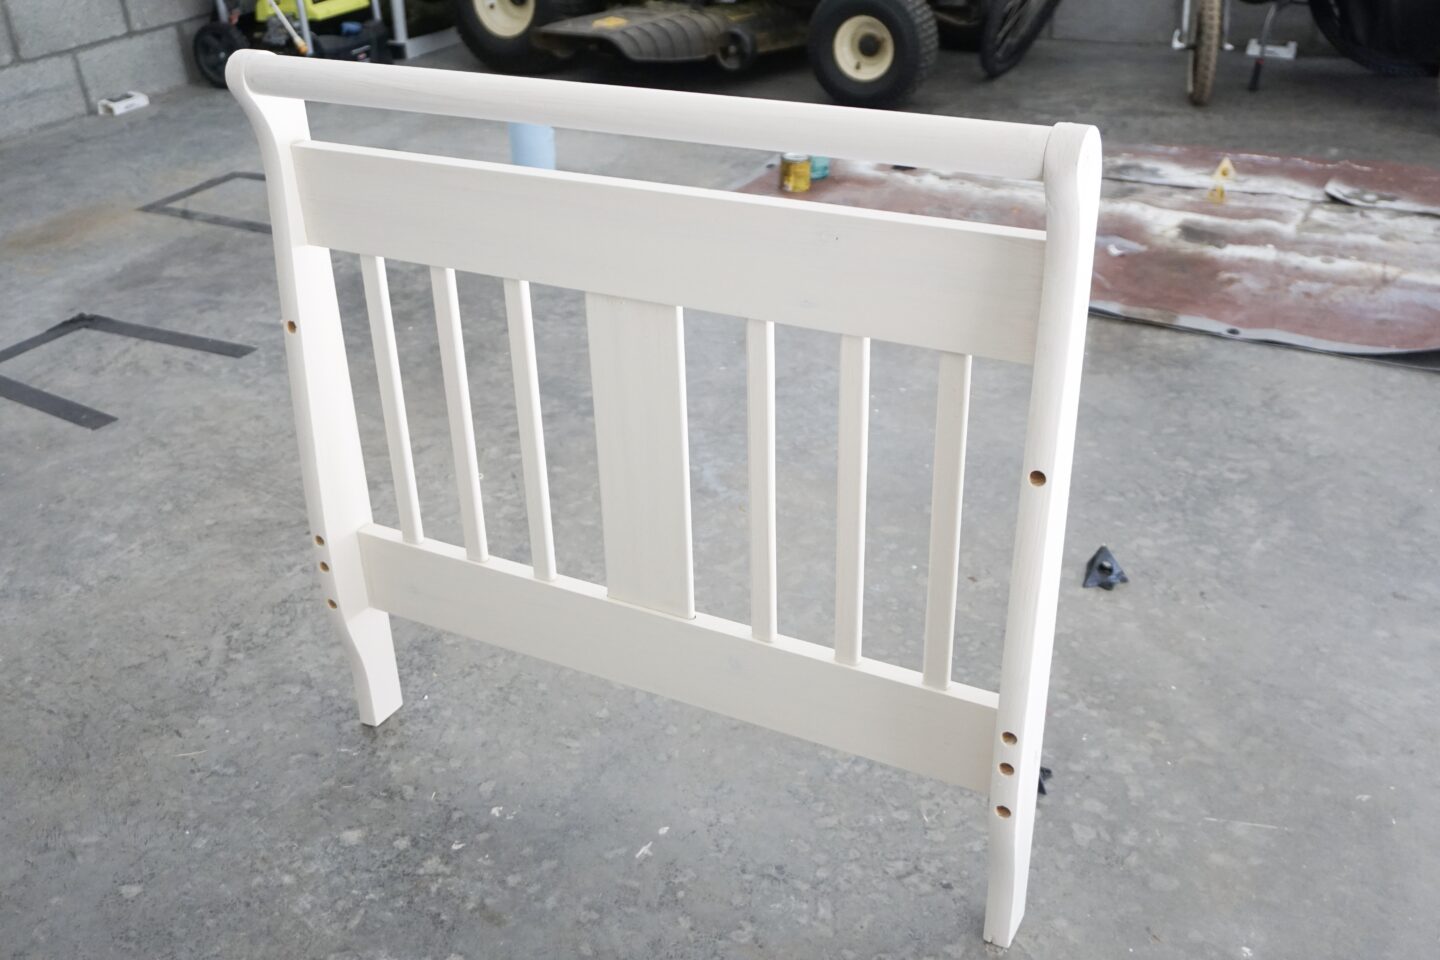
With my first piece distressed, I was starting to get really excited to see the end result!

adventure decor, chalk paint, DIY, farmhouse decor, farmhouse nursery, farmhouse style, how to, how to chalk paint furniture, how to distress furniture, how to refinish a toddler bed, how to refinish furniture, kateschwanke, kateschwanke blog, kids room decor, linen quilt, mountain decor, nursery decor, nursery furniture, pottery barn kids, pottery barn kids montauk, ticking stripe, toddler bed, toddler bedding, toddler room decor

The final steps!

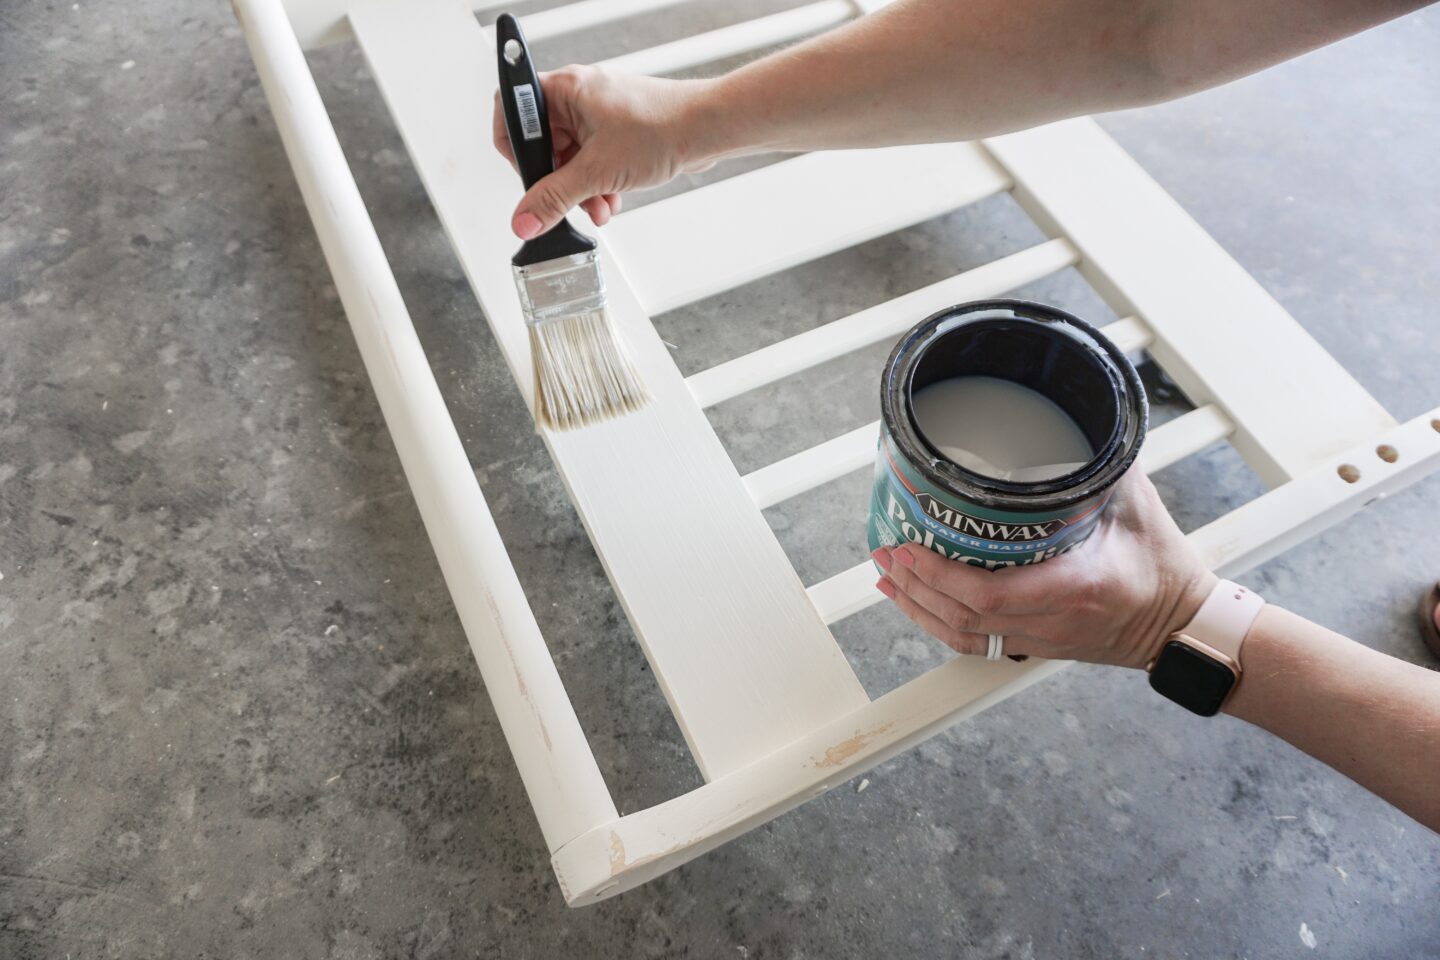
Now for the last step of the refinishing process: sealing the chalk paint! Many people do not seal chalk paint, but the problem with not sealing it is if water or something were to spill on it, then it would ruin your finish! Sealing chalk paint protects your project pieces and makes them last for much longer. I like to use Satin Finish Polycrylic on my projects to finish them off. For this piece, I only applied one coat of Polycrylic to seal.

adventure decor, chalk paint, DIY, farmhouse decor, farmhouse nursery, farmhouse style, how to, how to chalk paint furniture, how to distress furniture, how to refinish a toddler bed, how to refinish furniture, kateschwanke, kateschwanke blog, kids room decor, linen quilt, mountain decor, nursery decor, nursery furniture, pottery barn kids, pottery barn kids montauk, ticking stripe, toddler bed, toddler bedding, toddler room decor

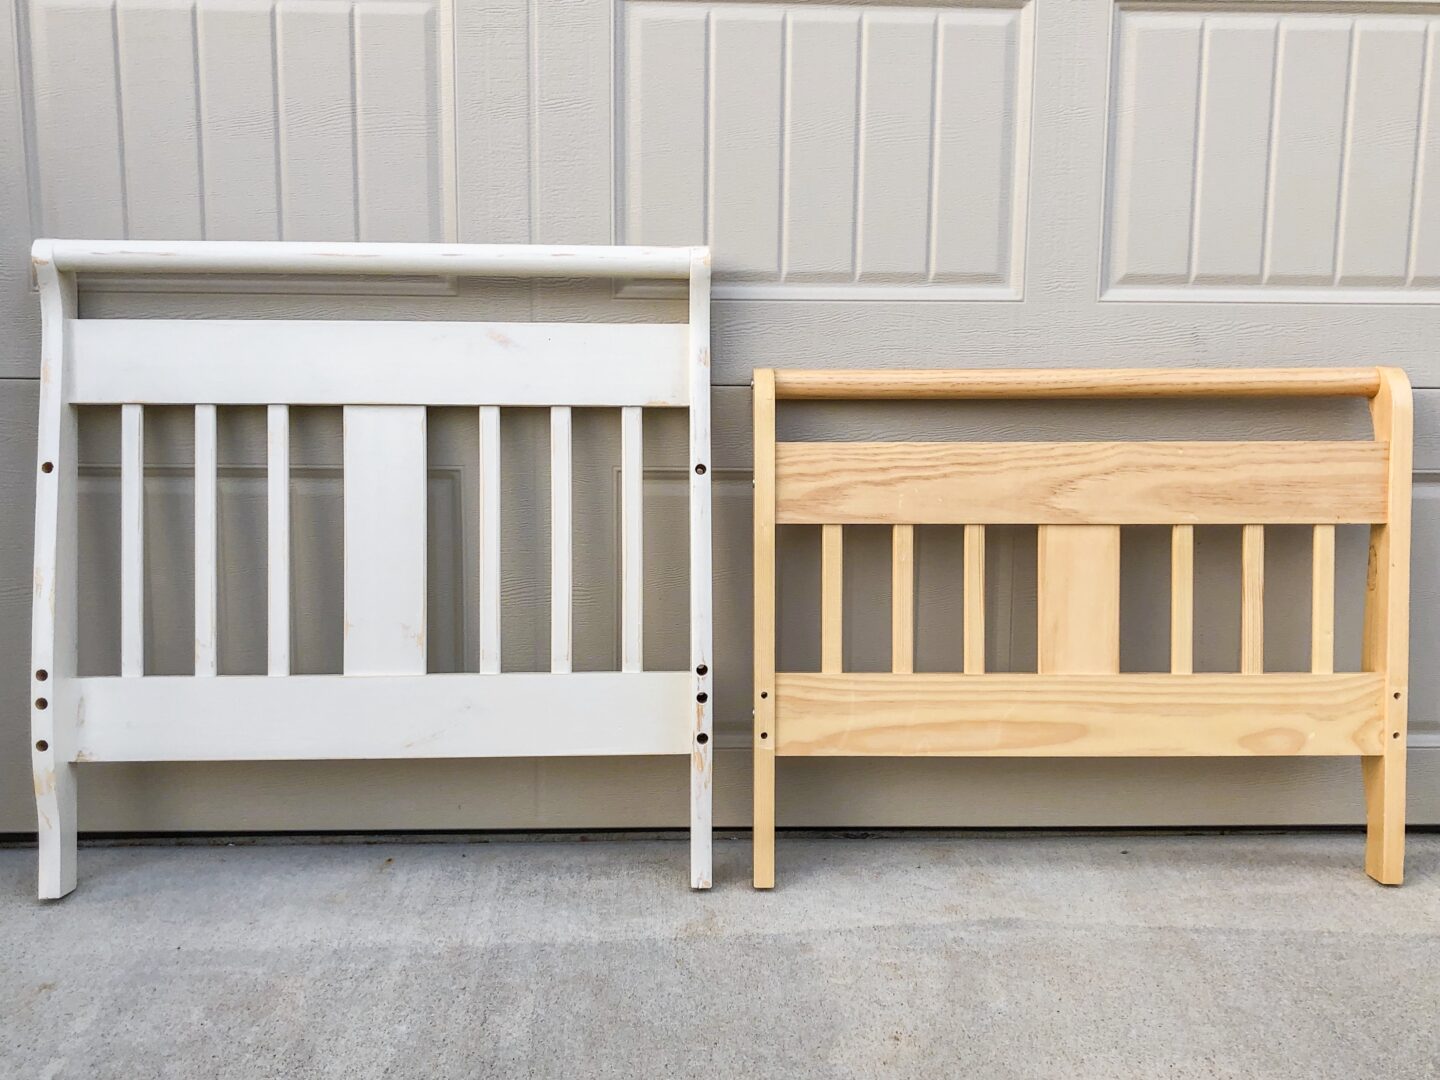
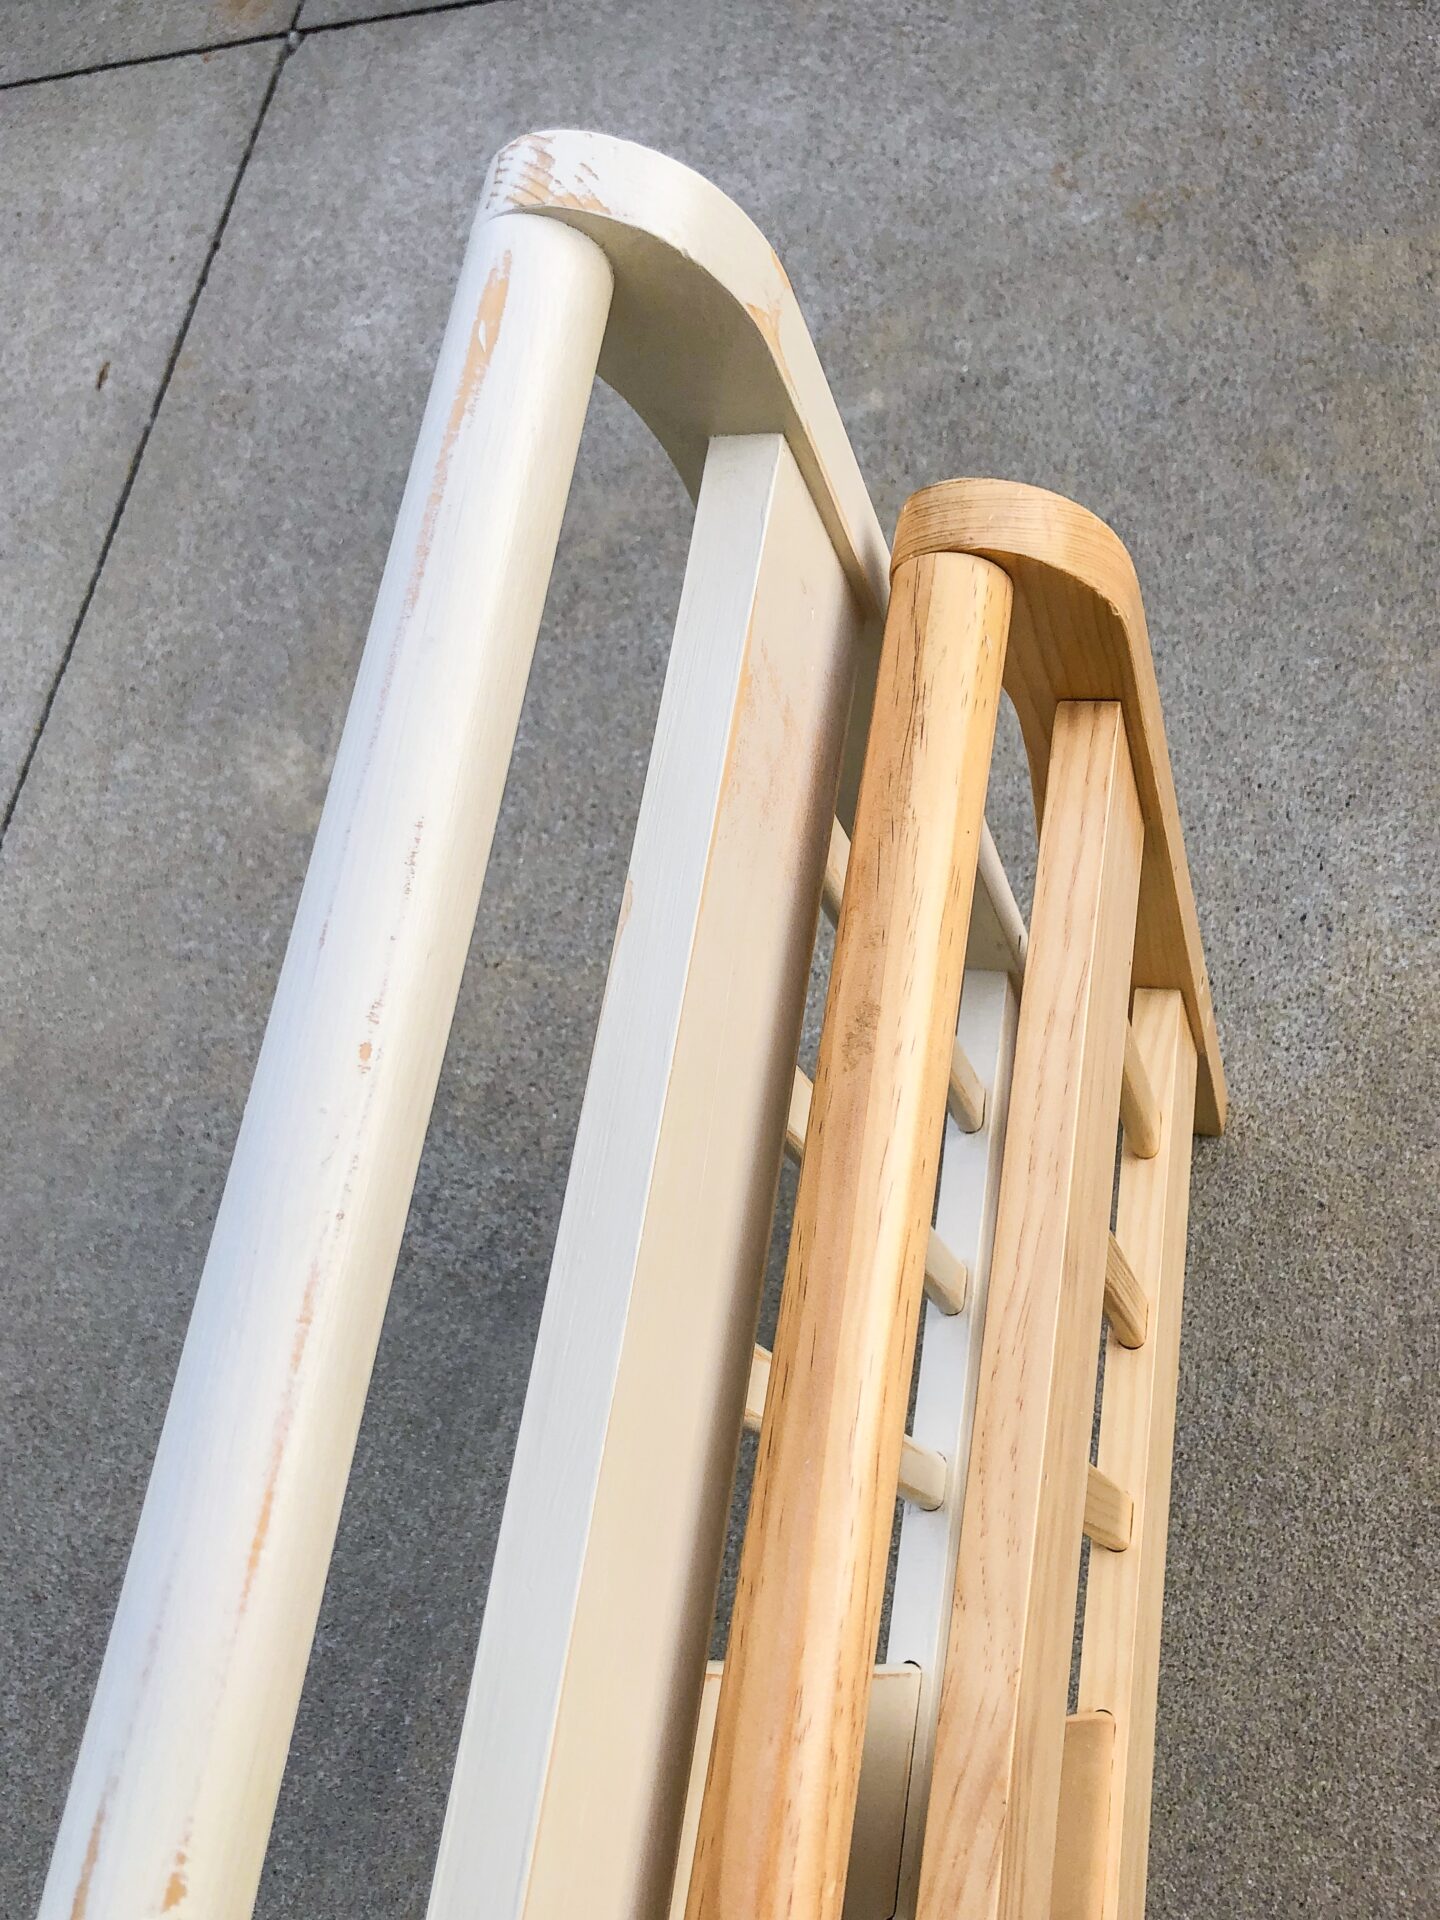
After I let the coat of Polycriclic dry, I decided it was time for a good side-by-side comparison! I am loving the change! Goodbye yellow wood!

adventure decor, chalk paint, DIY, farmhouse decor, farmhouse nursery, farmhouse style, how to, how to chalk paint furniture, how to distress furniture, how to refinish a toddler bed, how to refinish furniture, kateschwanke, kateschwanke blog, kids room decor, linen quilt, mountain decor, nursery decor, nursery furniture, pottery barn kids, pottery barn kids montauk, ticking stripe, toddler bed, toddler bedding, toddler room decor

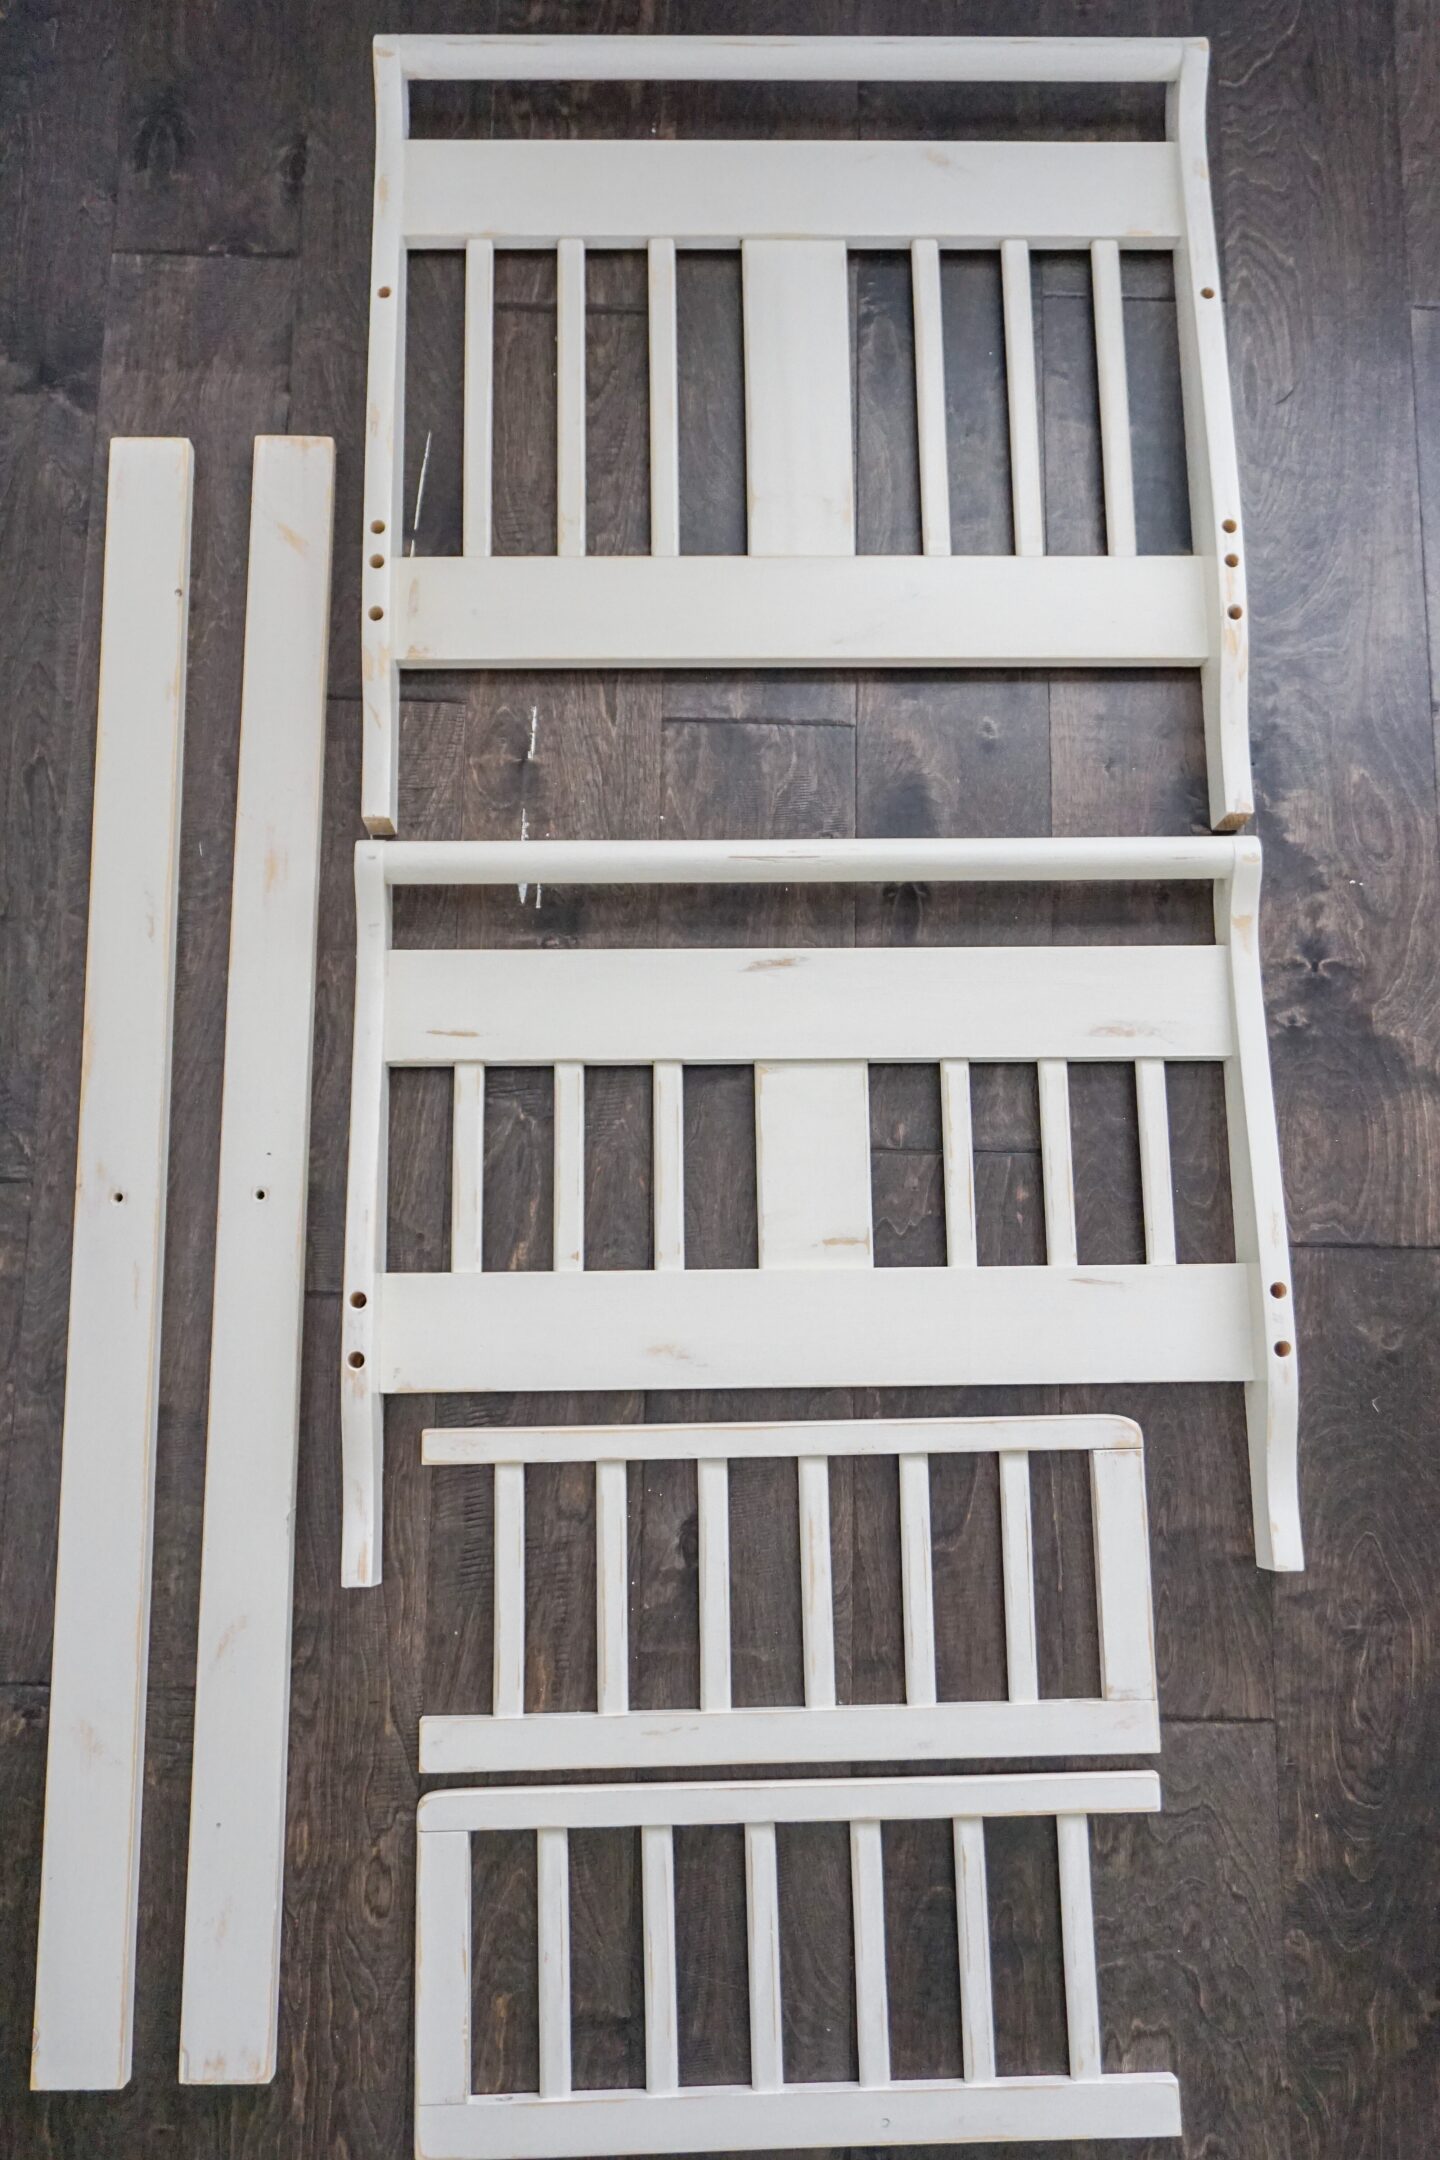
Now that I had my first piece done, it was time to start on the other pieces! Besides the headboard and the footboard, I had two side rails and two guardrails to refinish.

adventure decor, chalk paint, DIY, farmhouse decor, farmhouse nursery, farmhouse style, how to, how to chalk paint furniture, how to distress furniture, how to refinish a toddler bed, how to refinish furniture, kateschwanke, kateschwanke blog, kids room decor, linen quilt, mountain decor, nursery decor, nursery furniture, pottery barn kids, pottery barn kids montauk, ticking stripe, toddler bed, toddler bedding, toddler room decor

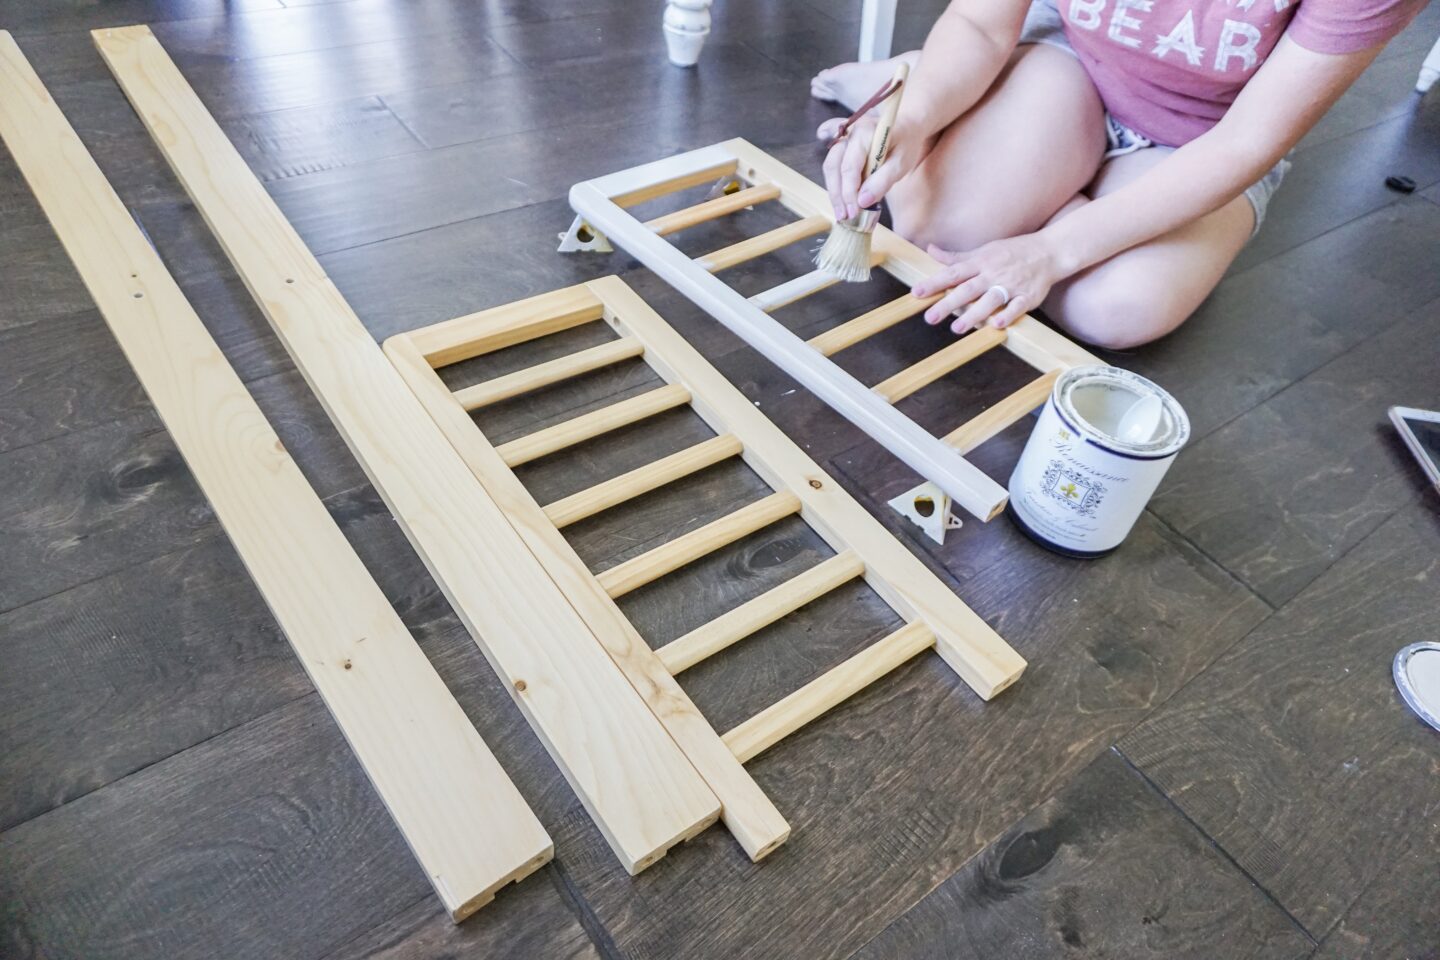
I followed the same steps as above on the other pieces to achieve the look I was after. Now that all of my pieces were painted, distressed and sealed it was time to assemble the bed!

adventure decor, chalk paint, DIY, farmhouse decor, farmhouse nursery, farmhouse style, how to, how to chalk paint furniture, how to distress furniture, how to refinish a toddler bed, how to refinish furniture, kateschwanke, kateschwanke blog, kids room decor, linen quilt, mountain decor, nursery decor, nursery furniture, pottery barn kids, pottery barn kids montauk, ticking stripe, toddler bed, toddler bedding, toddler room decor

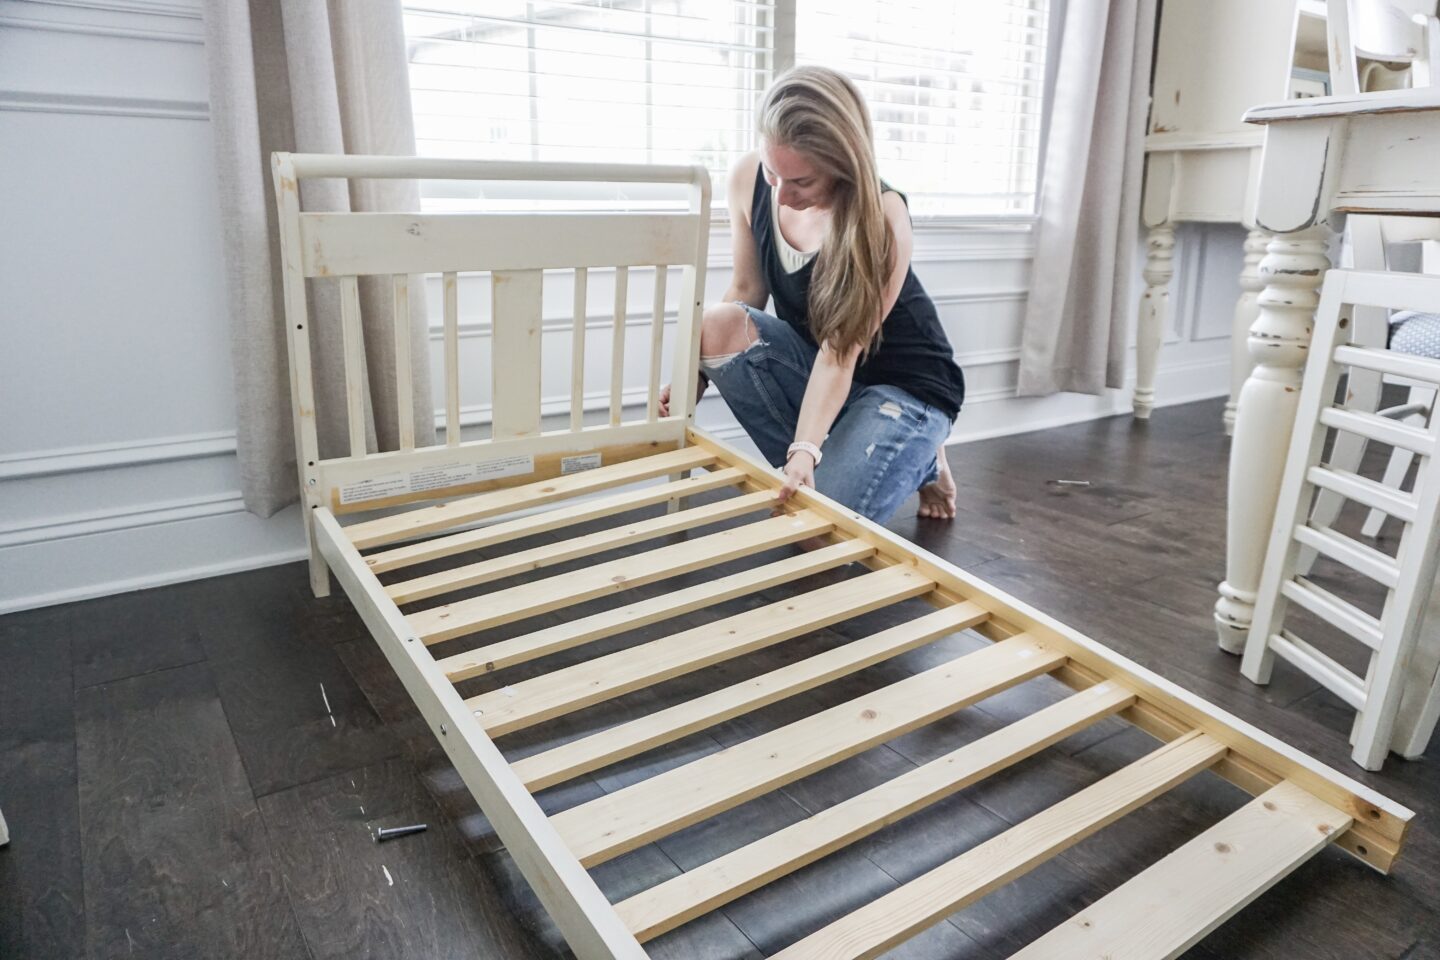
Assembling this toddler bed, I swear, was longer than the actual refinishing process lol! This bed was a beast to put together by myself! I may look calm in this photo, but I had just about had it with this bed at this point. Once it was assembled, however, I was back to being my cheerful self and was just SO HAPPY with the end results!

adventure decor, chalk paint, DIY, farmhouse decor, farmhouse nursery, farmhouse style, how to, how to chalk paint furniture, how to distress furniture, how to refinish a toddler bed, how to refinish furniture, kateschwanke, kateschwanke blog, kids room decor, linen quilt, mountain decor, nursery decor, nursery furniture, pottery barn kids, pottery barn kids montauk, ticking stripe, toddler bed, toddler bedding, toddler room decor

I wasn’t quite finished yet though! I decided my little guy needed a little bit of a makeover for his bedding for his new bed, and that meant online shopping woot woot!

It was time for new bedding!

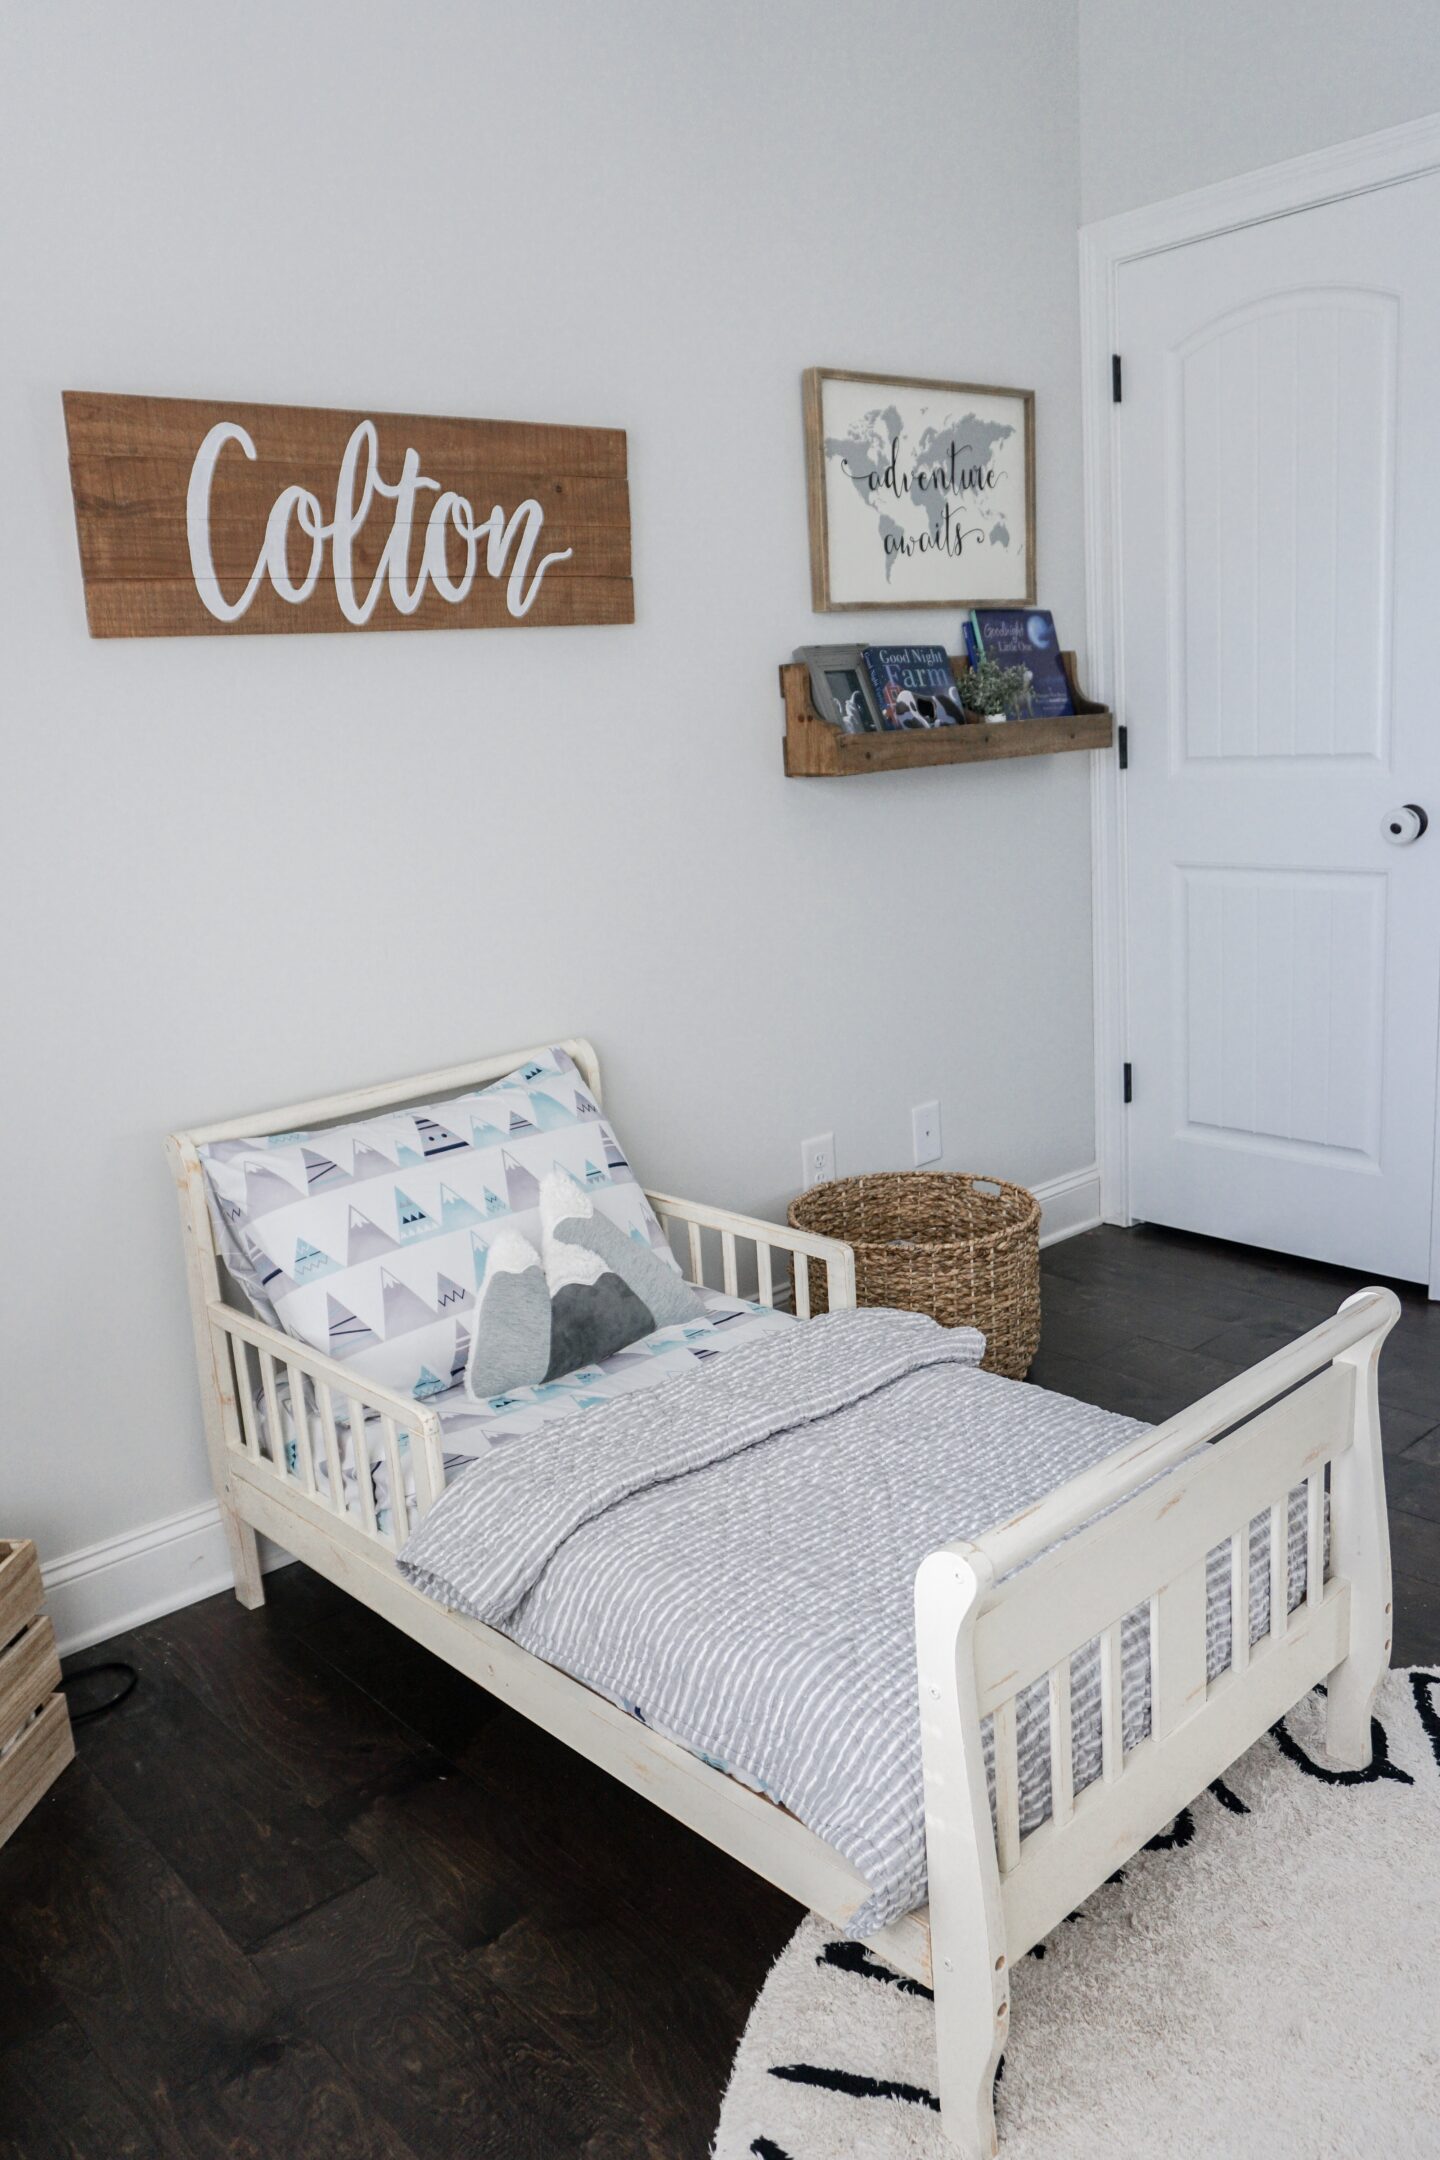
I purchased a pillowcase, sheet, and decorative pillow on Amazon in a mountain theme! They are so darn cute you guys, I can’t wait to show you how it all turned out. I also purchased a quilt made by Pottery Barn Kids to go along with it. Together, everything just matches so perfectly! Not too bad for online shopping I would say.

adventure decor, chalk paint, DIY, farmhouse decor, farmhouse nursery, farmhouse style, how to, how to chalk paint furniture, how to distress furniture, how to refinish a toddler bed, how to refinish furniture, kateschwanke, kateschwanke blog, kids room decor, linen quilt, mountain decor, nursery decor, nursery furniture, pottery barn kids, pottery barn kids montauk, ticking stripe, toddler bed, toddler bedding, toddler room decor

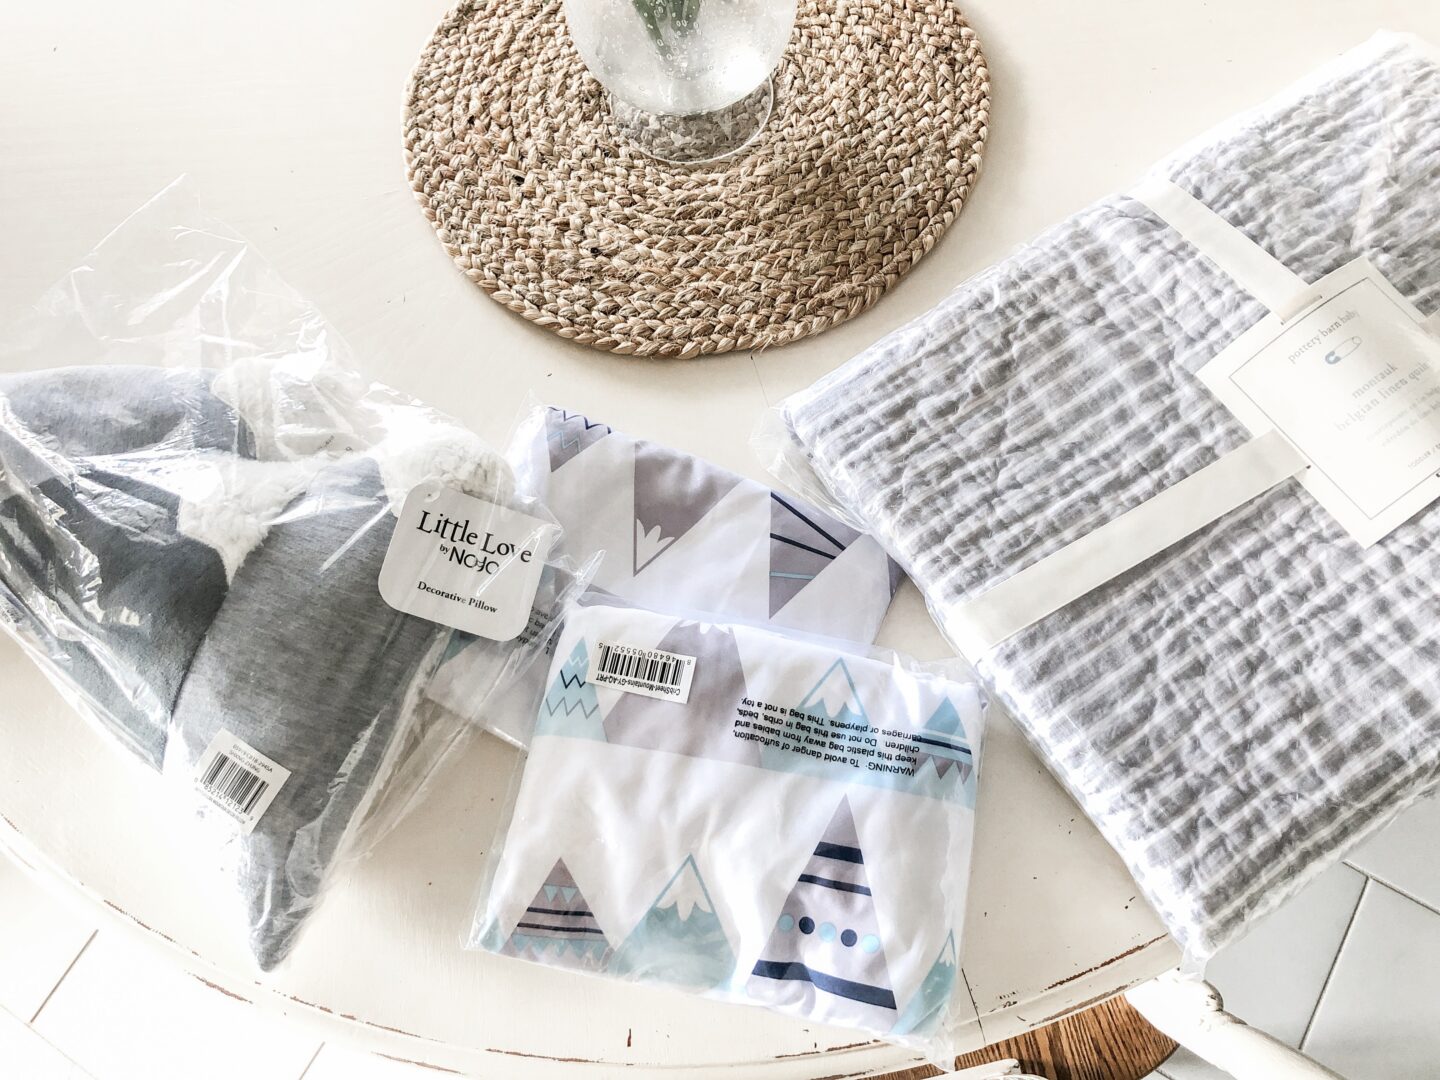
Shop this bedding set here!

I actually found the quilt I purchased on eBay for a fraction of the listed price on the Pottery Barn Kids website, so definitely check there first before you fork out $149!

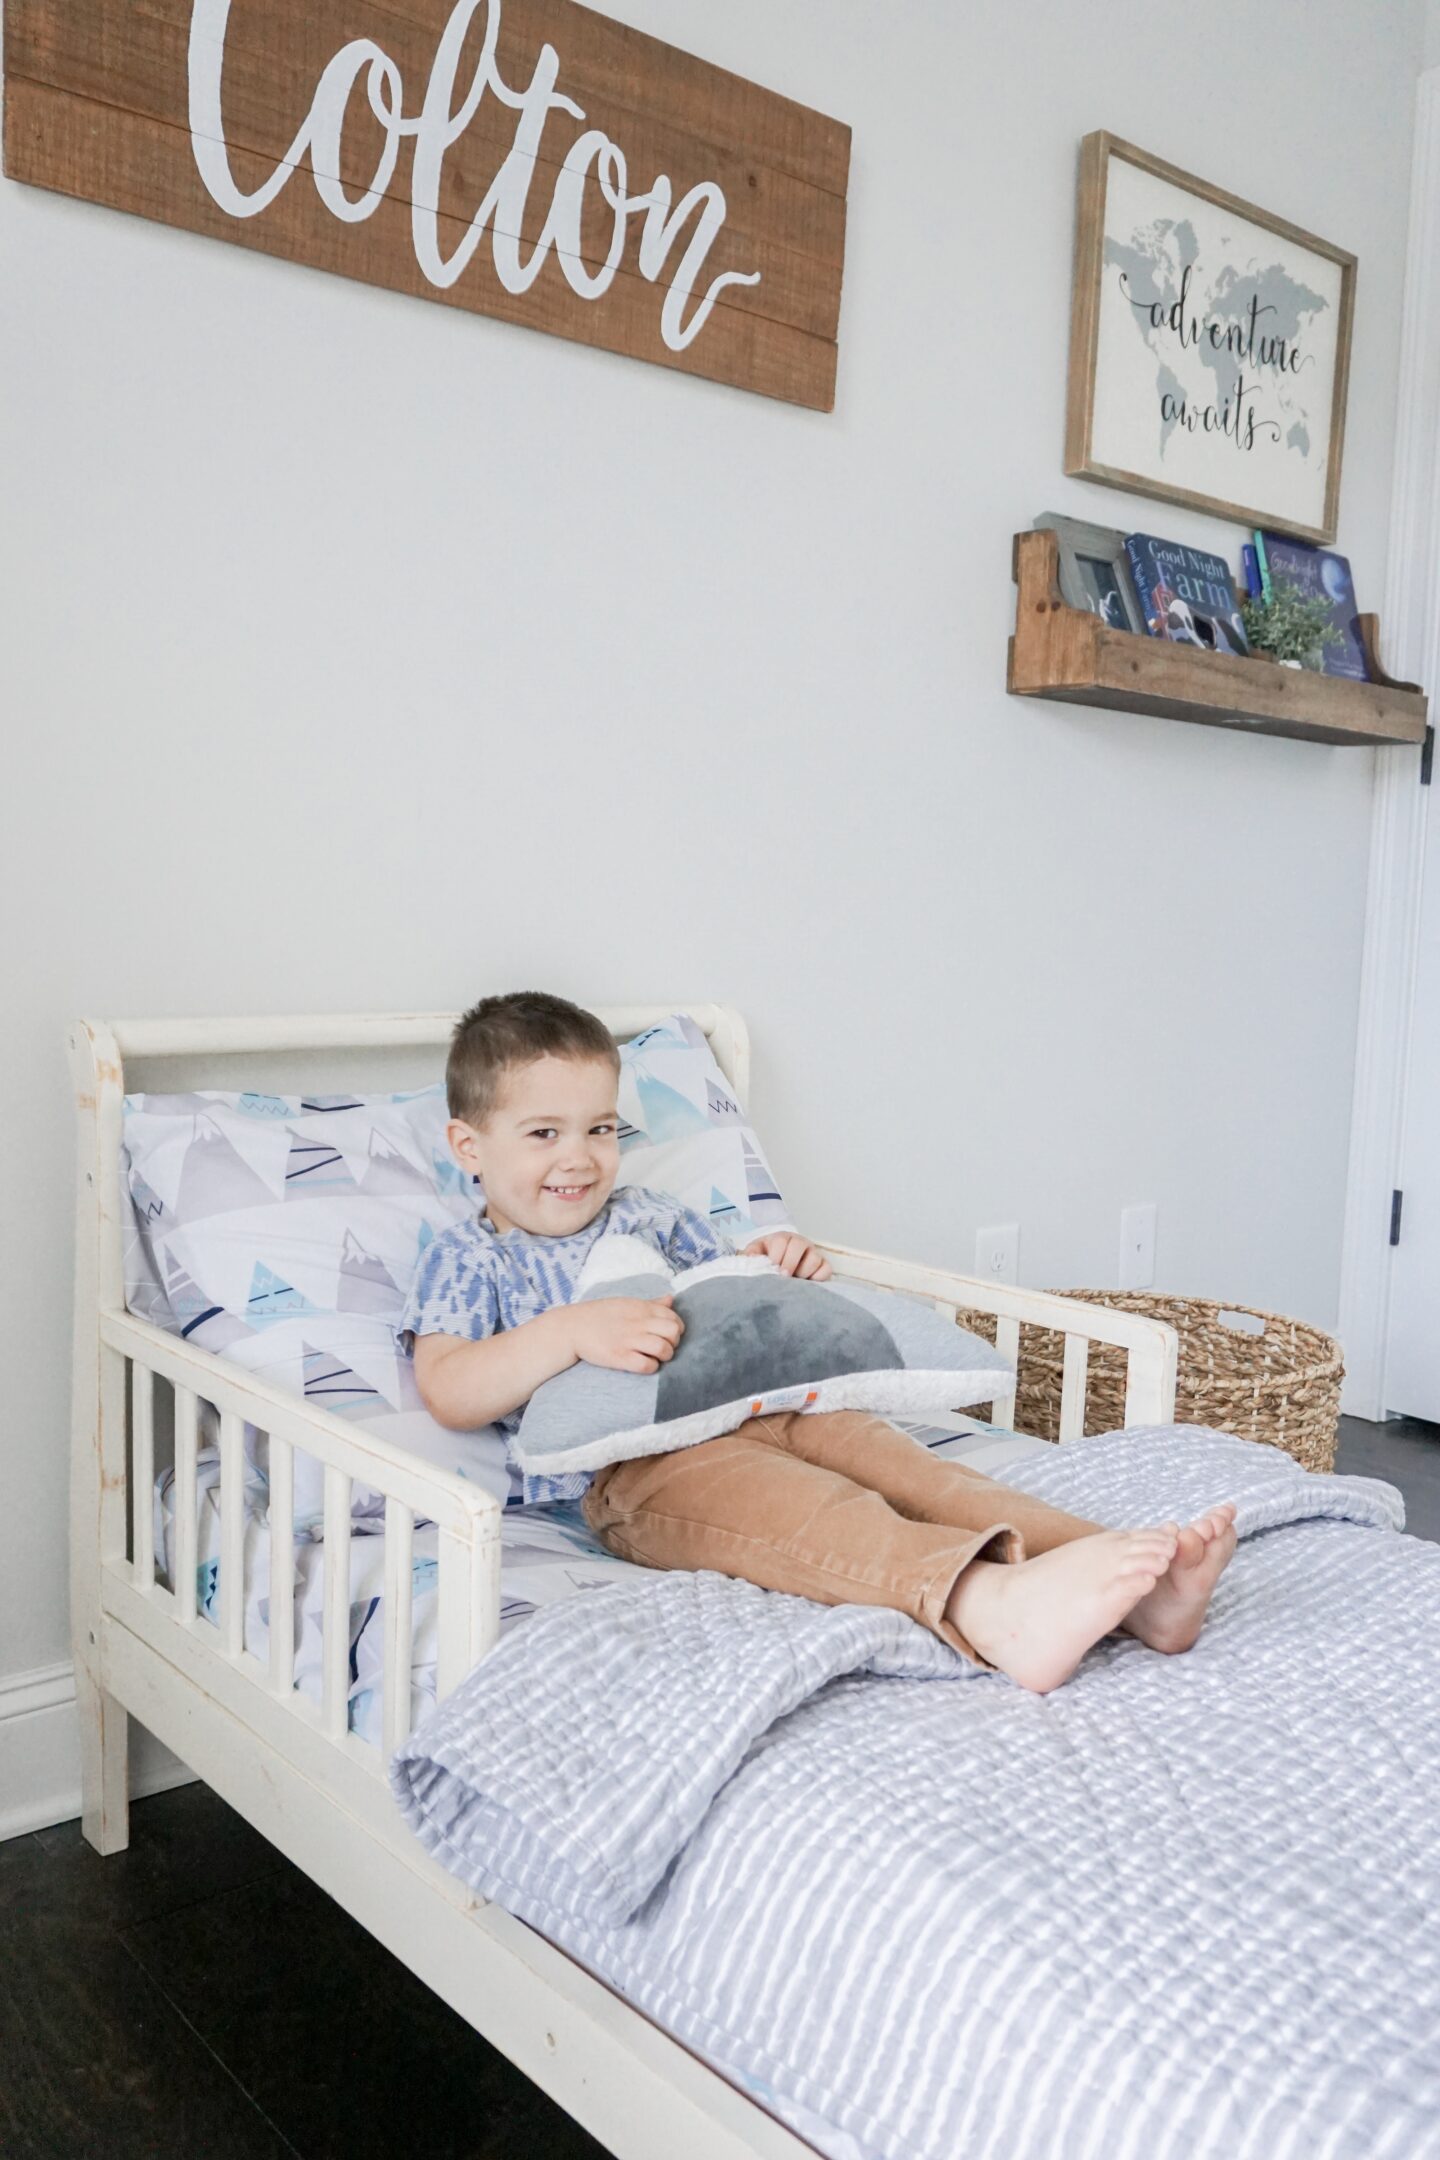
Check out how my little guy’s new bed and bedding turned out below!

And if you love my aqua curtains in this room, let me just say, they are AMAZING! They are soft, a beautiful color of minty-blue and they are also blackout curtains! Perfect for any nursery or bedroom. You can find them on Amazon here!

adventure decor, chalk paint, DIY, farmhouse decor, farmhouse nursery, farmhouse style, how to, how to chalk paint furniture, how to distress furniture, how to refinish a toddler bed, how to refinish furniture, kateschwanke, kateschwanke blog, kids room decor, linen quilt, mountain decor, nursery decor, nursery furniture, pottery barn kids, pottery barn kids montauk, ticking stripe, toddler bed, toddler bedding, toddler room decor

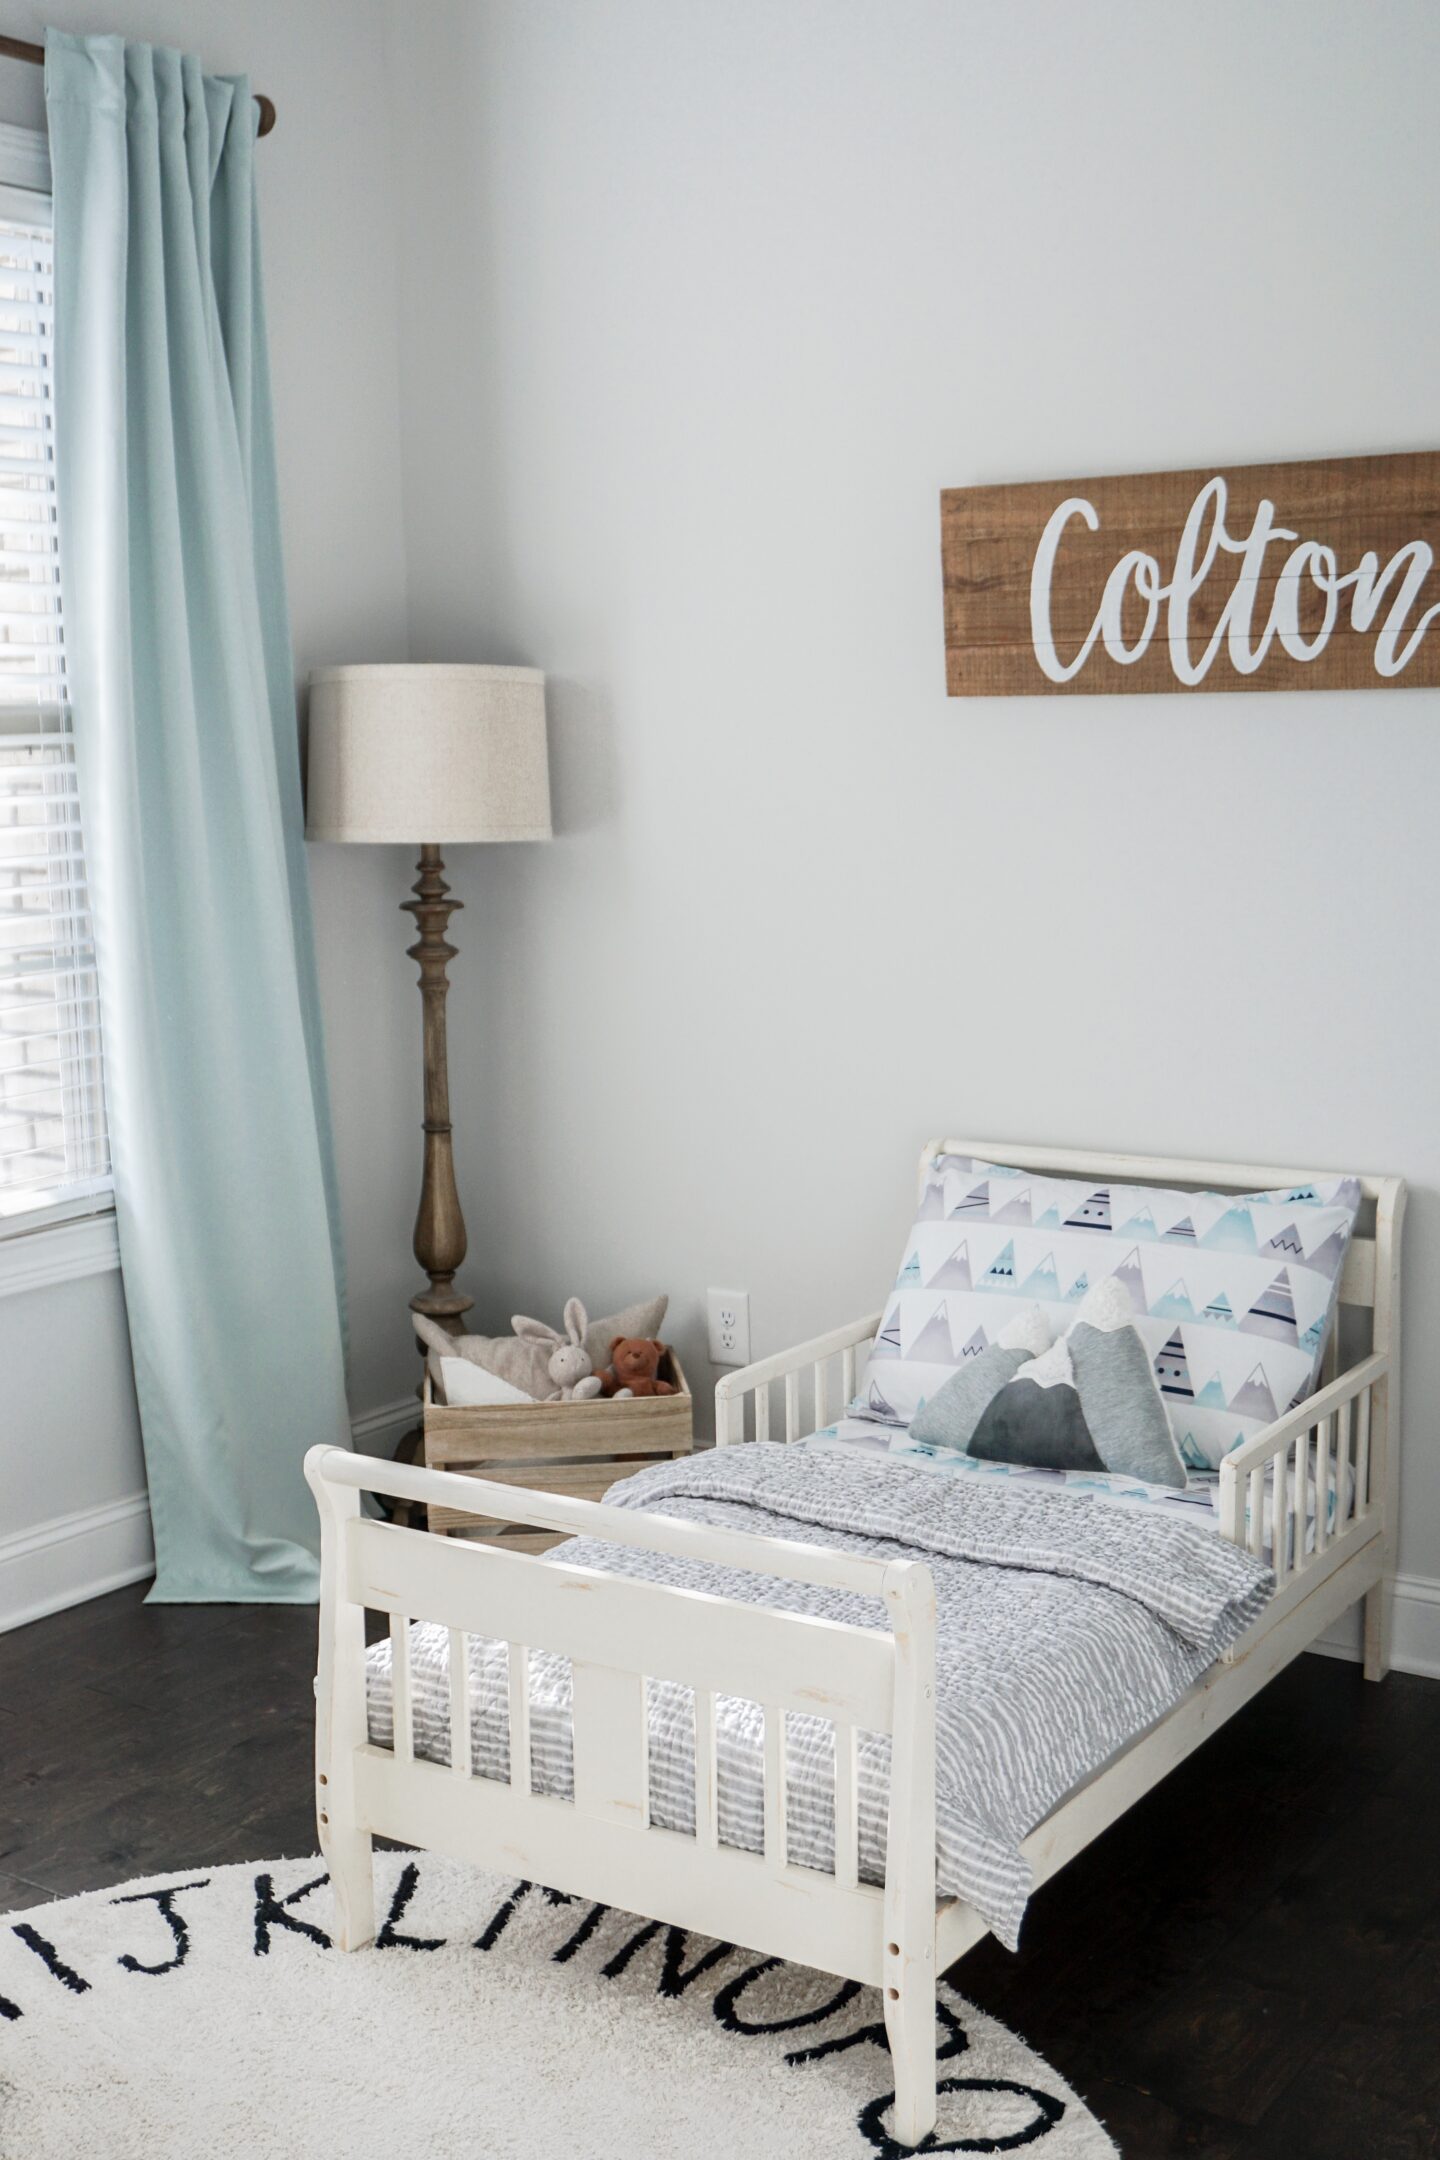
I often get asked about my ABC rug! I adore this rug because my toddler just loves his Abc’s and it’s really helped teach him letter recognition. Not to mention, it is machine washable too! If you love this rug, you can find one just like it on Amazon here!

adventure decor, chalk paint, DIY, farmhouse decor, farmhouse nursery, farmhouse style, how to, how to chalk paint furniture, how to distress furniture, how to refinish a toddler bed, how to refinish furniture, kateschwanke, kateschwanke blog, kids room decor, linen quilt, mountain decor, nursery decor, nursery furniture, pottery barn kids, pottery barn kids montauk, ticking stripe, toddler bed, toddler bedding, toddler room decor

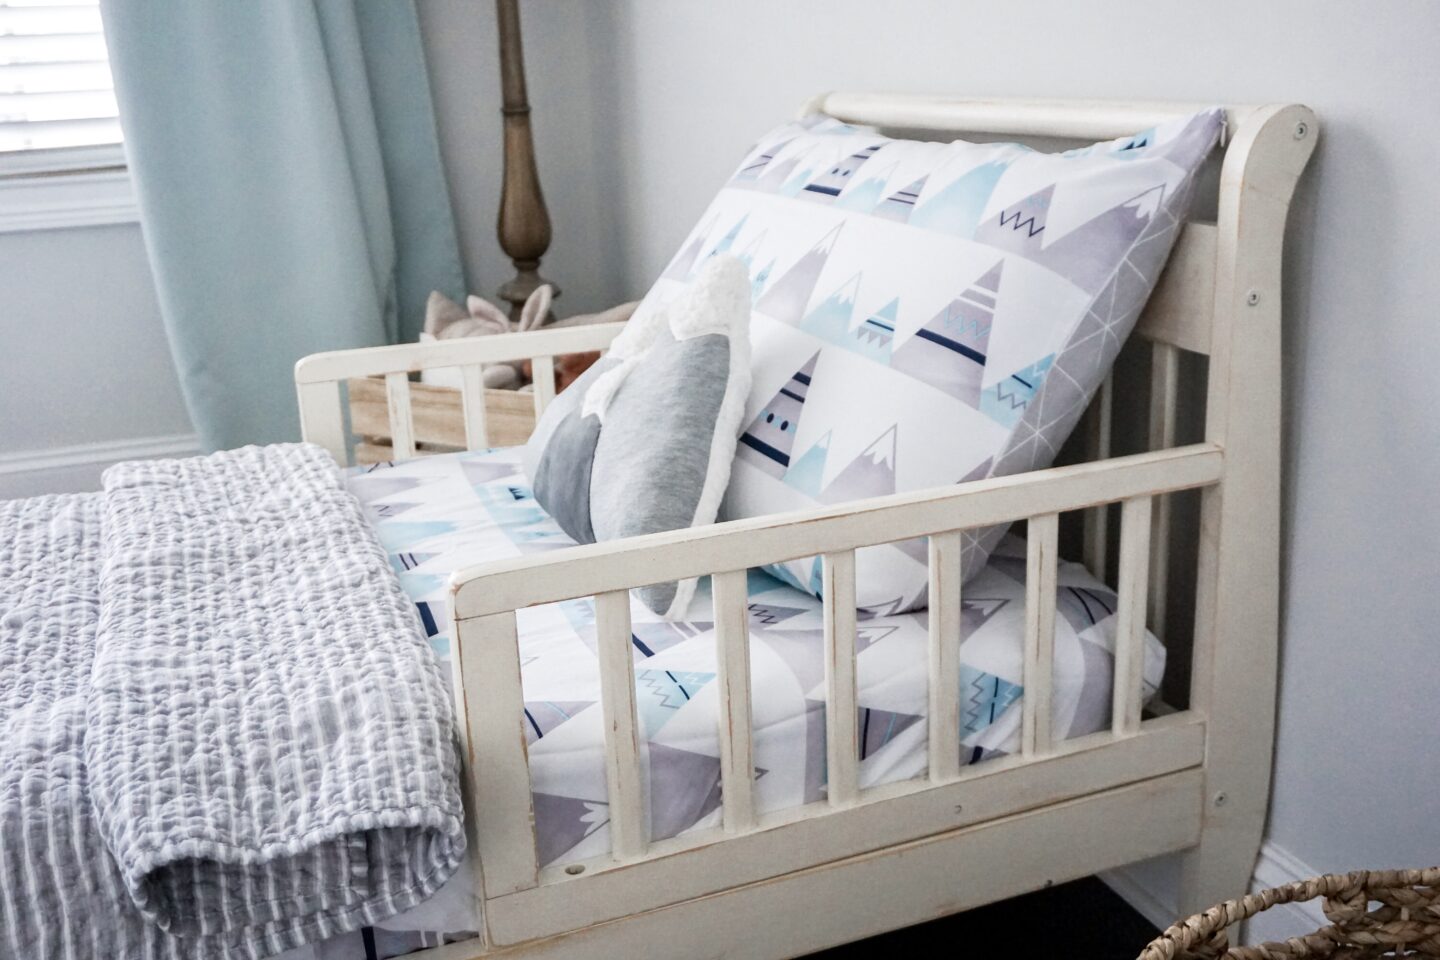
I’m just gaga over that little mountain pillow! So soft, cozy and cute!

adventure decor, chalk paint, DIY, farmhouse decor, farmhouse nursery, farmhouse style, how to, how to chalk paint furniture, how to distress furniture, how to refinish a toddler bed, how to refinish furniture, kateschwanke, kateschwanke blog, kids room decor, linen quilt, mountain decor, nursery decor, nursery furniture, pottery barn kids, pottery barn kids montauk, ticking stripe, toddler bed, toddler bedding, toddler room decor

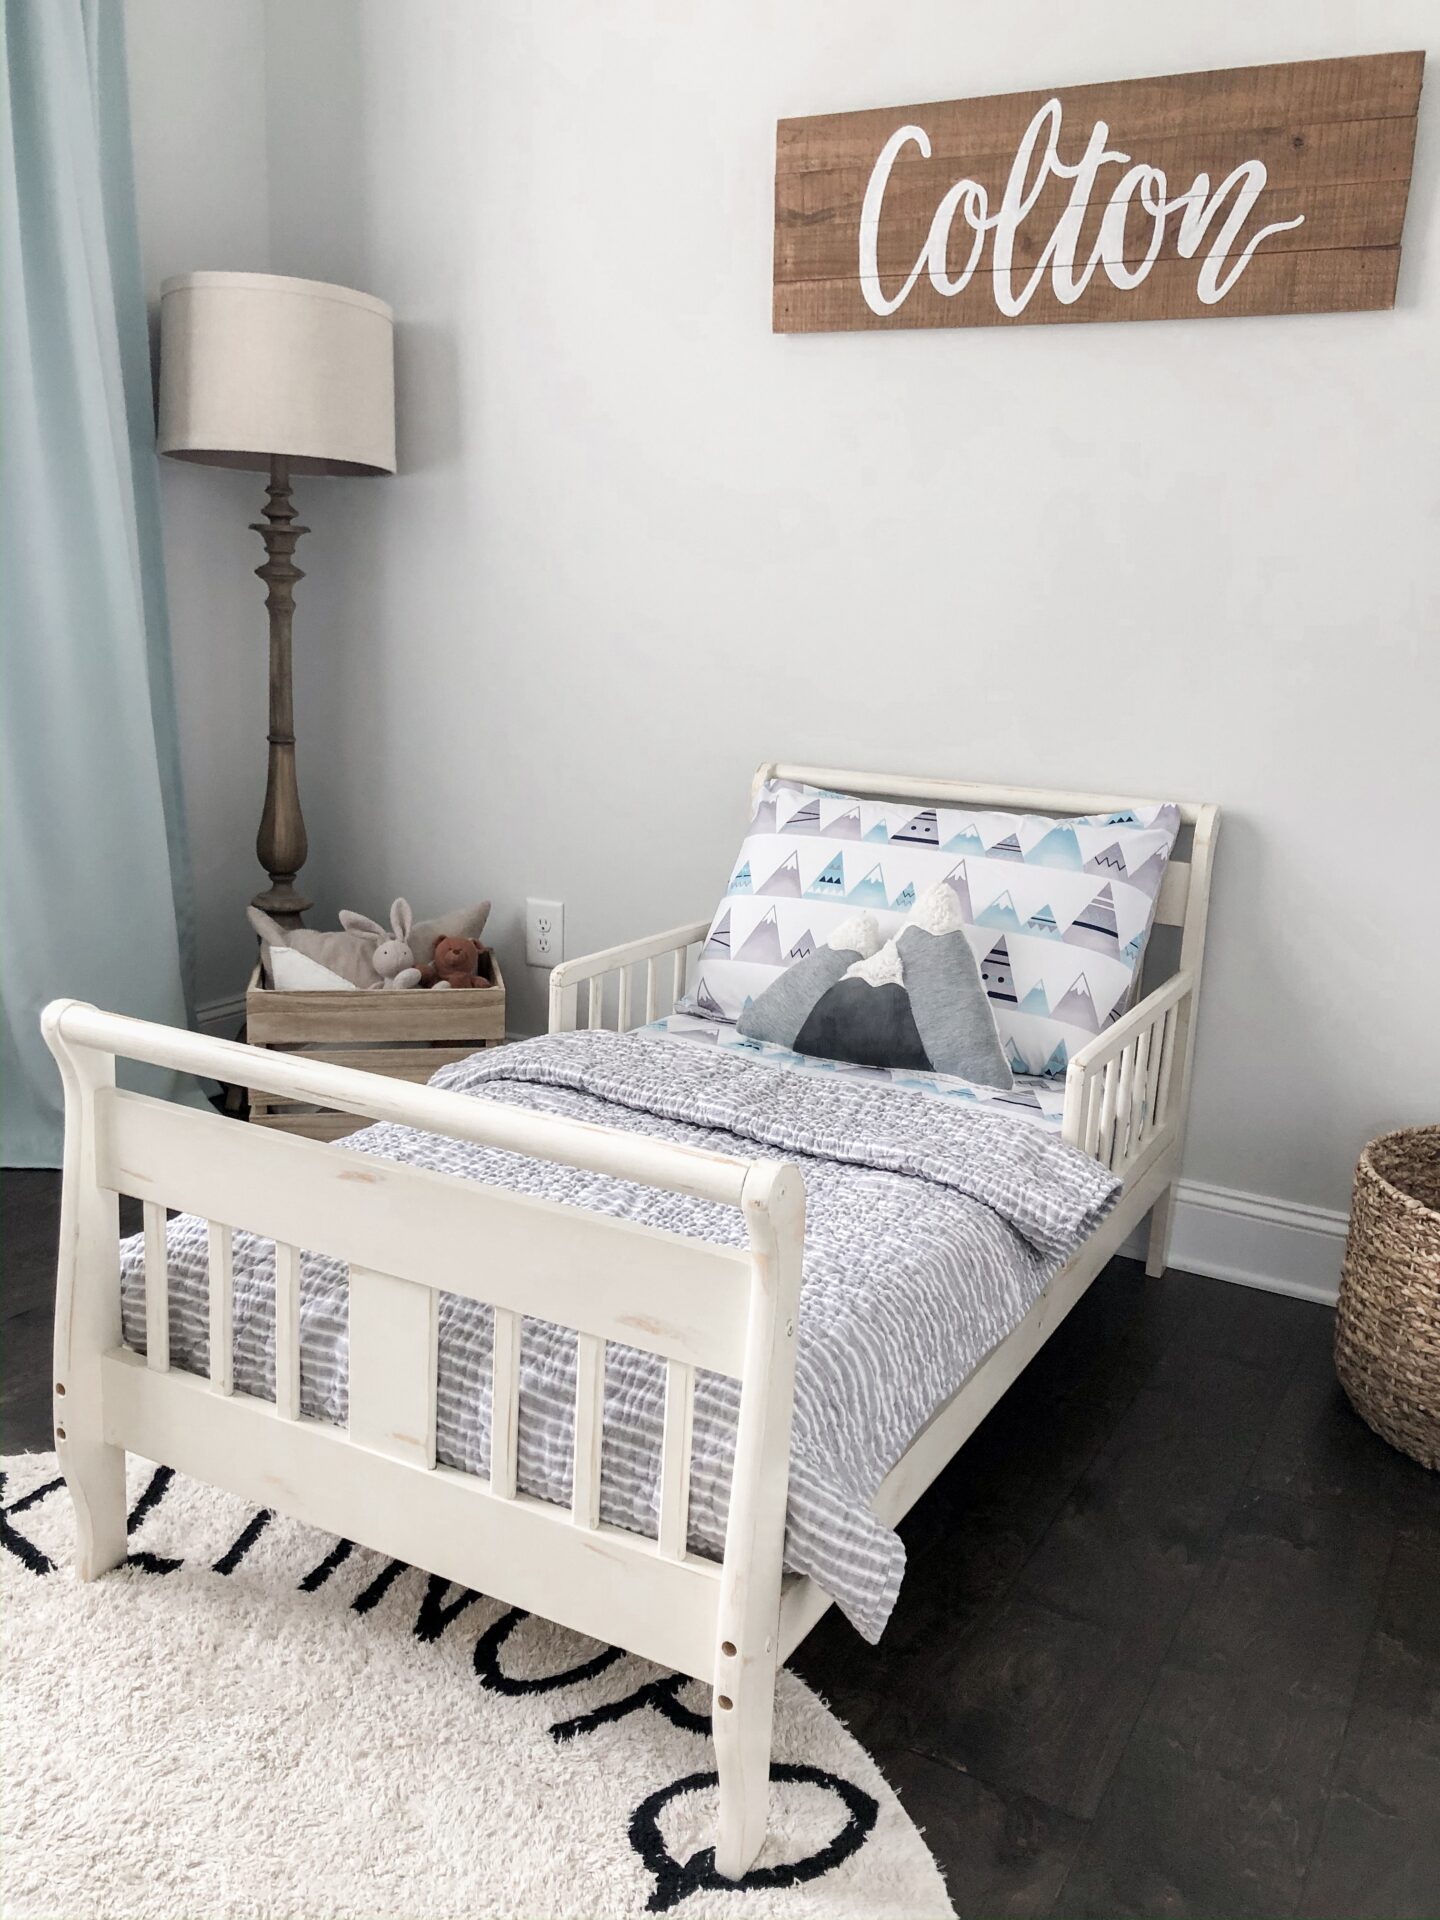
As you can see, my little guy LOVES his new bedroom! And I couldn’t be happier with how it all turned out. I hope this blog post helped you learn how to refinish your own toddler bed! Let me know what you thought of this project down in the comments below!

adventure decor, chalk paint, DIY, farmhouse decor, farmhouse nursery, farmhouse style, how to, how to chalk paint furniture, how to distress furniture, how to refinish a toddler bed, how to refinish furniture, kateschwanke, kateschwanke blog, kids room decor, linen quilt, mountain decor, nursery decor, nursery furniture, pottery barn kids, pottery barn kids montauk, ticking stripe, toddler bed, toddler bedding, toddler room decor

Love DIY Projects like this one? Check out how I refinished my dining room chairs at this post!

adventure decor, chalk paint, DIY, farmhouse decor, farmhouse nursery, farmhouse style, how to, how to chalk paint furniture, how to distress furniture, how to refinish a toddler bed, how to refinish furniture, kateschwanke, kateschwanke blog, kids room decor, linen quilt, mountain decor, nursery decor, nursery furniture, pottery barn kids, pottery barn kids montauk, ticking stripe, toddler bed, toddler bedding, toddler room decor
Follow:
Share:
This post contains Amazon Affiliate Links to my Amazon Shop. When you shop through these links I earn a small percentage of the sale. Thank you for your support!

2 Comments

  1. Terrilyn Hayward
    November 25, 2019 / 11:24 AM

    Thank you for another awesome post!

    How much paint did you use for this project? I’d like to use your instructions to refinish my coffee table, end tables and sofa table but unsure how much to purchase.

    • kateschwanke
      Author
      November 25, 2019 / 11:52 PM

      Thank you! For this project, I really only needed a pint of the chalk paint. To cover all of the pieces you would like to paint, I would suggest purchasing the Quart sized can. Hope that helps!

Popular on YouTube

Subscribe!