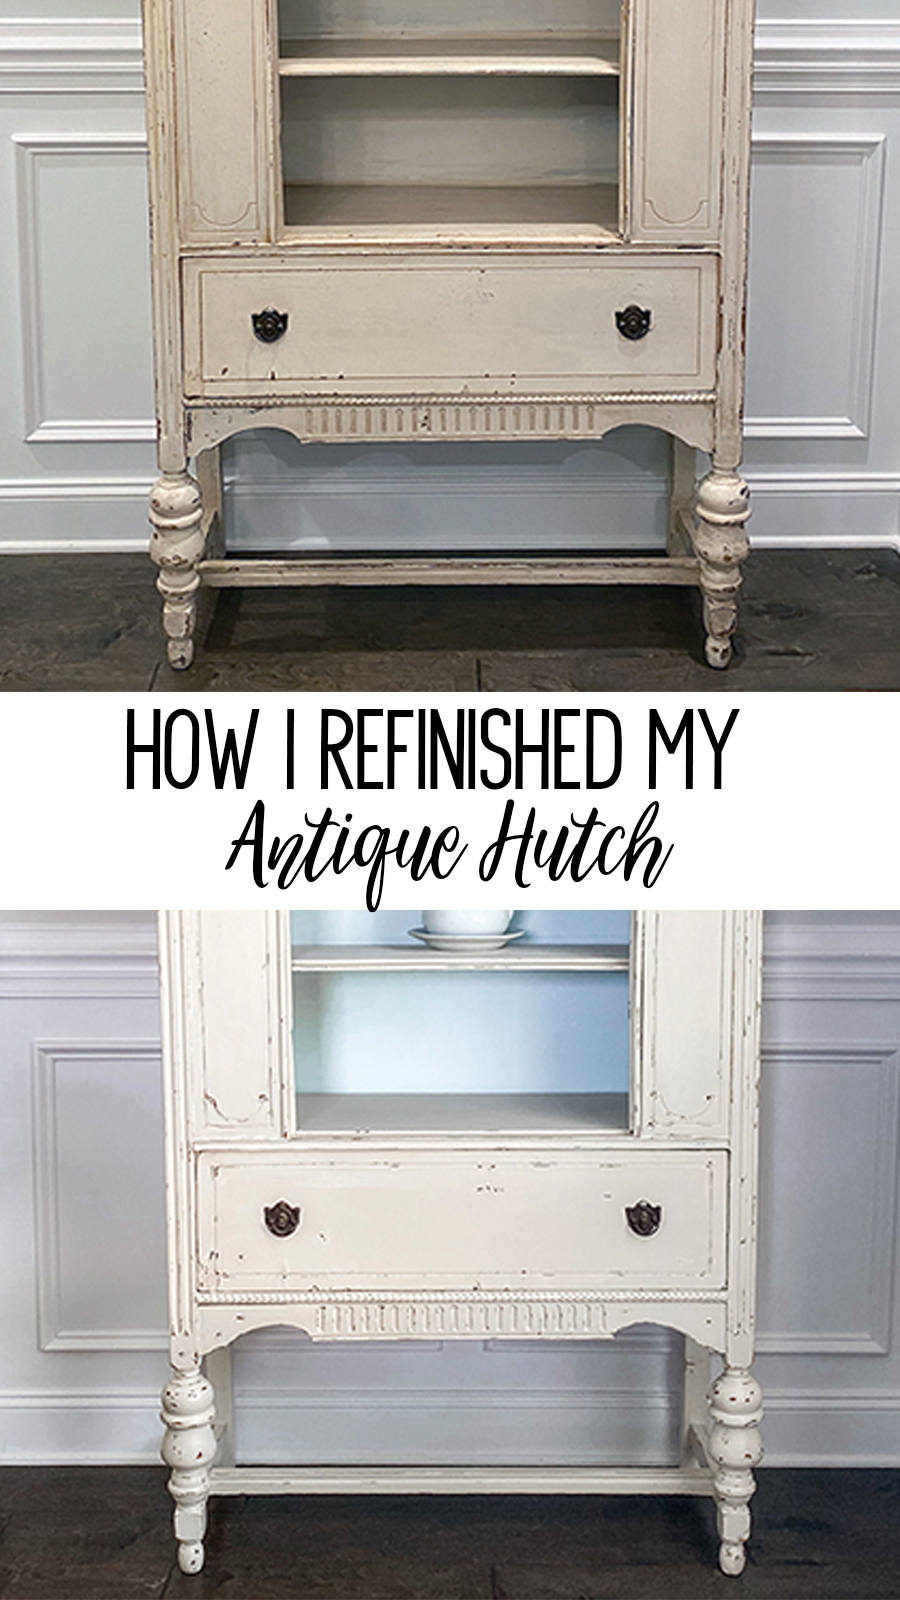
Hi, friends! Welcome back to my Blog. I recently purchased an antique hutch that I thought was going to look just fine with my dining room decor, but when I got it home…It was just NOT the right color! So, today I am going to show you how quickly a little bit of Chalk Paint can transform a piece of furniture from drab to fab. Read along to see how I refinished my antique hutch with chalk paint.
Story Time
First, I want to tell you a little back story on this piece. There is a great Antique’s & Thrift type of place out here in Clarksville, TN called Warehouse 41 Vintage Market. About 2 years ago, my Mom and I were shopping for a fabulous piece to put in front of my giant air intake on the wall to kind of hide it because, well, air intakes on walls are just an eyesore lol! We decided to go with something else, but initially, we saw this beautiful hutch and passed it up because the bottom of it wasn’t high enough to let air come and go freely from the vent.
The Hutch
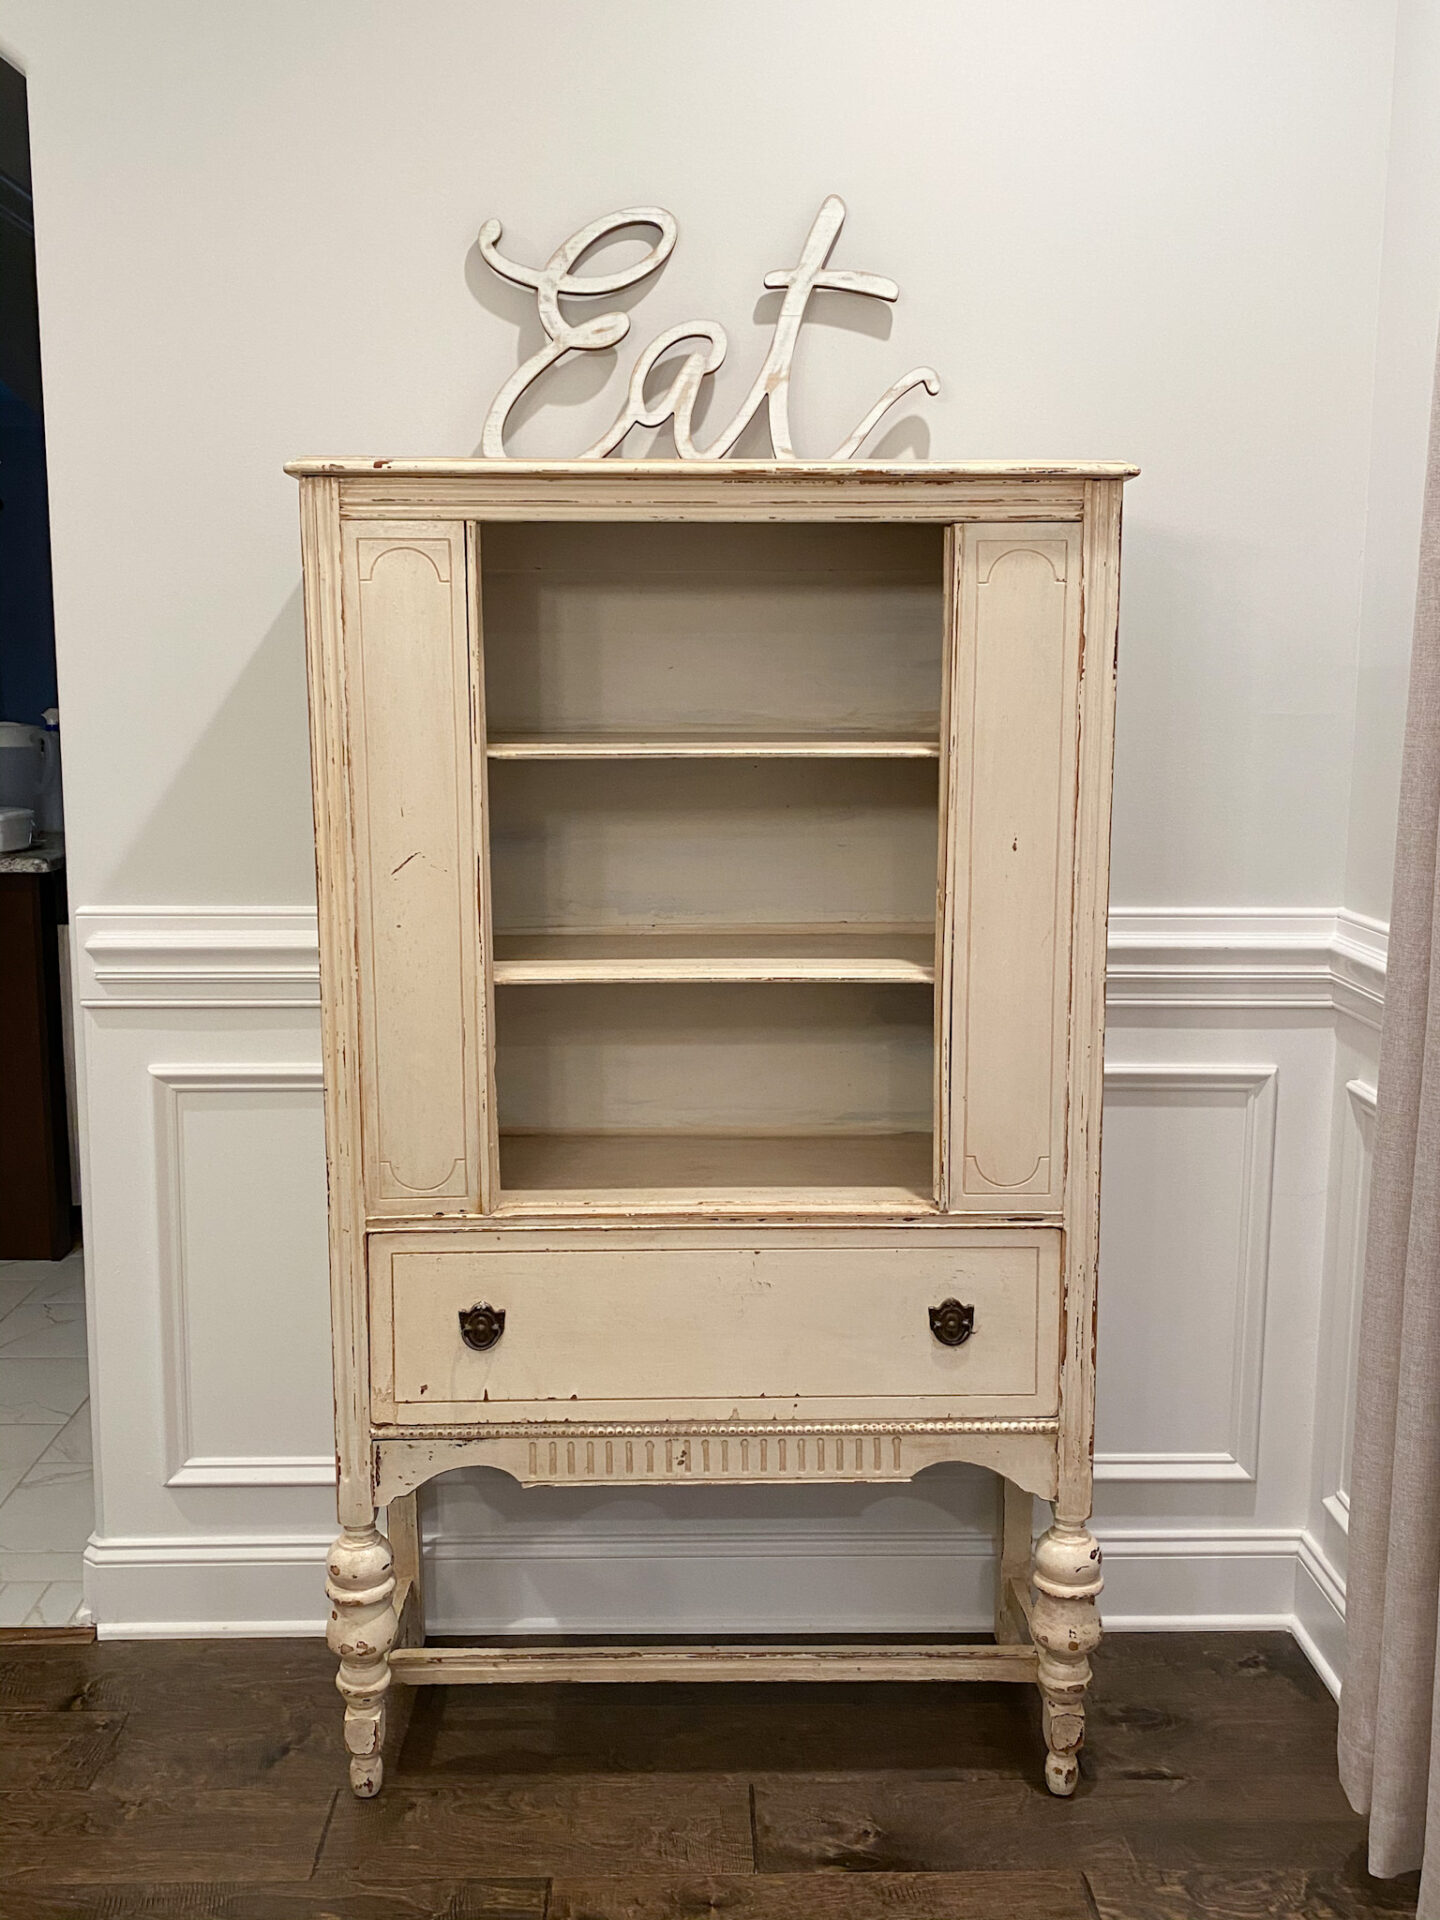
About a month ago, I realized that a hutch like this one was just what we needed for a small wall in my dining room. Funny enough, this same hutch was STILL available after two years! If that’s not meant to be, I don’t know what is. So after a shopping trip around town, this beauty came home with me. Once I got it home, it quickly became clear that it was not the right color for my dining room, even though it appeared to be the right color in the store!
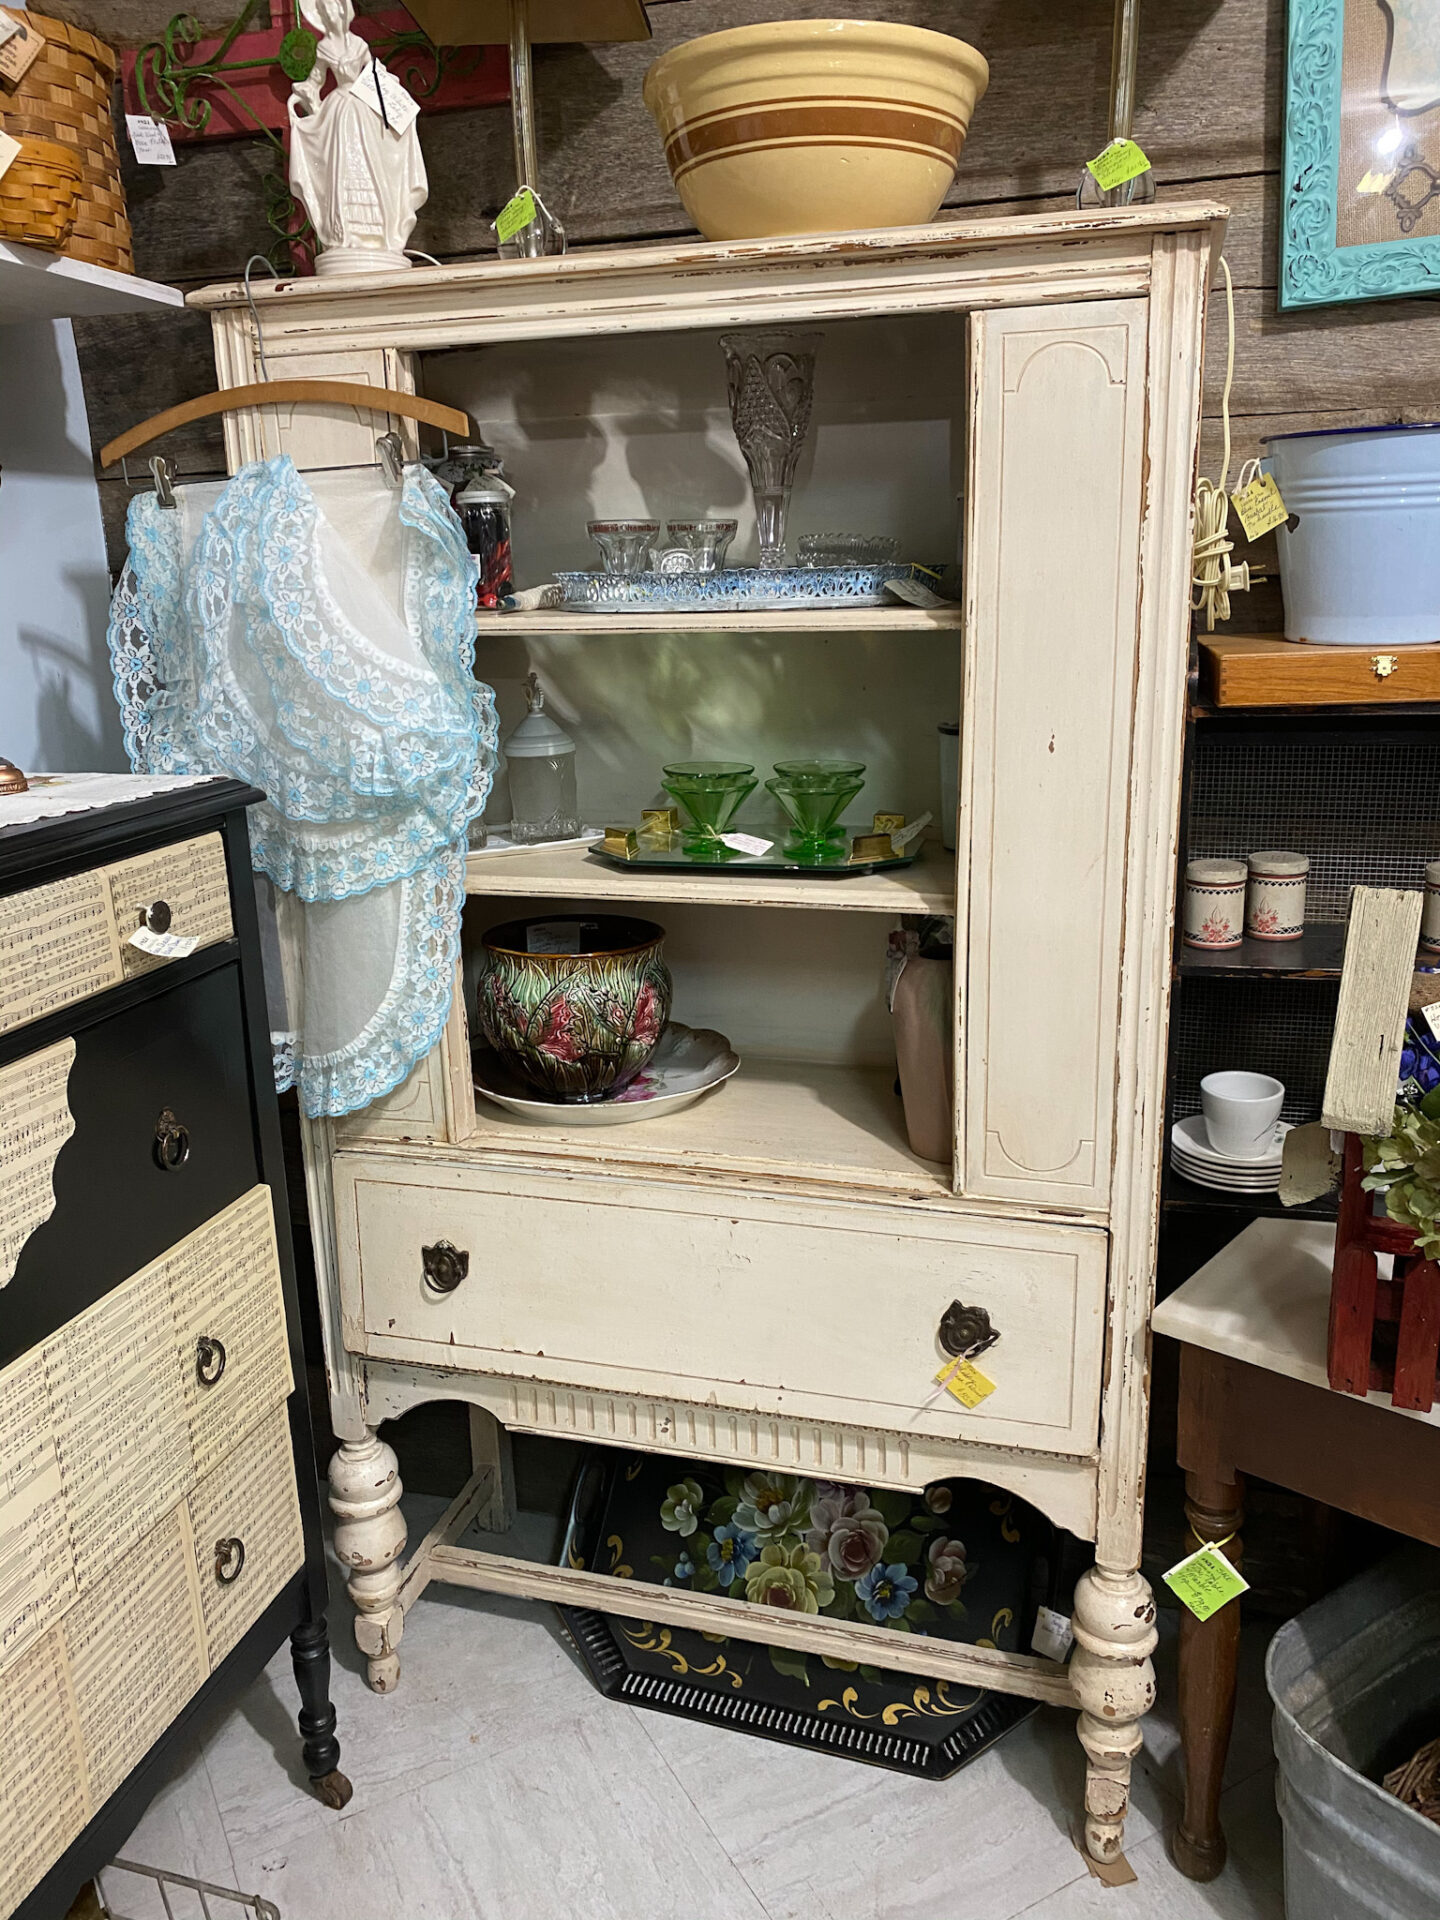
The hutch was a deeper cream and also much more distressed than the rest of my furniture in the dining room. So, I grabbed my phone for “before” pictures, then grabbed my paint and got to work.
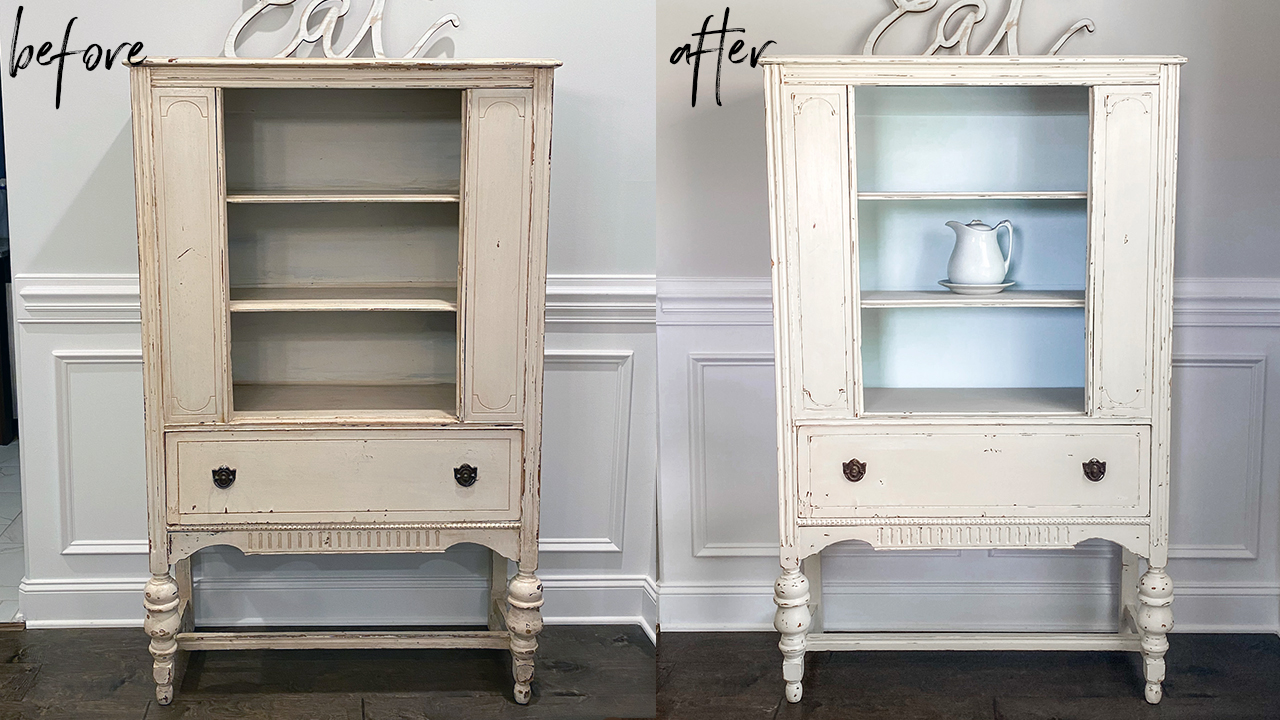
The Before Pictures
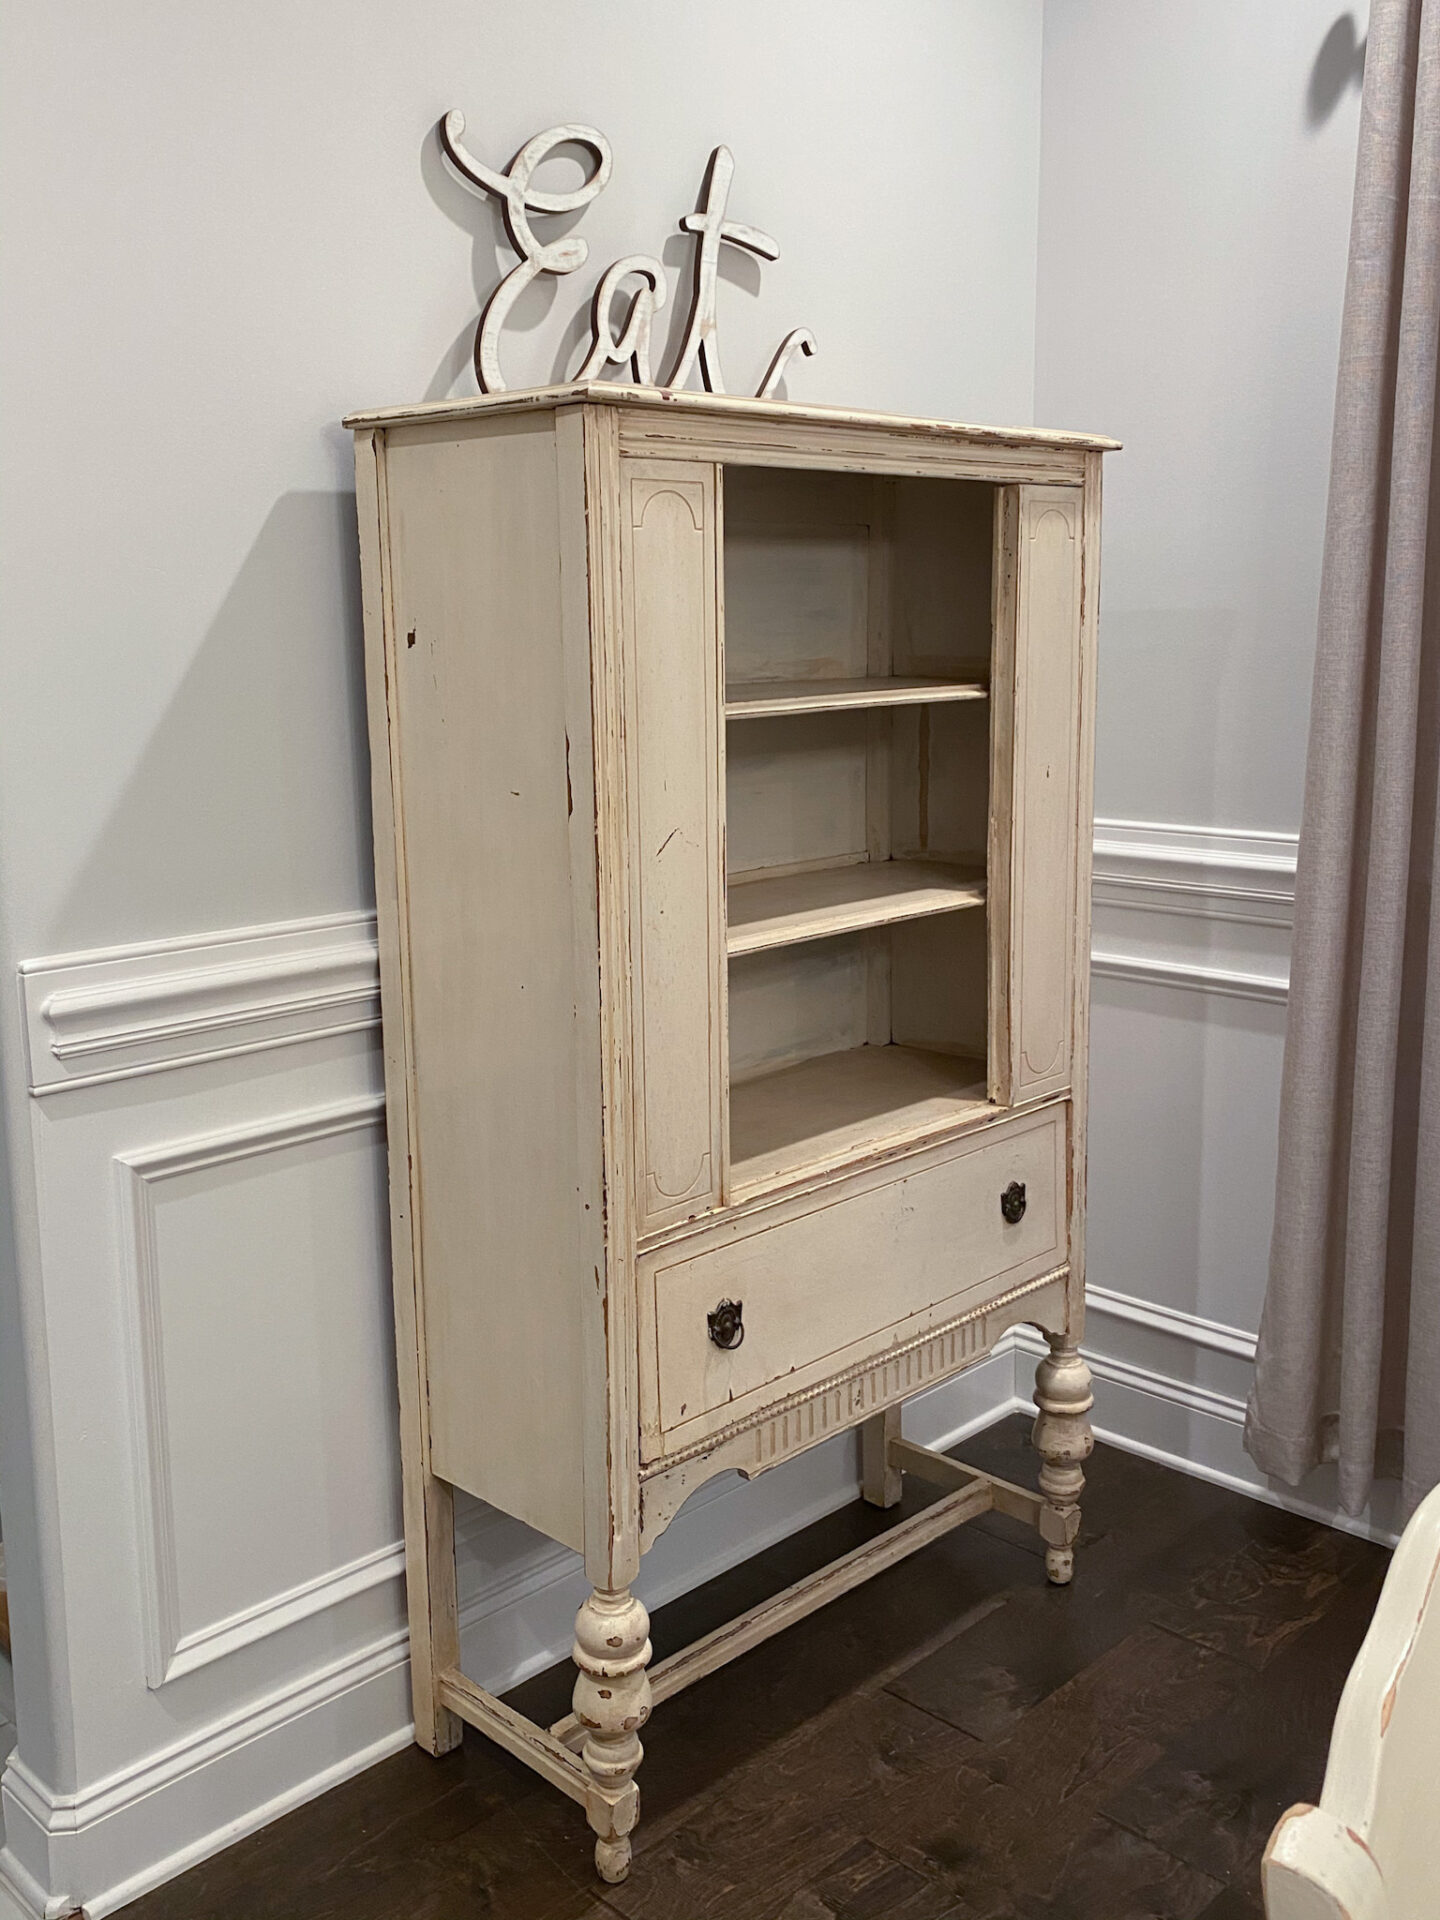

I could tell that someone put a lot of work into making this piece look this way. I could tell they used dark wax, chalk paint, and a sander to make this look. Knowing all this, I really do hate covering up someone else’s hard work…but this was my piece now, and the way it was just clashed with my decor. So out came my necessities for refinishing furniture.
What I used to refinish my hutch
- Renaissance Furniture Paint in your choice of color (there are tons!)
- Mouse Sander
- Satin Polyacrylic
- Chalk Paint Brush
- Paintbrush
Literally, that is all I used for this project and all I needed! It was a super simple project and I can’t wait to share the results with you because the transformation was beautiful.
Step 1: Paint
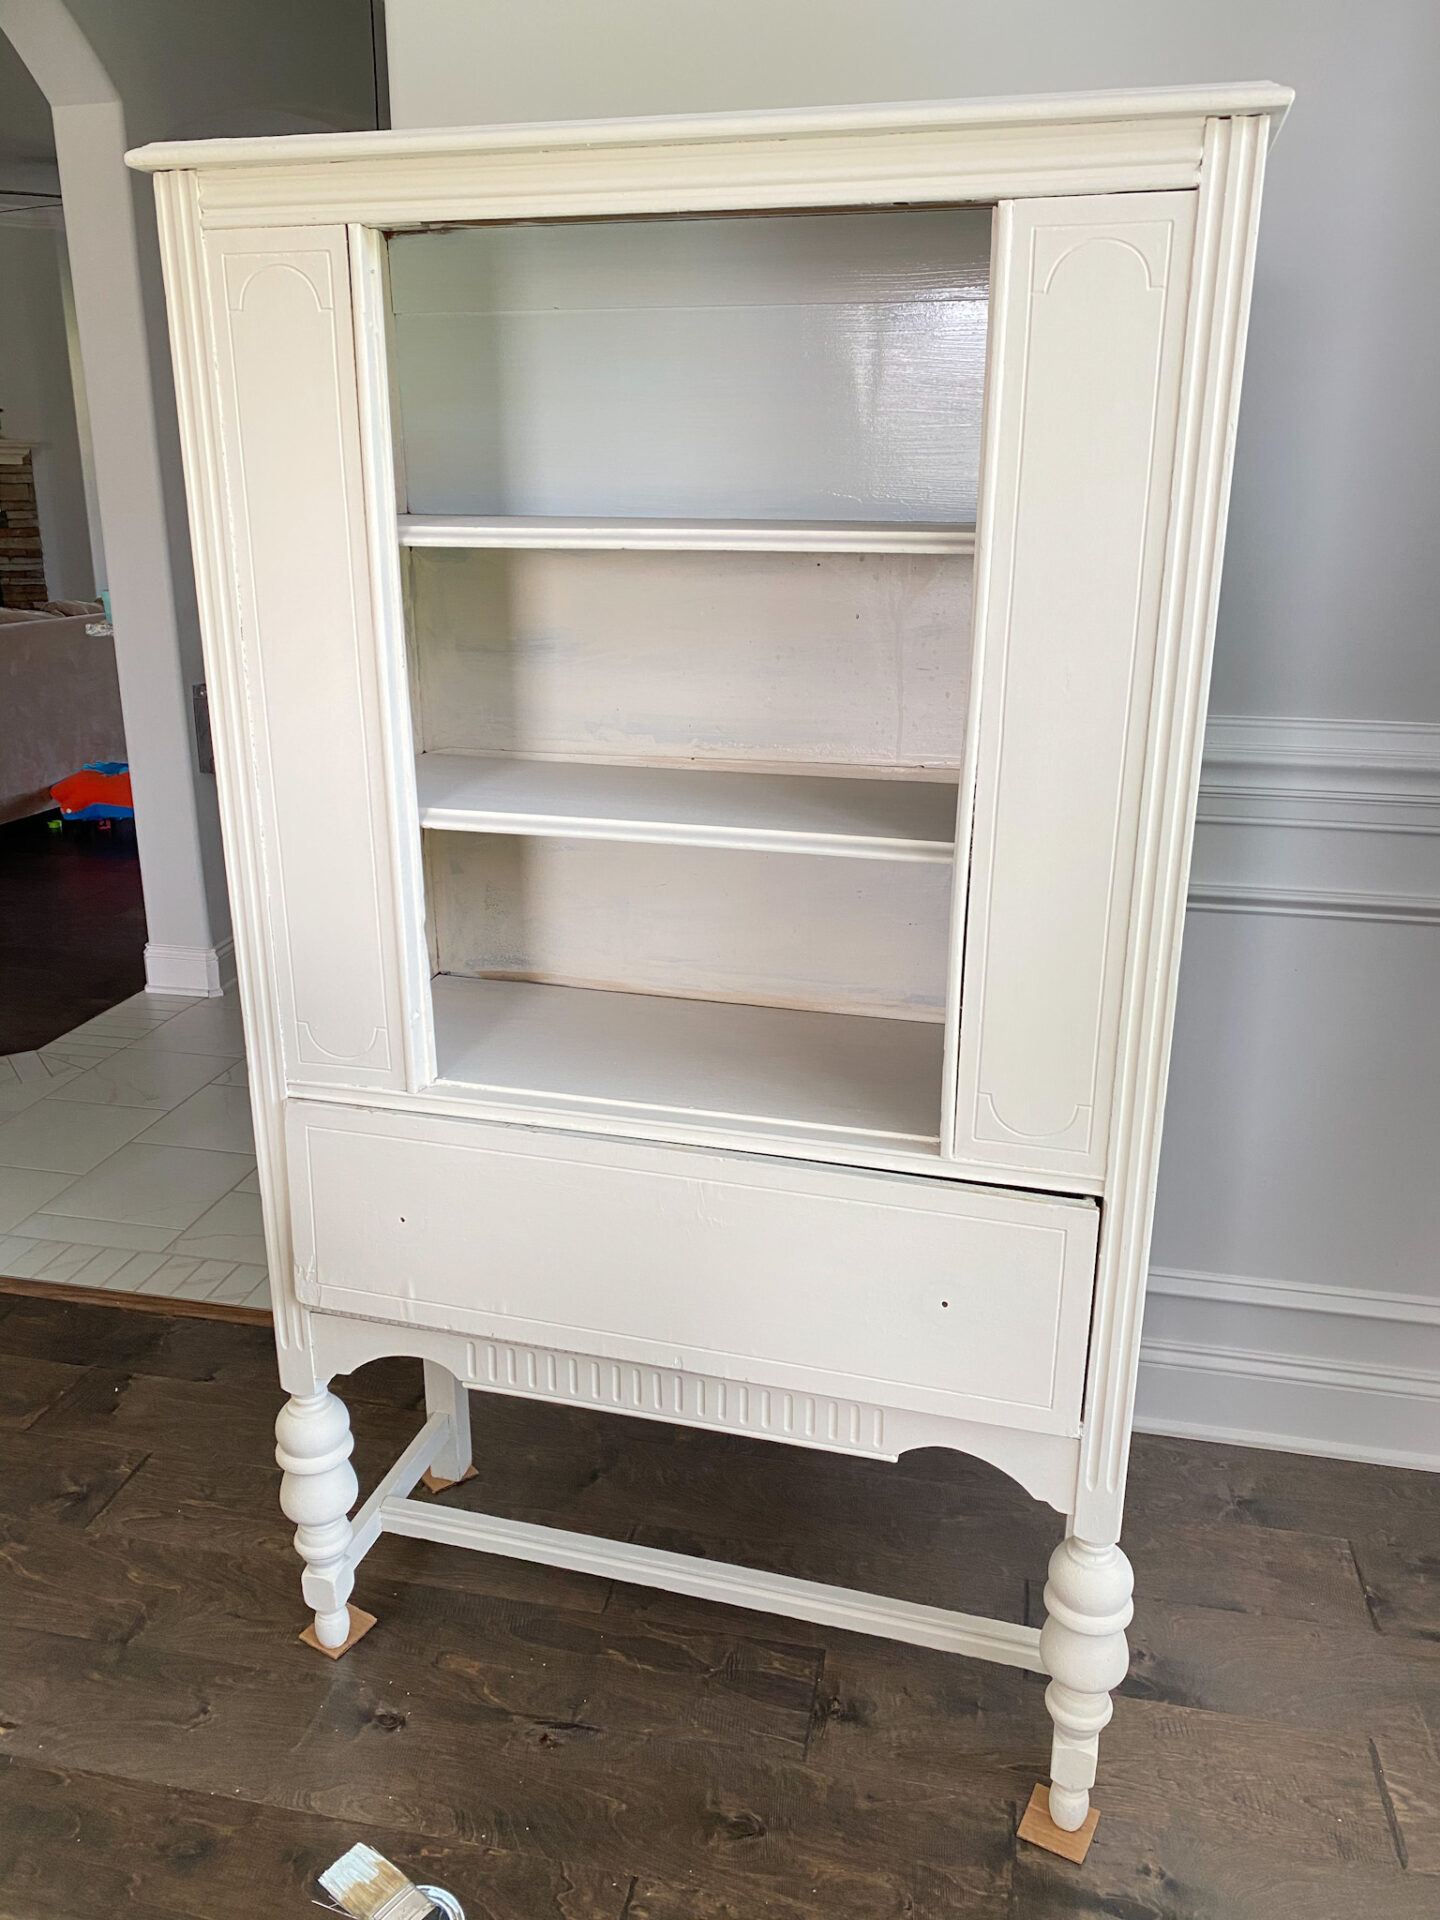
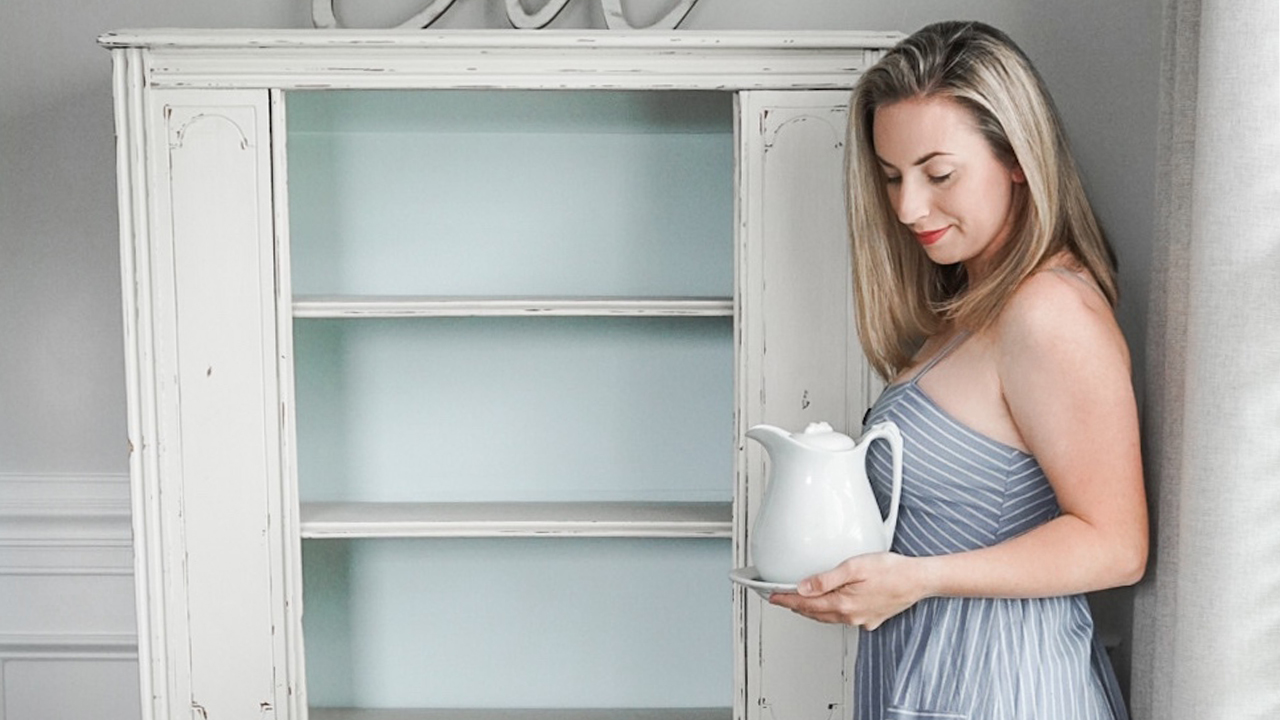
After ONE coat of the Renaissance Furniture Paint with my chalk paint brush I was already half-way done with this project. This is one of the reasons I love this paint so much. It is also fast-drying, non-toxic, and super easy to apply. I use the color Ivory Tower on all of my dining room furniture for reference. I also took this opportunity to try out a new color from Renaissance Furniture Paint for the backboard of this hutch, which is Innocence. Innocence is a very pale and soft aqua color.

The pale aqua turned out so pretty, you guys! I did do three coats of this color to really make it pop, though. Already the difference between how this piece looked before and how it looks here is night and day.
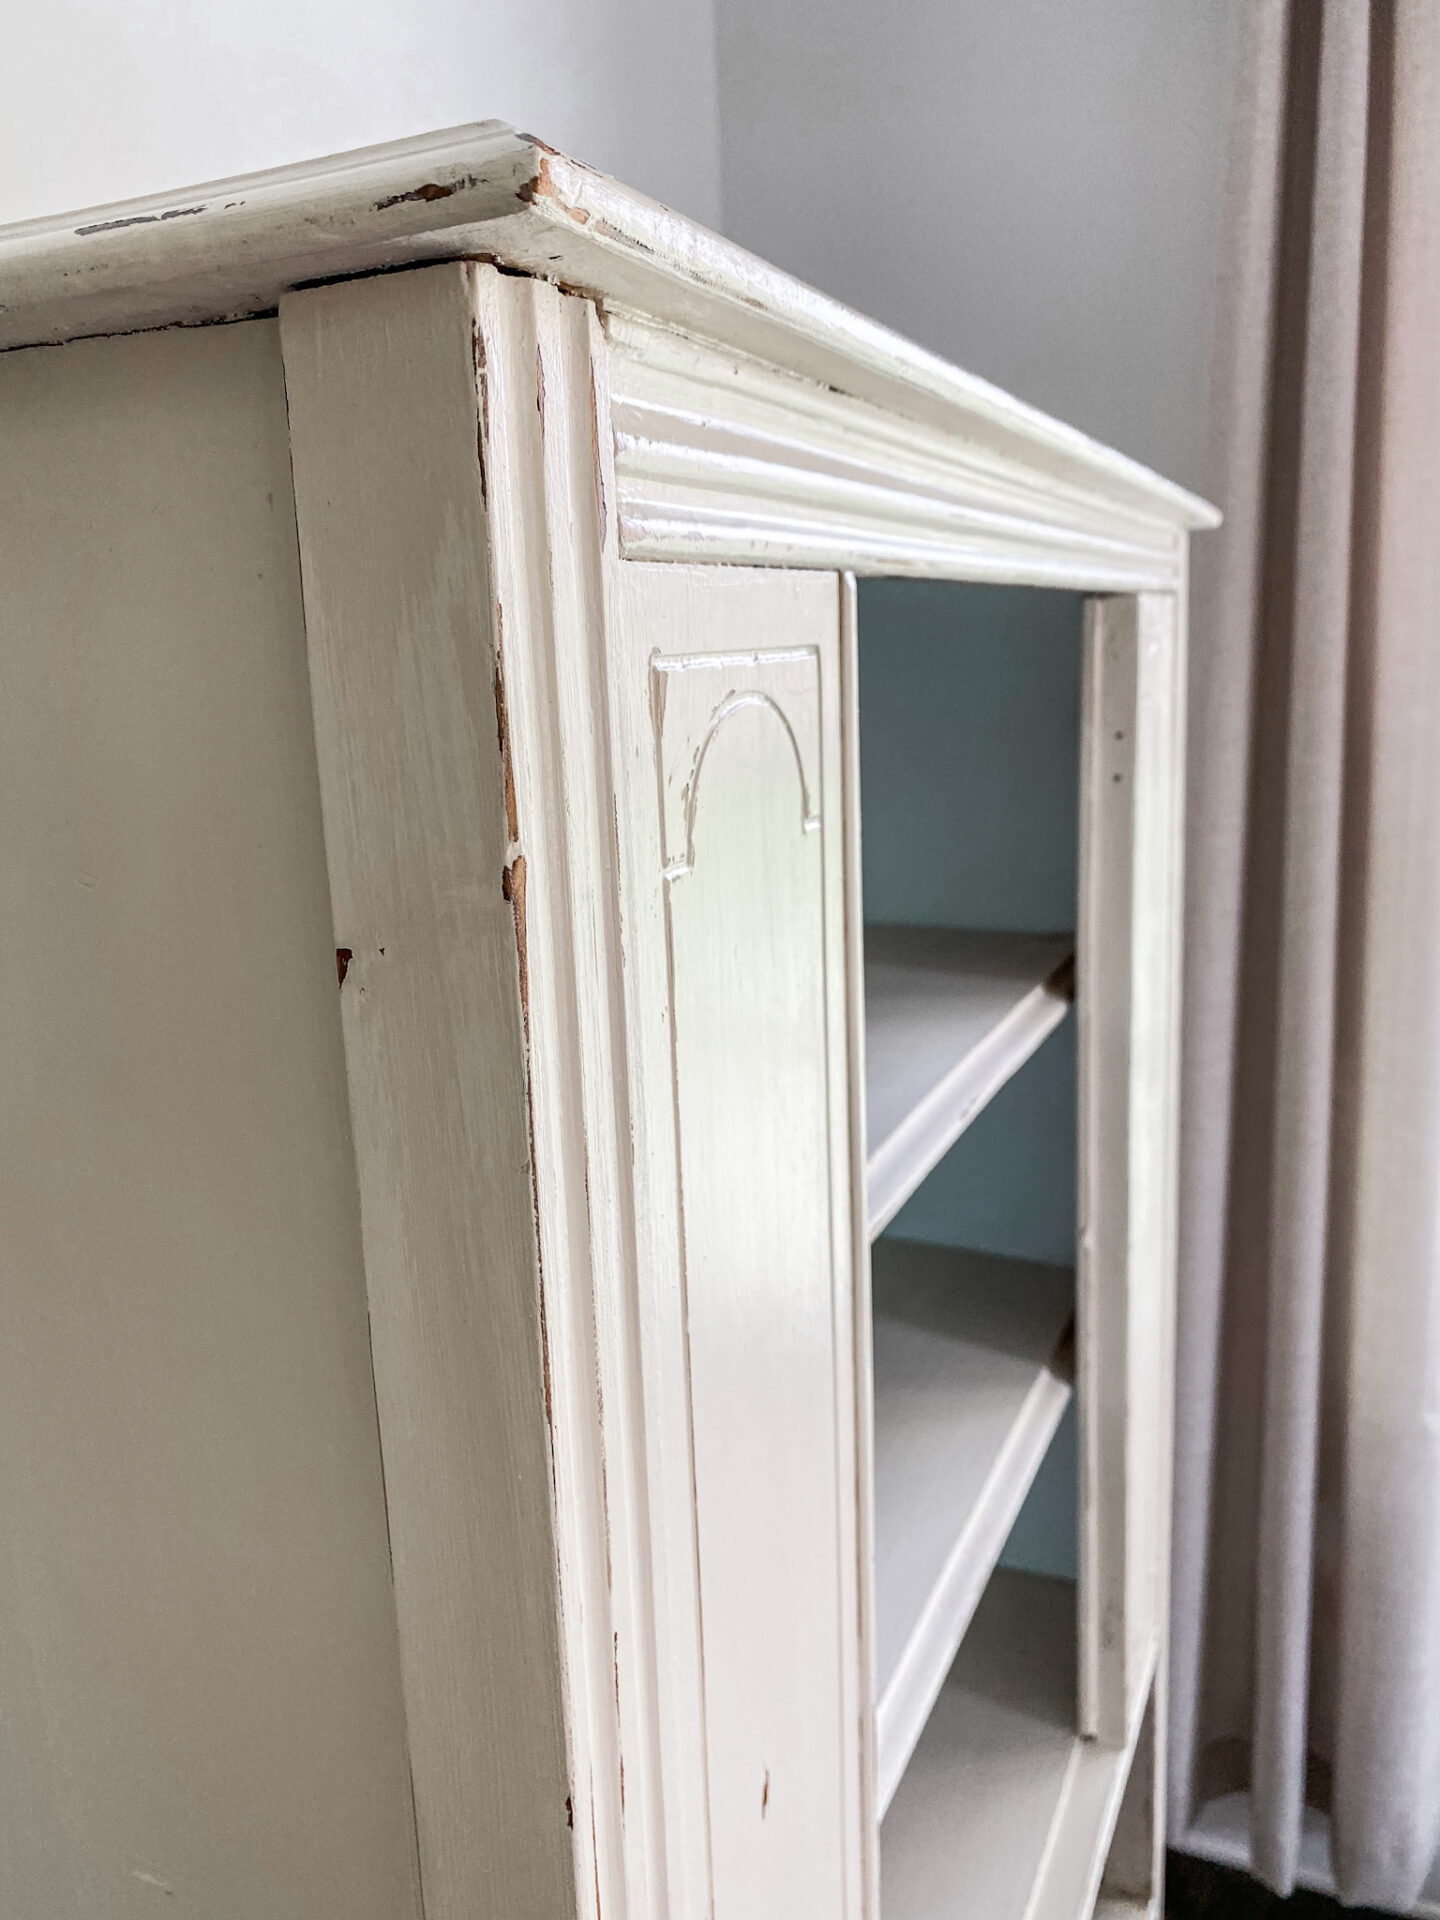
Step 2: Distressing – It’s all in the details
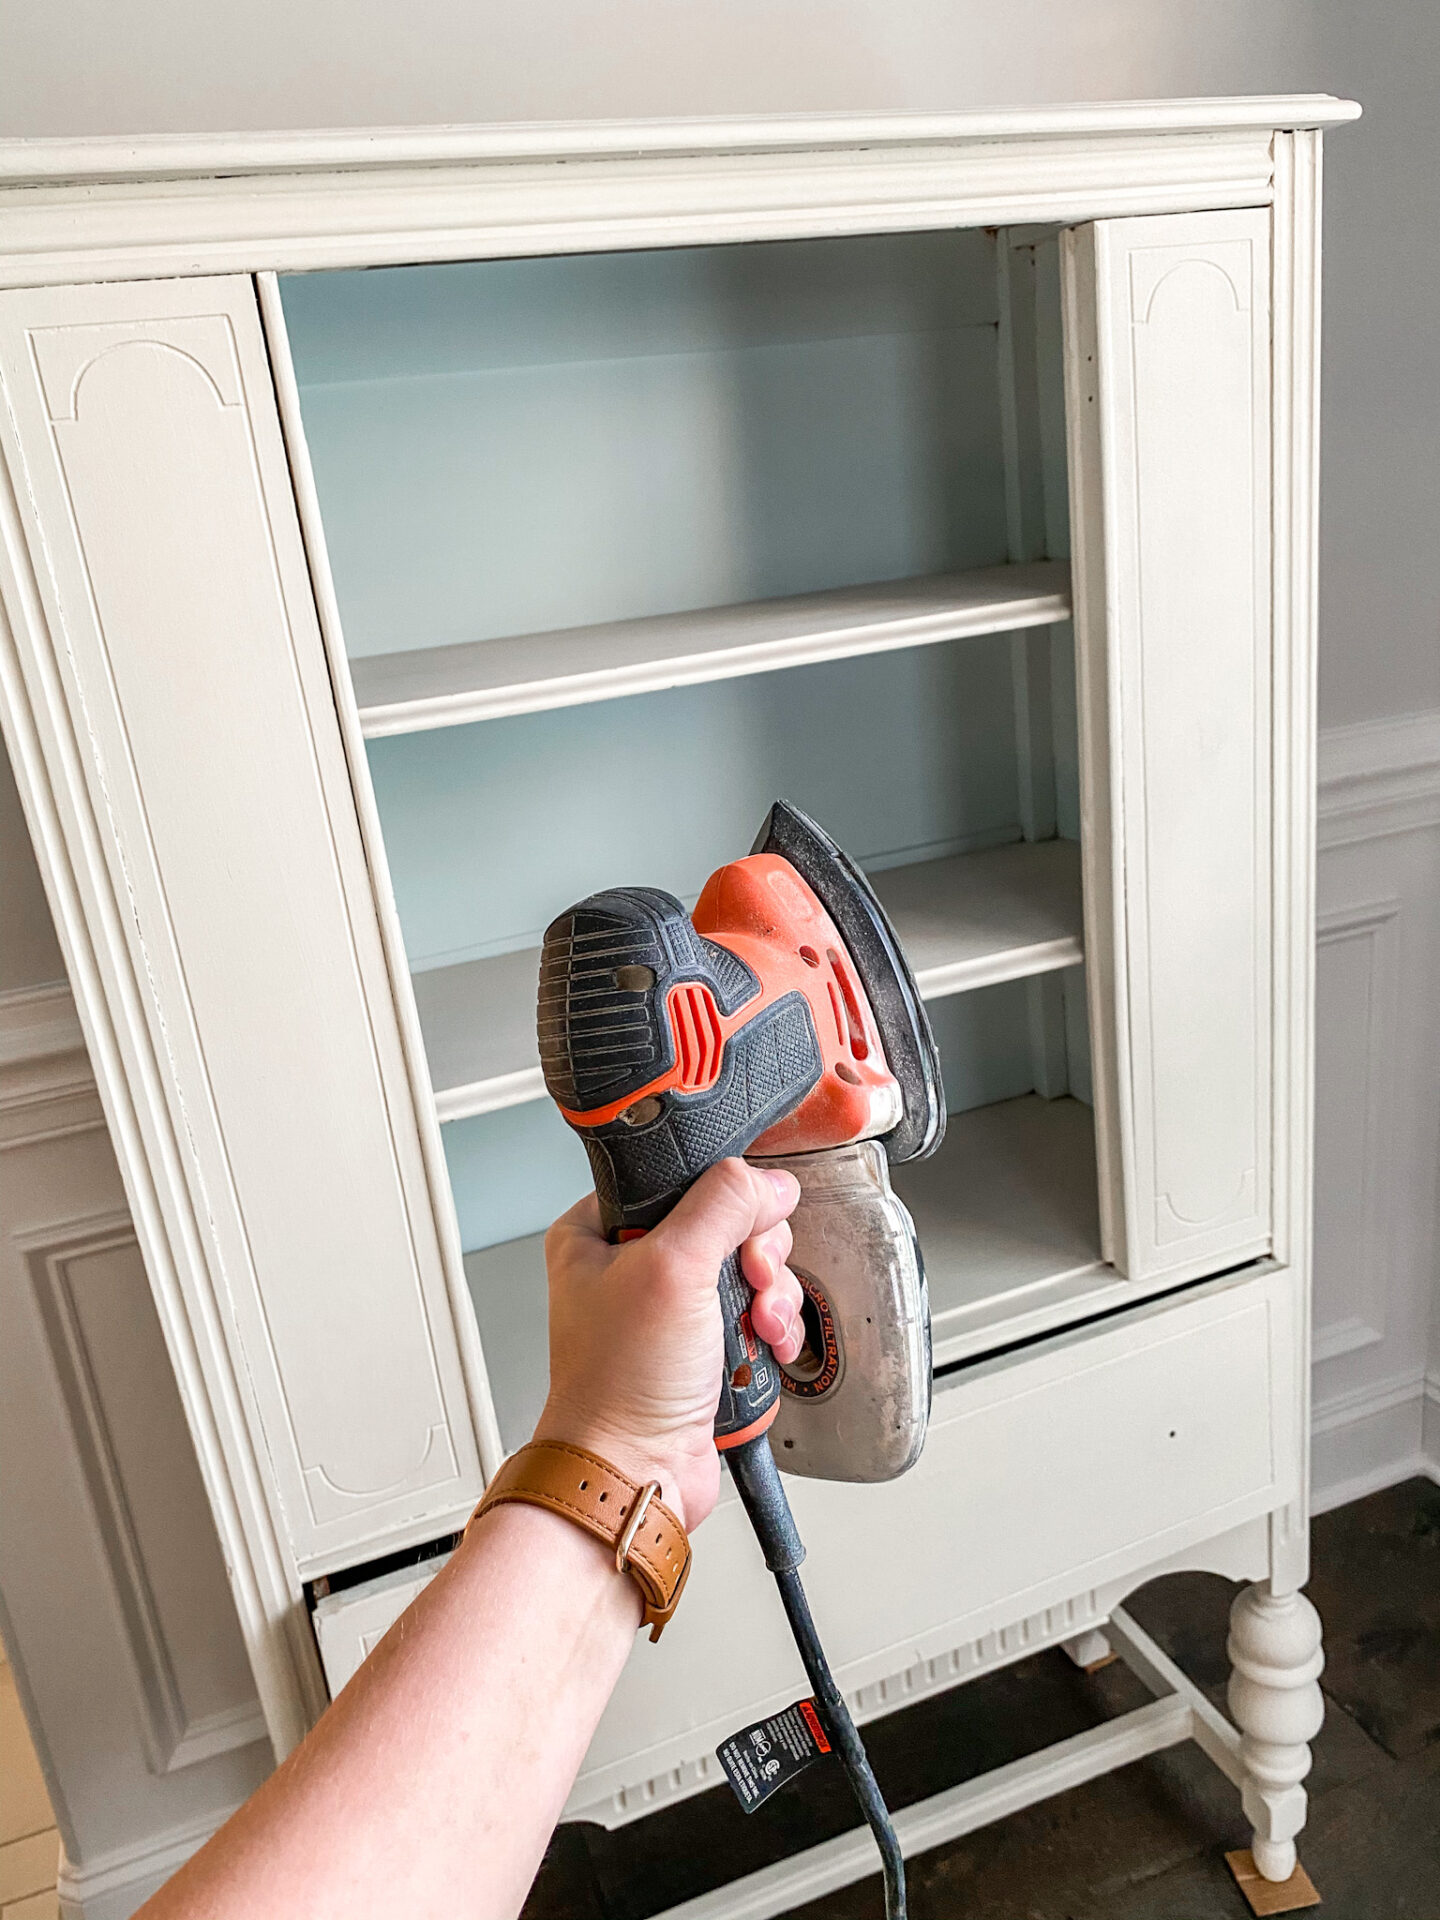
Distressing furniture is second nature for me. The trick to getting it right is to distress gently and only where natural wear would occur. Because the previous owner of this piece did so much distressing, and because I only used one coat of paint, I was able to see where the previous marks were. This enabled me to pick and choose where I wanted distress marks and how crazy I wanted to go with it. To make this super fast and easy, all you need is a Mouse Sander. If you would like to see how I sand my projects to get a nice distressed look, visit this Blog Post!

Step 3: Seal the chalk paint
The most important part about using chalk paint is to use a good sealant. If you choose to opt out of this step, I don’t suggest that you use your project piece for more than just wall art. If you do not seal your chalk paint, even water accidentally getting splashed on it will make it run right off. I used one thin coat of Polyacrylic on this hutch and it took me about 20 minutes to do. And then BAM. I was finished!
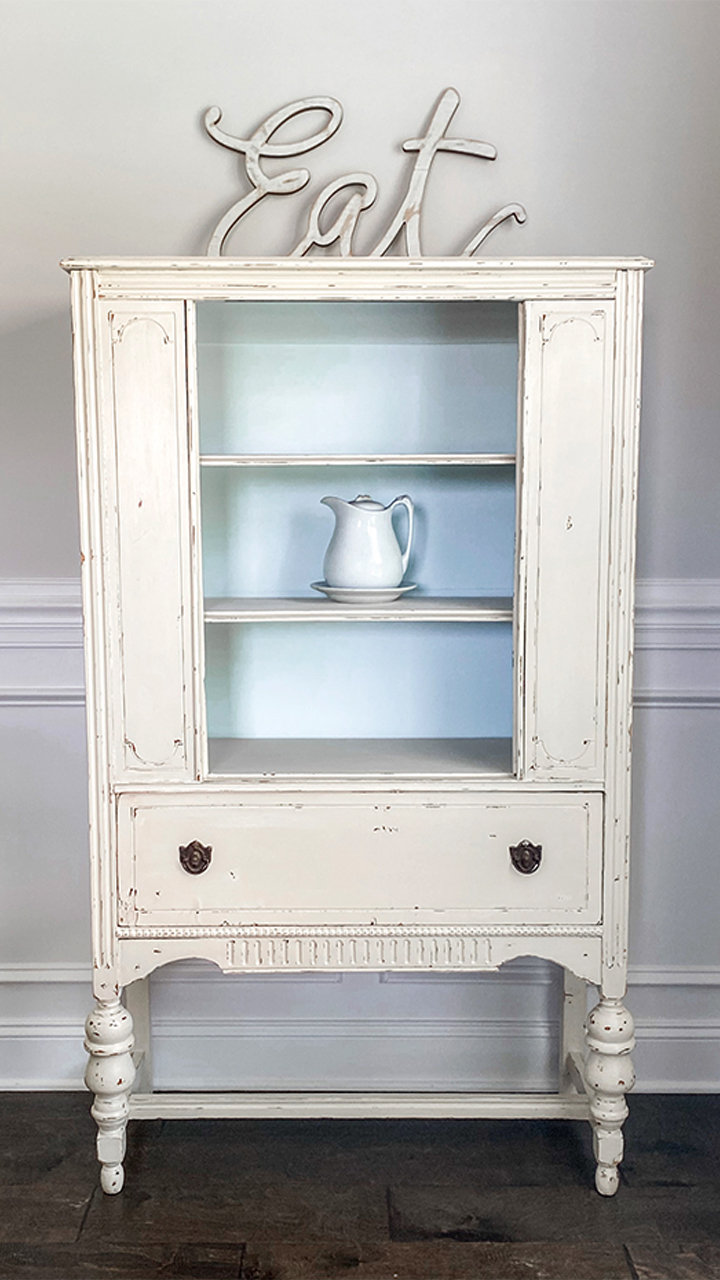
The Transformation is complete
This project took me two short days to complete, which has to be a record for me! I think I spent a total of 4 hours on it, though. 4 hours of my time, plus materials I already had on hand, equals something I am going to love for a long, long time! It’s hard to believe that the hutch I was eying over 2 years ago is now mine forever and it’s even more beautiful than I could have imagined it would be!
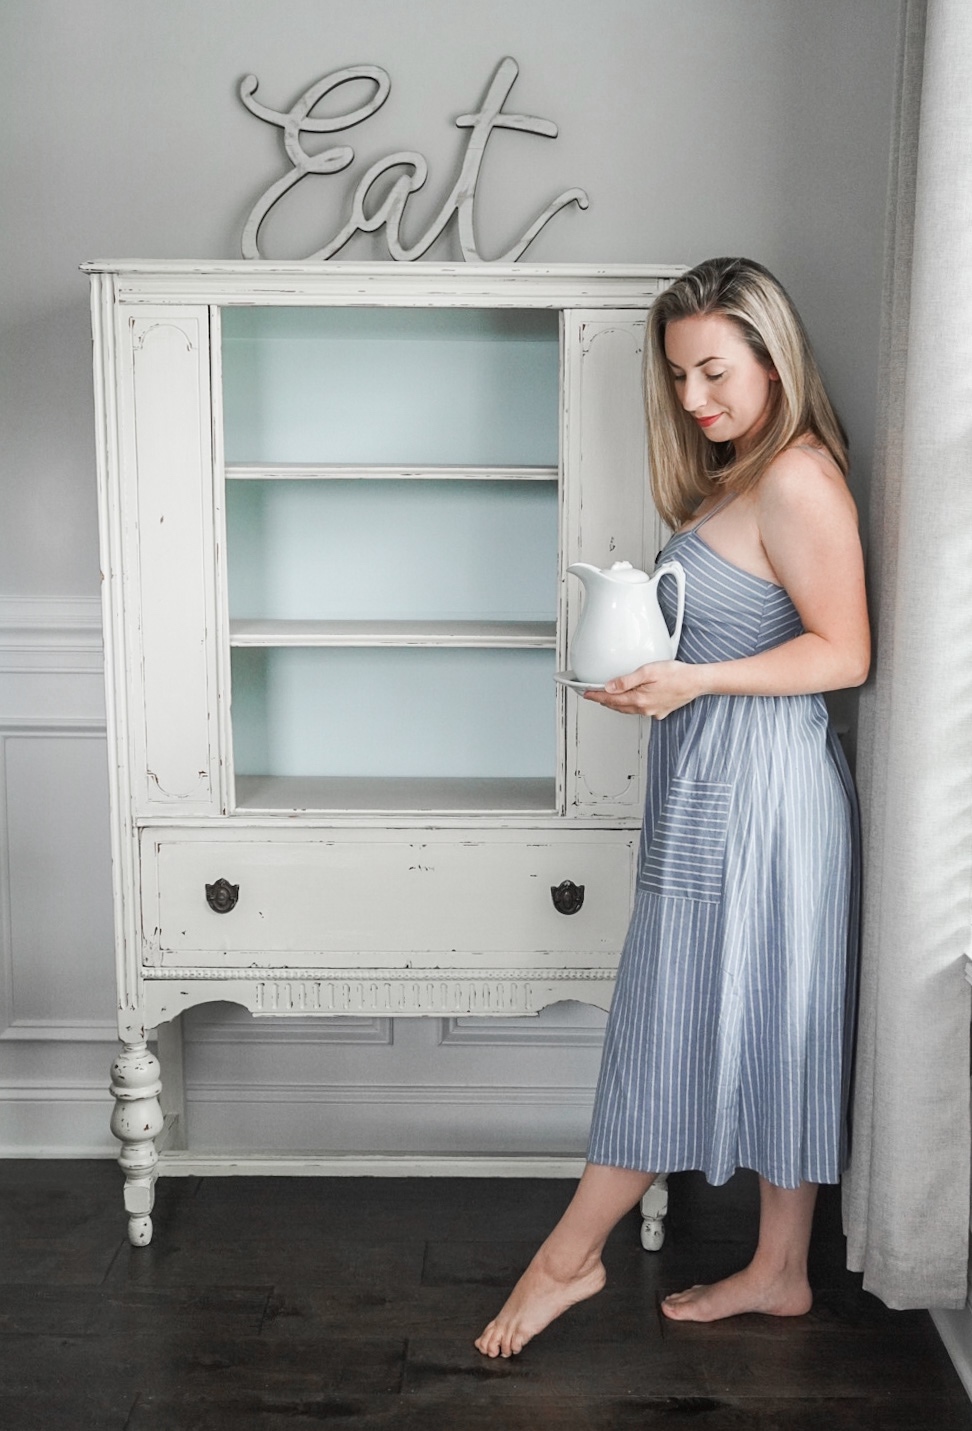
I still have to find more pieces to add to my hutch to finish the look, but I will start with this little Ironstone milk pitcher and basin I recently purchased at another antique store. This little pitcher came with a handwritten note inside of it. Here’s what it said:
The Letter in the pitcher
“My Mother, Edna Pace, took care of a large house on our farm, with a husband and six children. She also managed to have a feast on our dinner table every day. What a great Mother! This was her favorite milk pitcher.”
The letter is signed by her daughter, Betty Pace Turner. After looking up both ladies names, I found out that her mother had passed away in 1950 and she herself had passed away in 2018 at the age of 89. Little things like this is why I absolutely love antique shopping! Finding treasures, hidden notes, and just cherishing things other people used to love and giving them a loving home. This little pitcher is so special to me now and I will always take care of it for Mrs. Edna and Mrs. Betty.
I hope you loved this blog post and found it helpful and fun! I would love to hear what you think of how it turned out and if there are any pieces you plan to refinish. If you love DIY projects as much as I do, please check out my other DIY blog posts here.
Don’t forget to Pin the image below to your Pinterest! And if you aren’t already following me on Pinterest, I would love to see you over there. Thanks so much for stopping by! I’ll see y’all next time.