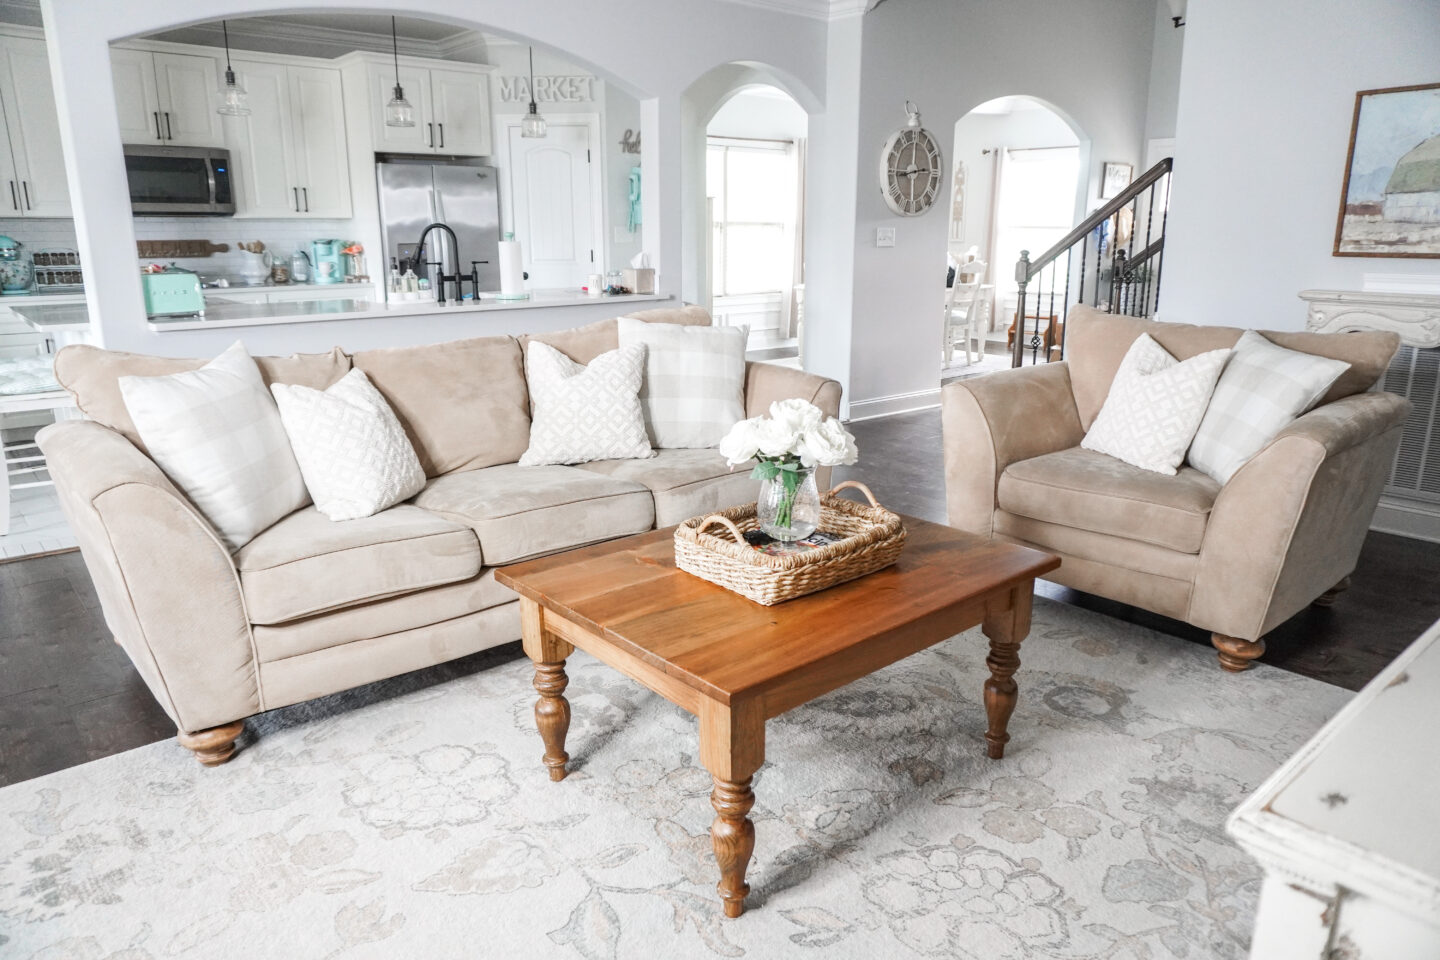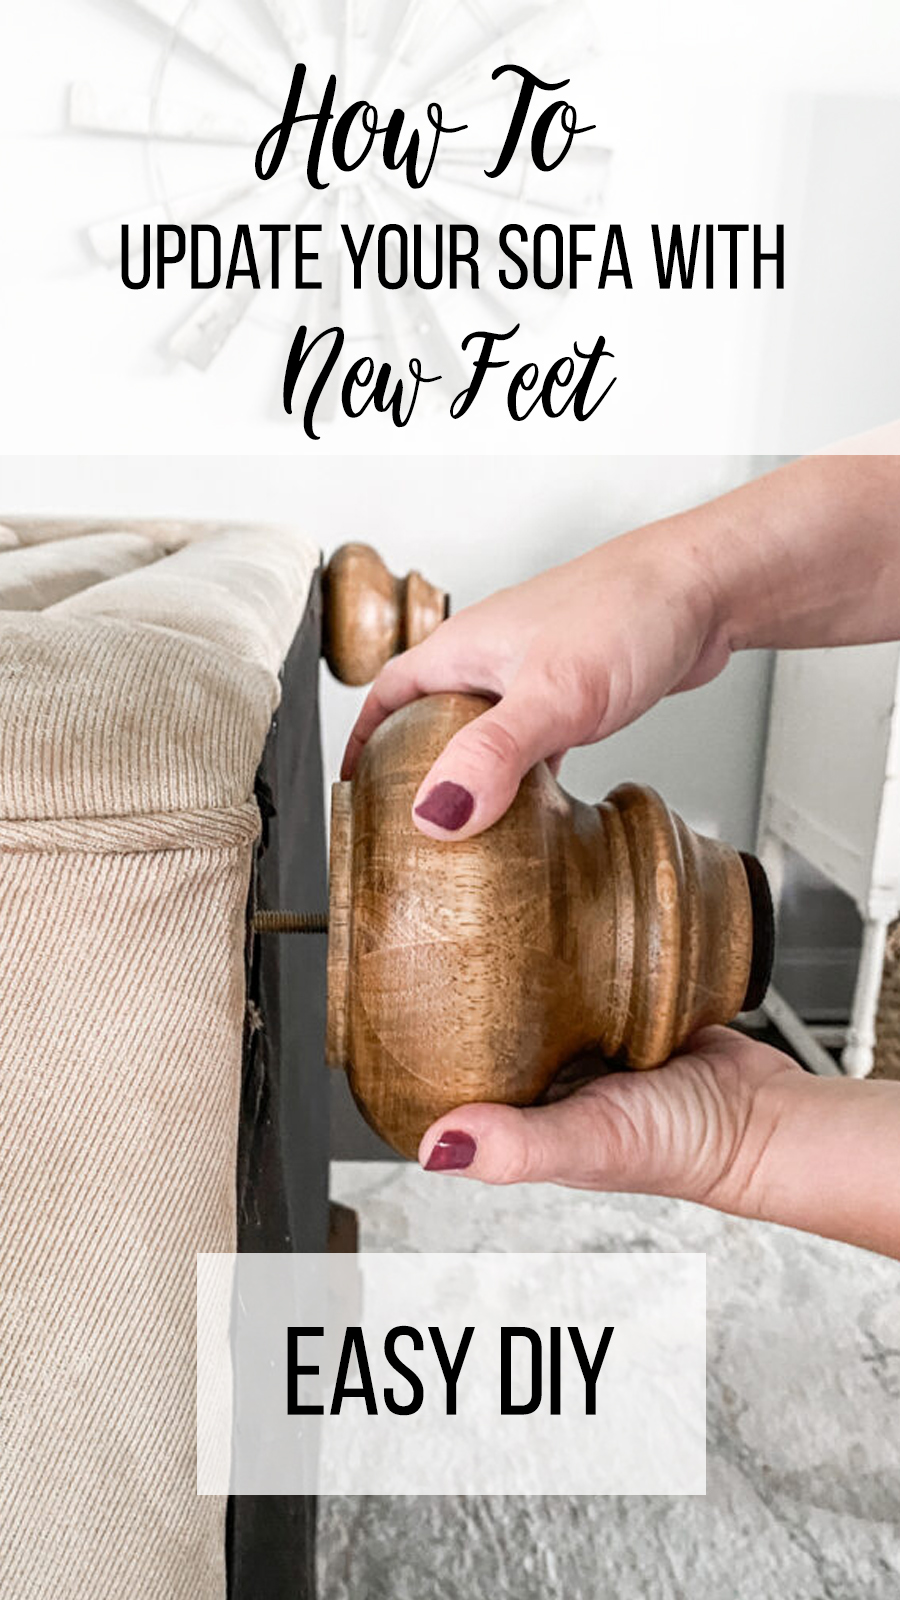
Have you ever looked at the feet your sofa comes with from the factory and thought to yourself: Man, those look dated…or even quite the opposite: Those are way too modern for my decor! I had that very issue, except our couches are 11 years old! Read along to see How To Update Your Sofa With New Feet and give your whole living room a refresh.
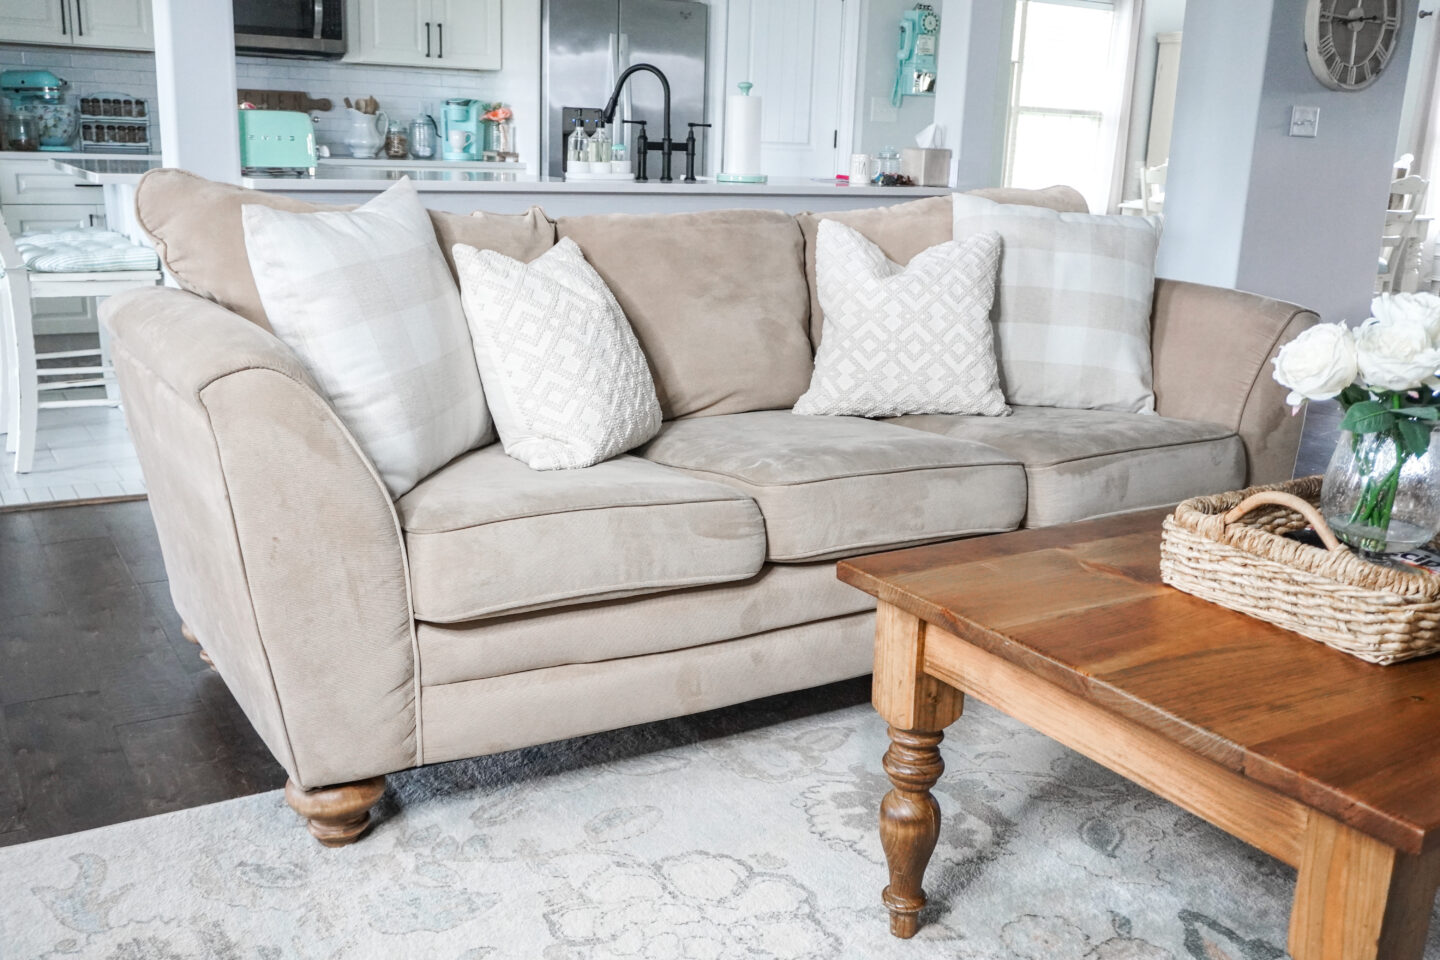
Our couches have been through 8 moves since we purchased them 11 years ago! It’s amazing they have even lasted this long, to be honest. With all the moves, and 3 kids that have climbed, jumped on, and drooled on them over the years, they really are in awesome shape…minus the feet.
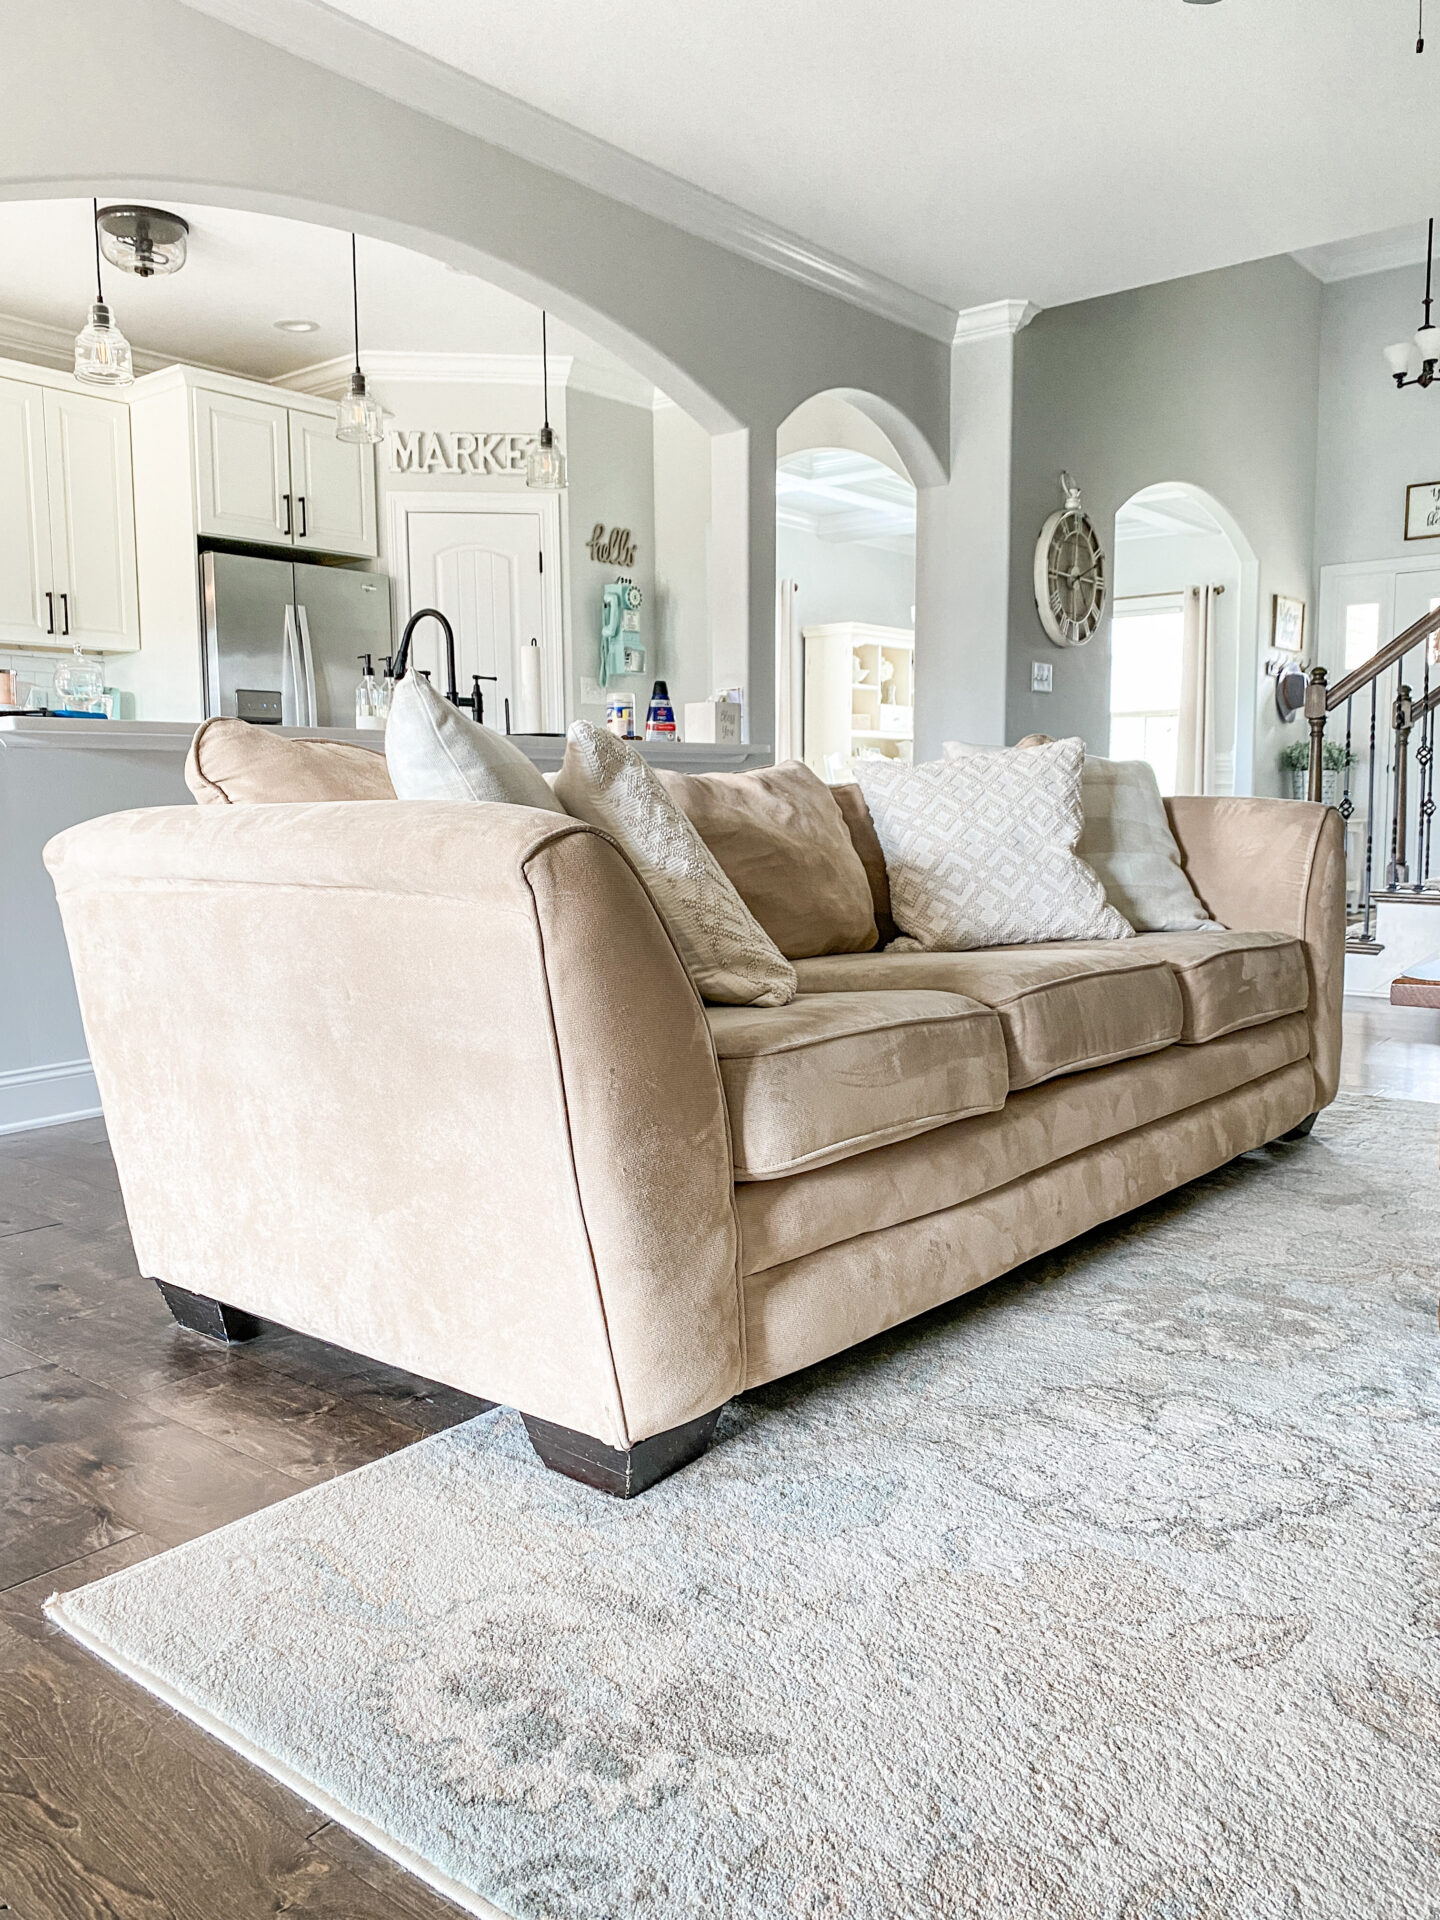
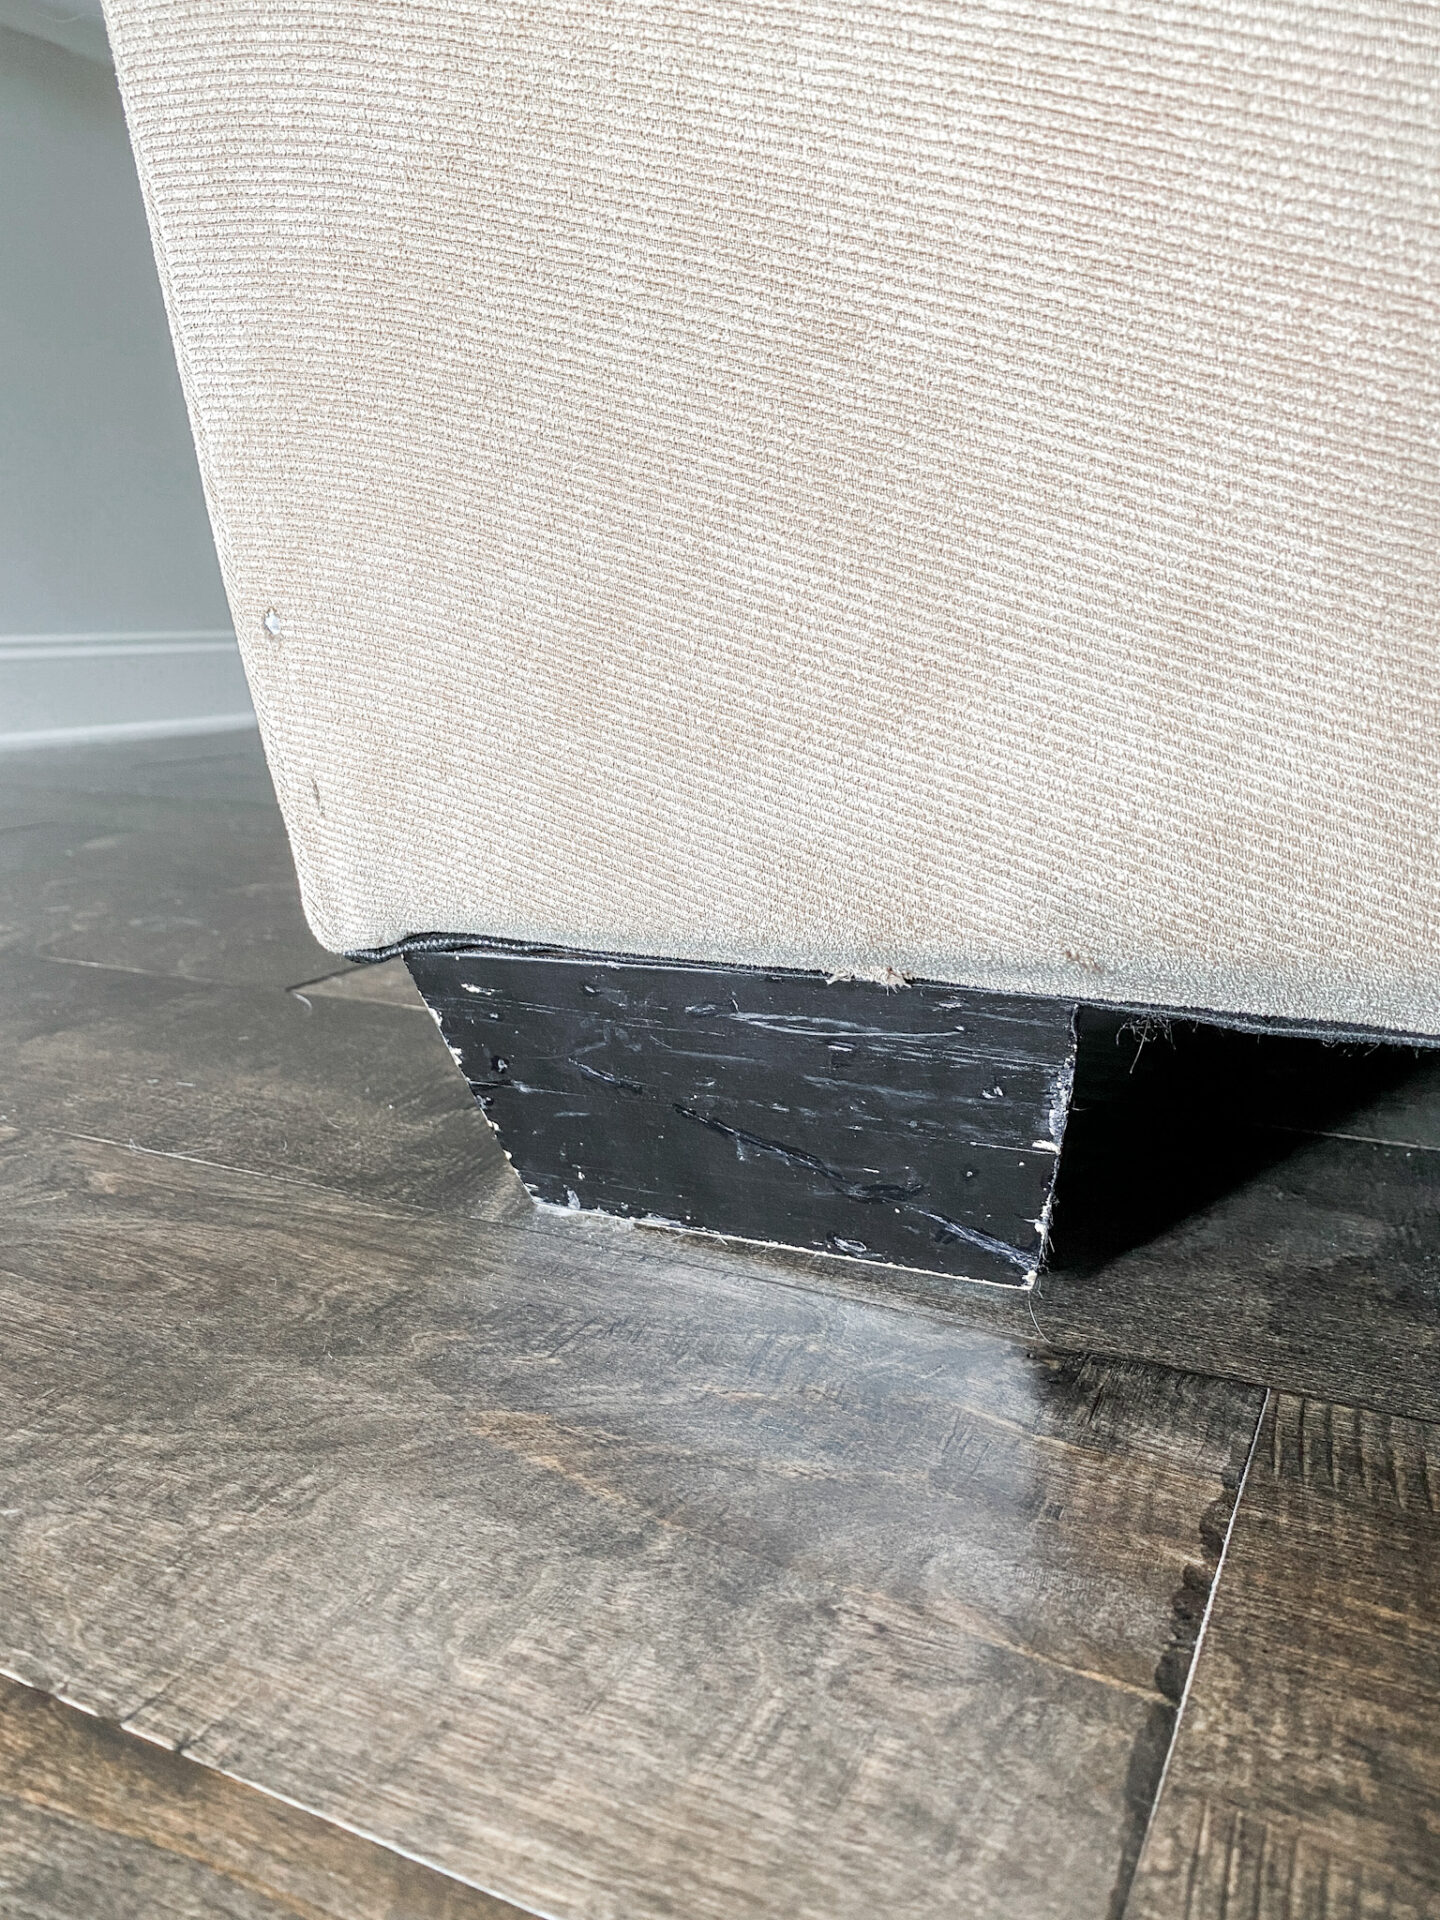
The feet of our sofas are solid wood, painted black, and they are beaten up. I even took a black sharpie to them at one point to try and revive them, but that only helped for a year! About a month ago I threw my hands up, gave up on these couches, and voiced my opinion to my husband that I thought it was time for new furniture. Of course, he was the voice of reason and said the kids would just ruin a new couch lol! So we compromised. I came up with the idea to deep clean the couches and replace their feet to give them a refresh. Best idea ever! Not only was it way cheaper than buying new furniture, but it was also a fun DIY project I could share with you guys.
Finding the right feet for your sofa
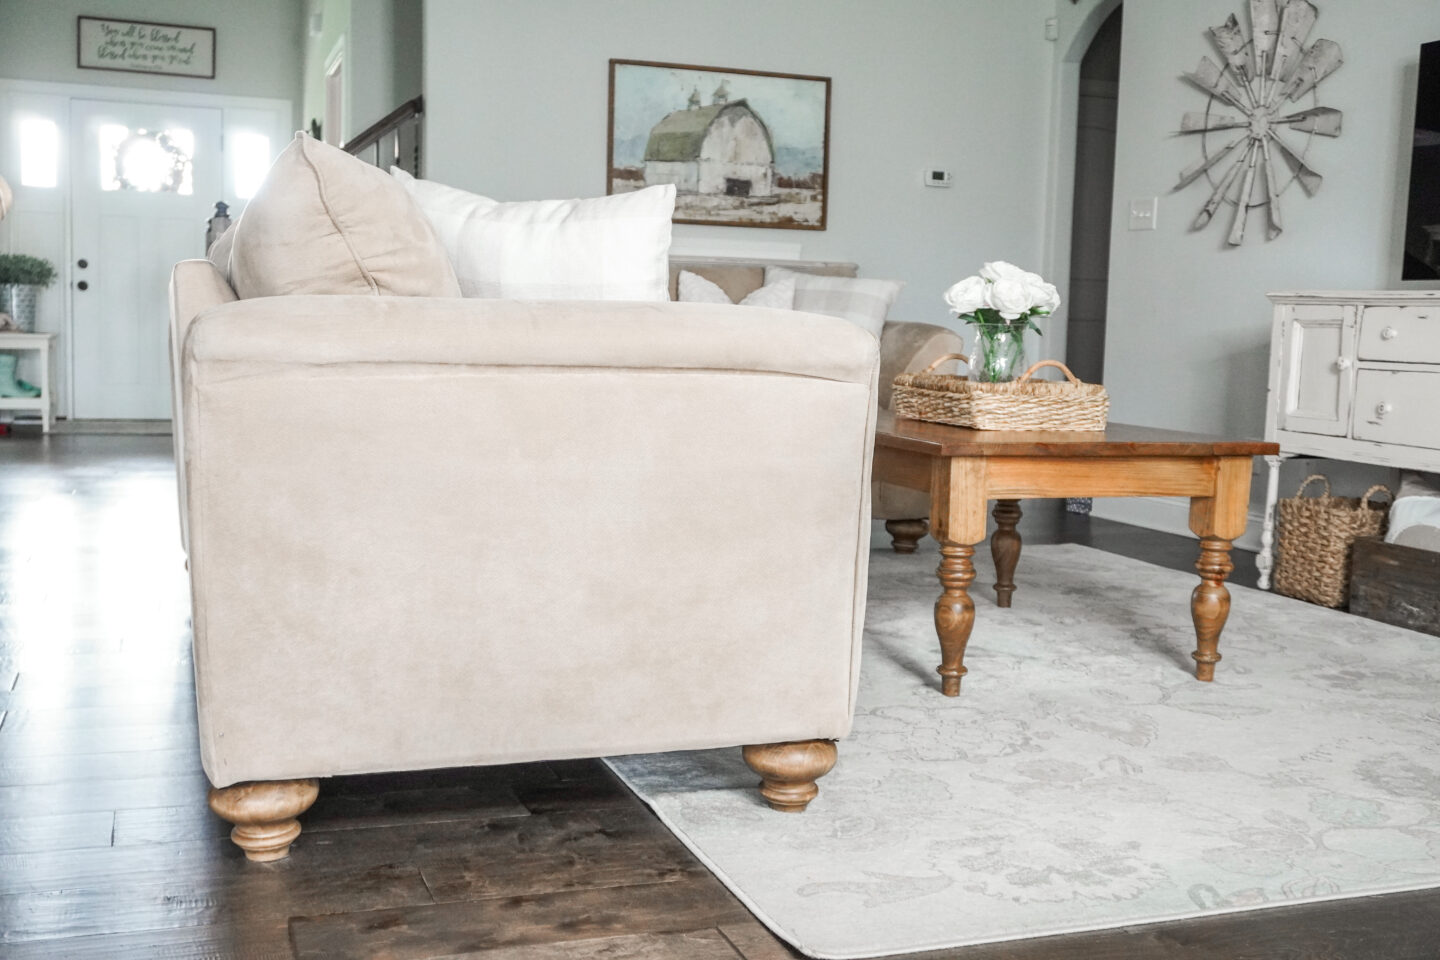
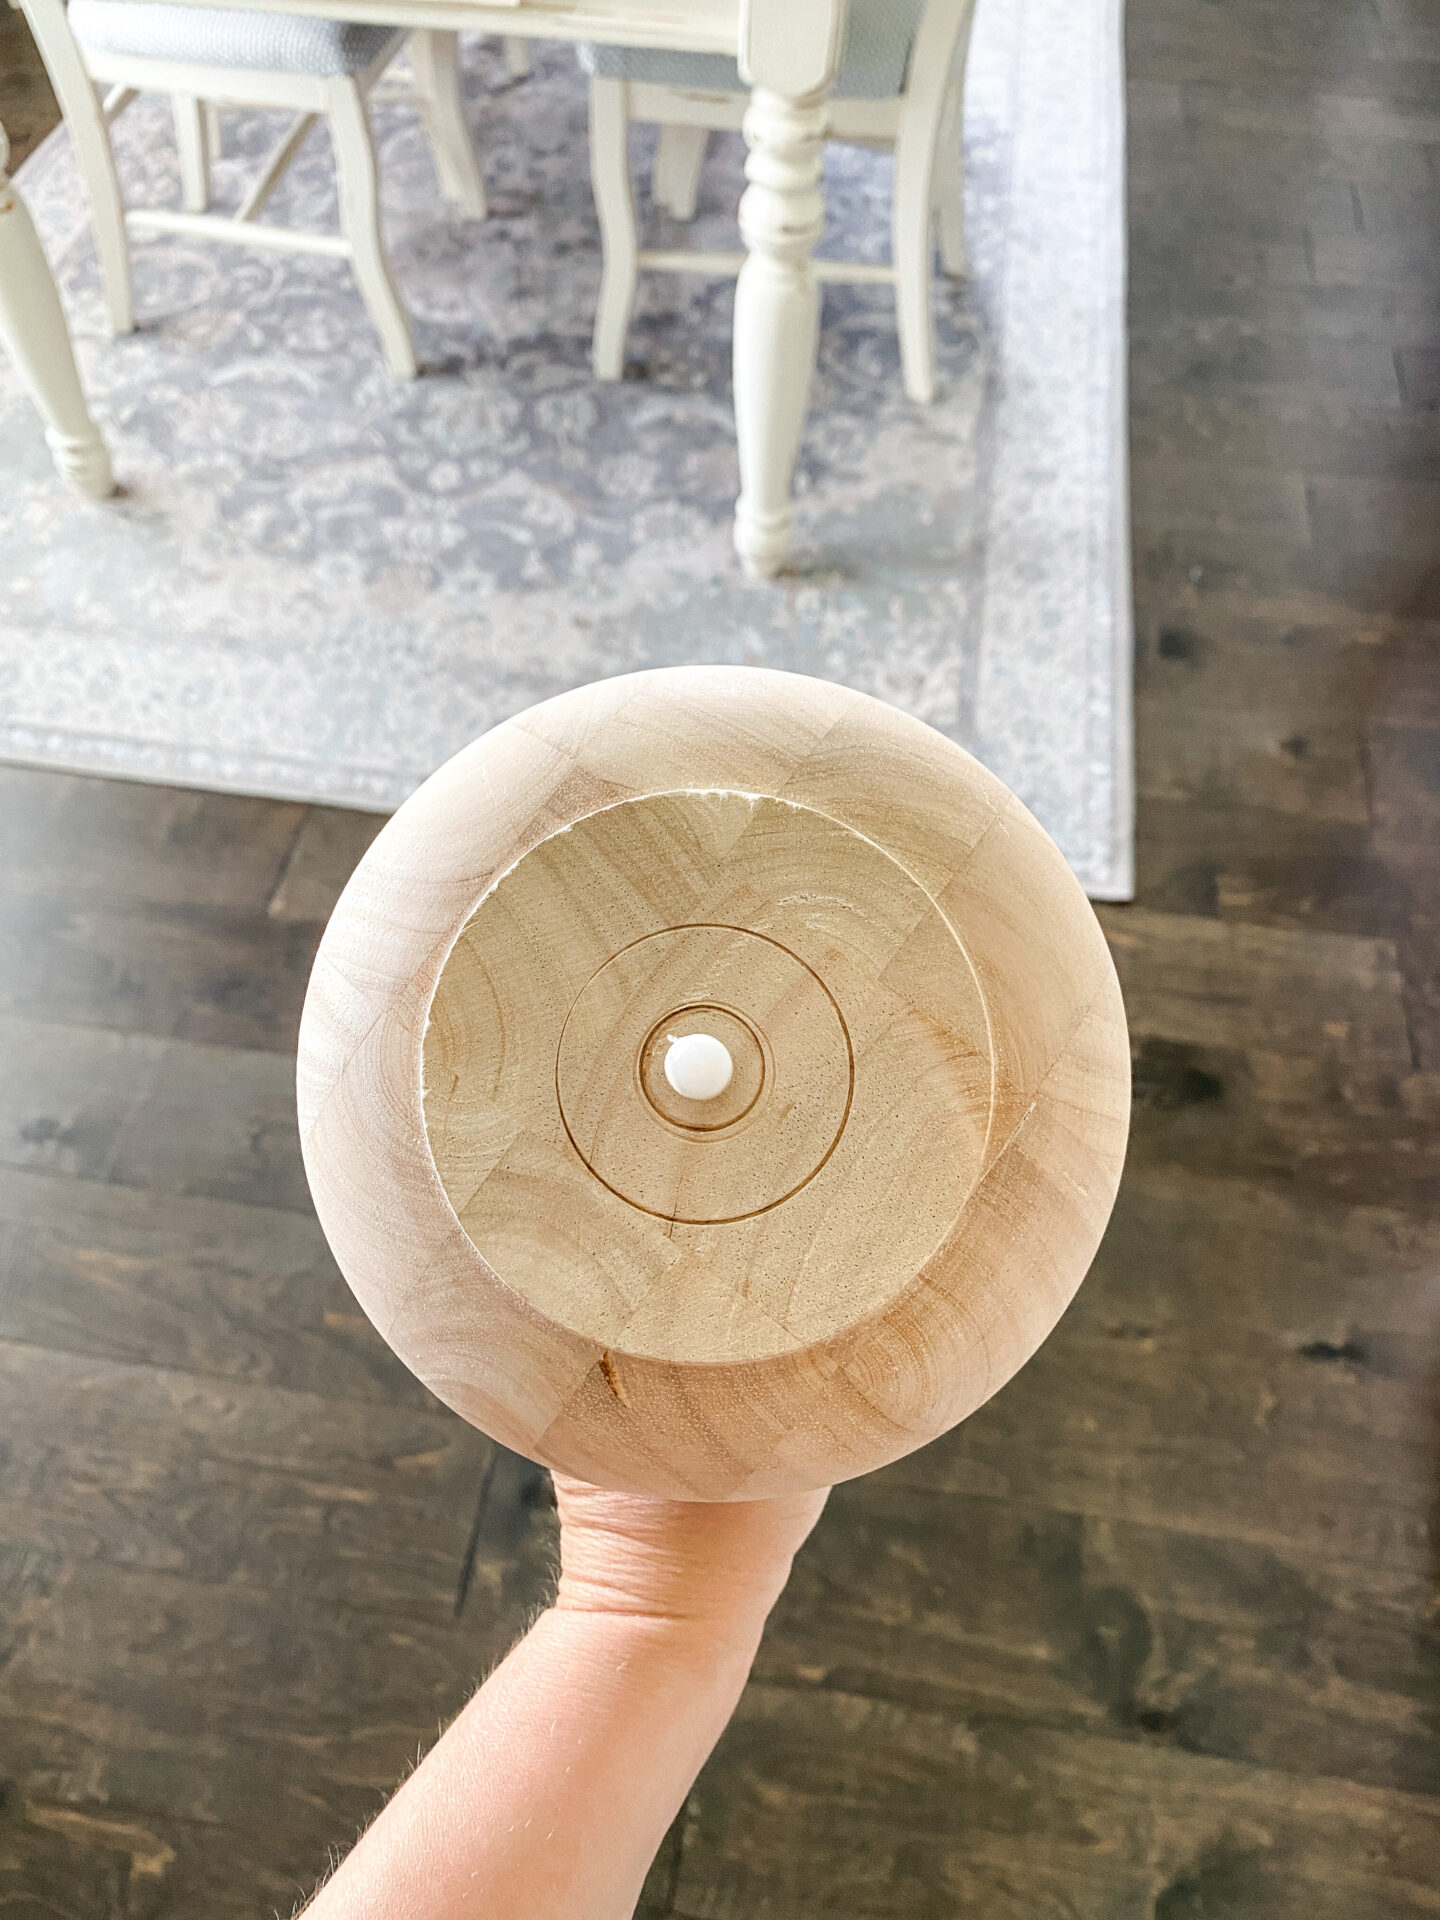
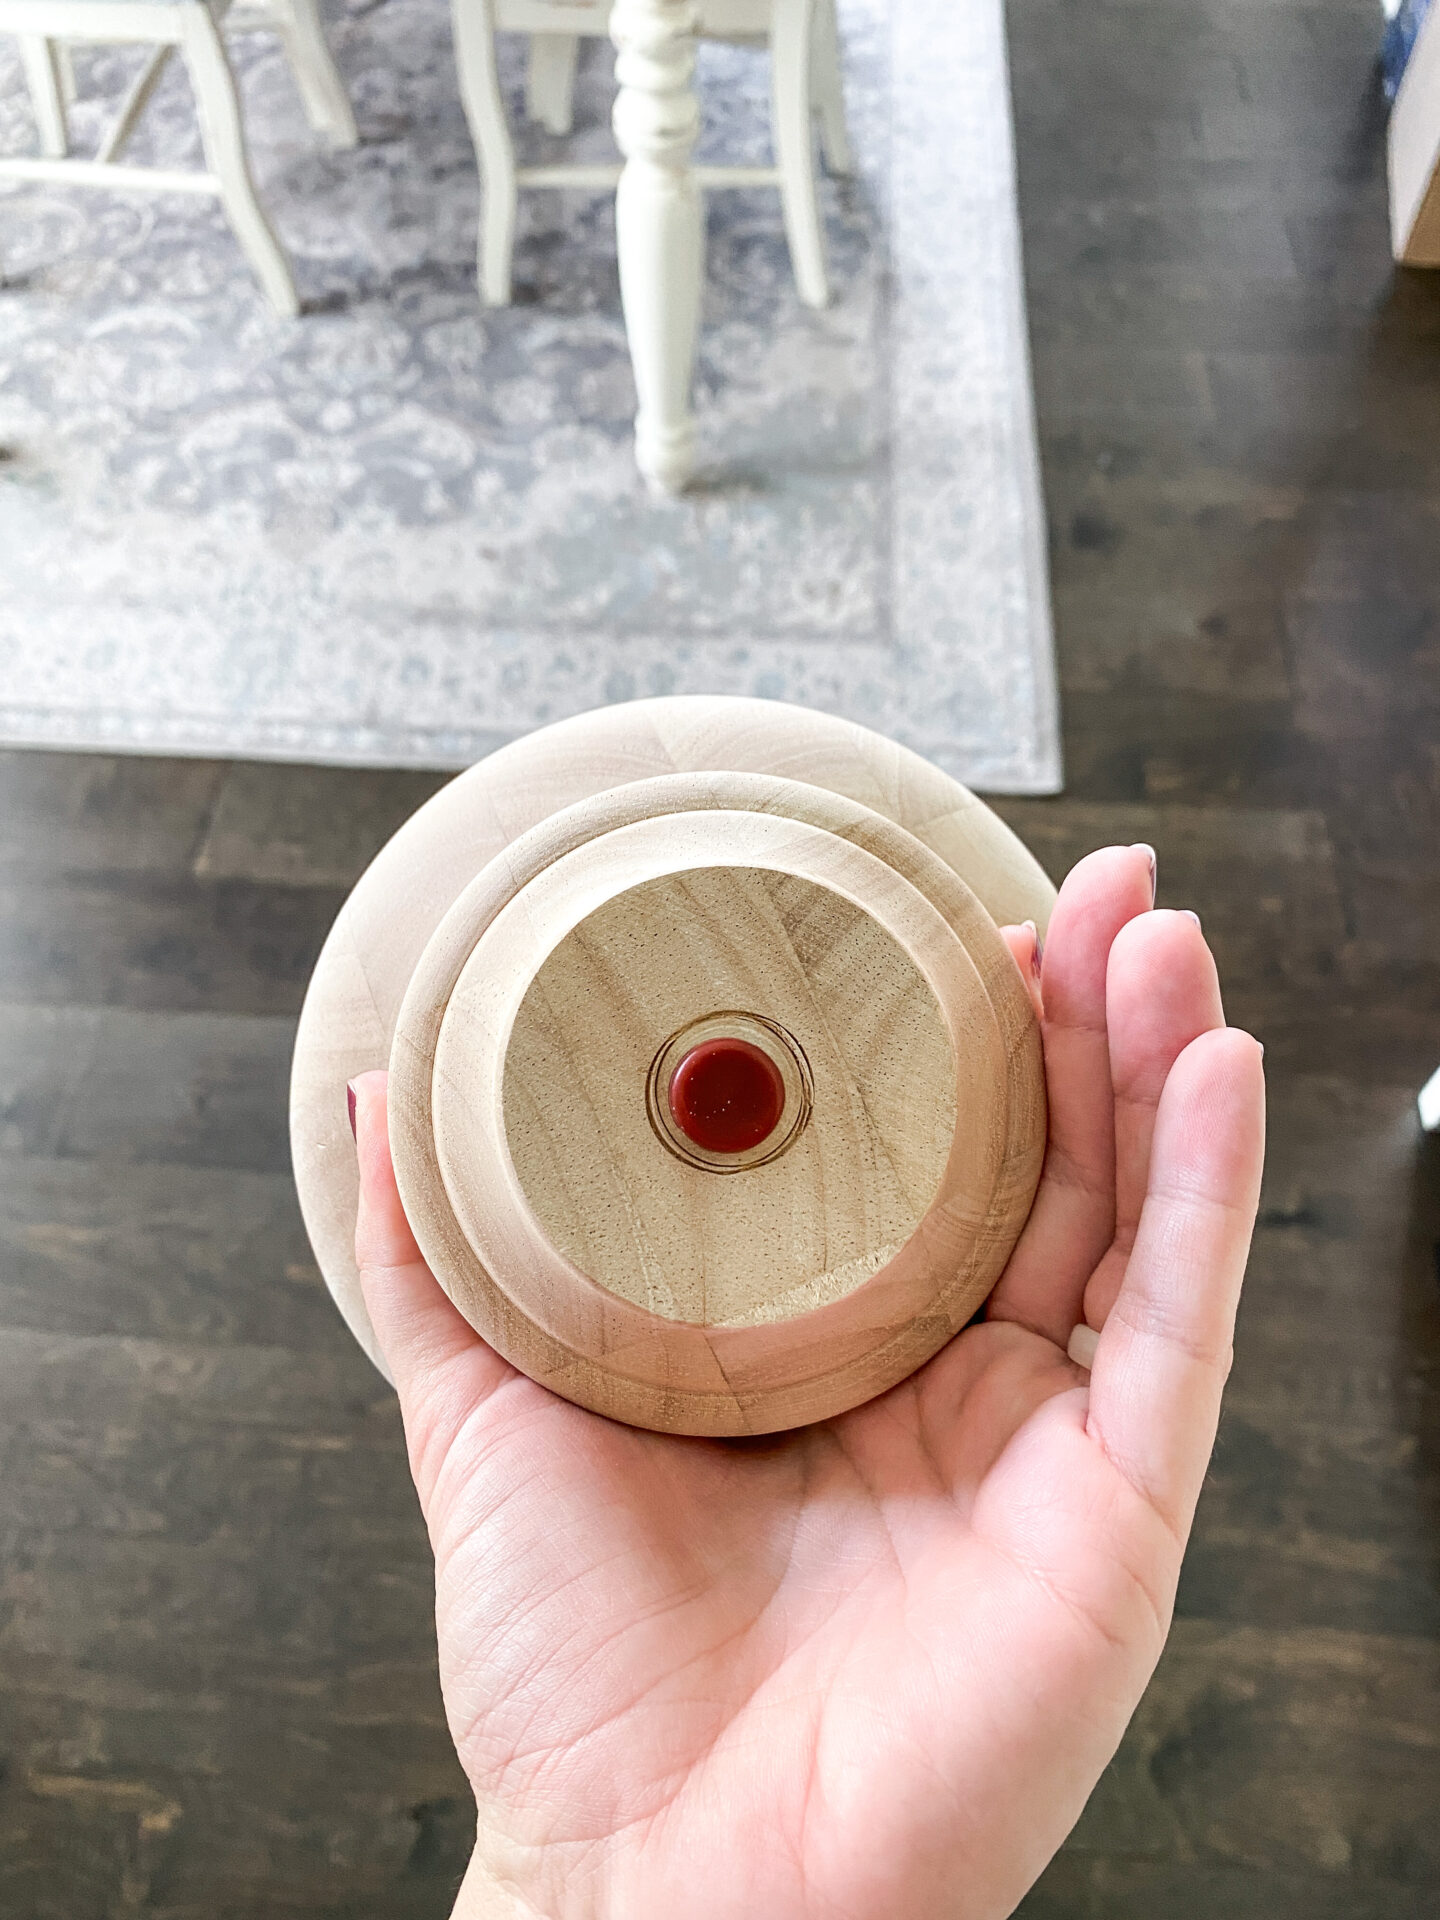
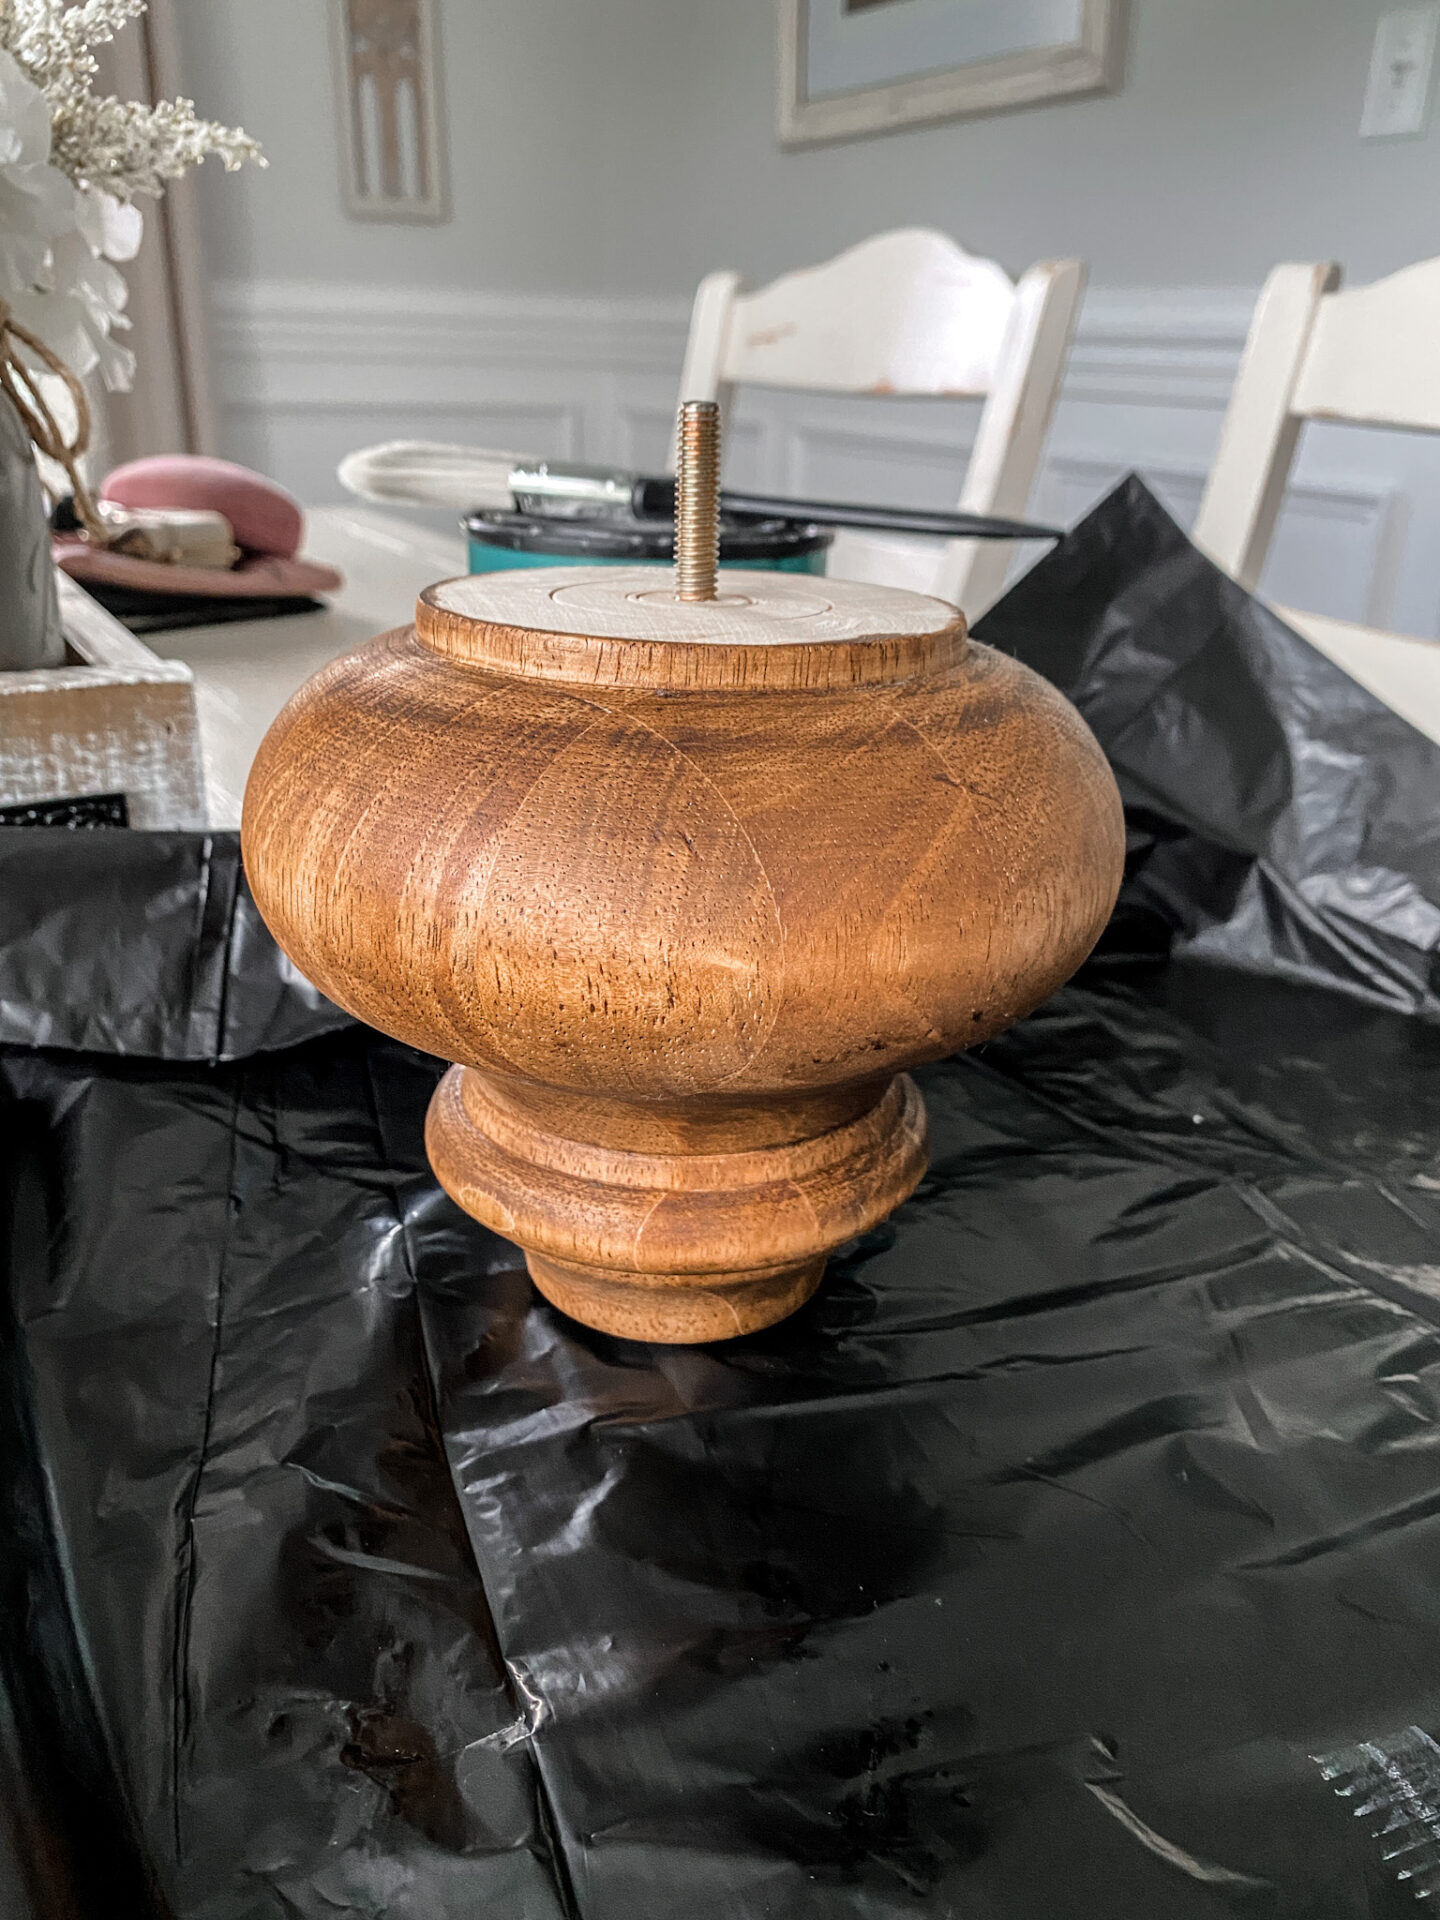
The first step is to find a set of feet that you love! That could mean finding a set on eBay, Amazon, Home Depot, or on walmart.com like I did! I looked all over the place before deciding on the feet I ordered, but Walmart ended up having exactly what I was looking for. I needed feet with a wide top and narrow base that would compliment my custom-made coffee table. The feet I ended up purchasing are the 5-1/8in x 6in Unfinished Solid Hardwood Round Sofa Leg. These legs sell for $14 a piece, and I ordered 8 because I needed to do both my large sofa and my sofa Chair as well, which came to $115.44. $115 is a small price to pay for a whole couch upgrade y’all!
When trying to figure out the best style or size to go with for sofa legs, always take into consideration your decor and the size of your couch or chair. Also, always remember legs can be painted or stained any color your wish if you buy an unfinished leg! Keep reading to see how I finished my unfinished legs for our sofas.
When the legs arrived, the box was way heavier than expected lol! That is what you get with solid hardwood though. And I wanted that because they are sturdy and strong and can withstand 3 boys! The feet were very well packaged in the box, each leg individually wrapped with bubble wrap. Each leg came with the threaded bolt to attach the foot to the sofa, as well as a glider. These feet are perfect for this project and I highly recommend them. They’re fabulous.

How To finish your unfinished sofa legs
Let’s start with all the things you will need for this project! Really, not all that much to be honest lol! I love easy projects, don’t you?
- Unfinished Sofa Legs
- Stain of choice (I use Varathane Early American)
- Minwax Polycrylic Protective Finish in Clear Satin
- Paint Brush
- Staining Pad
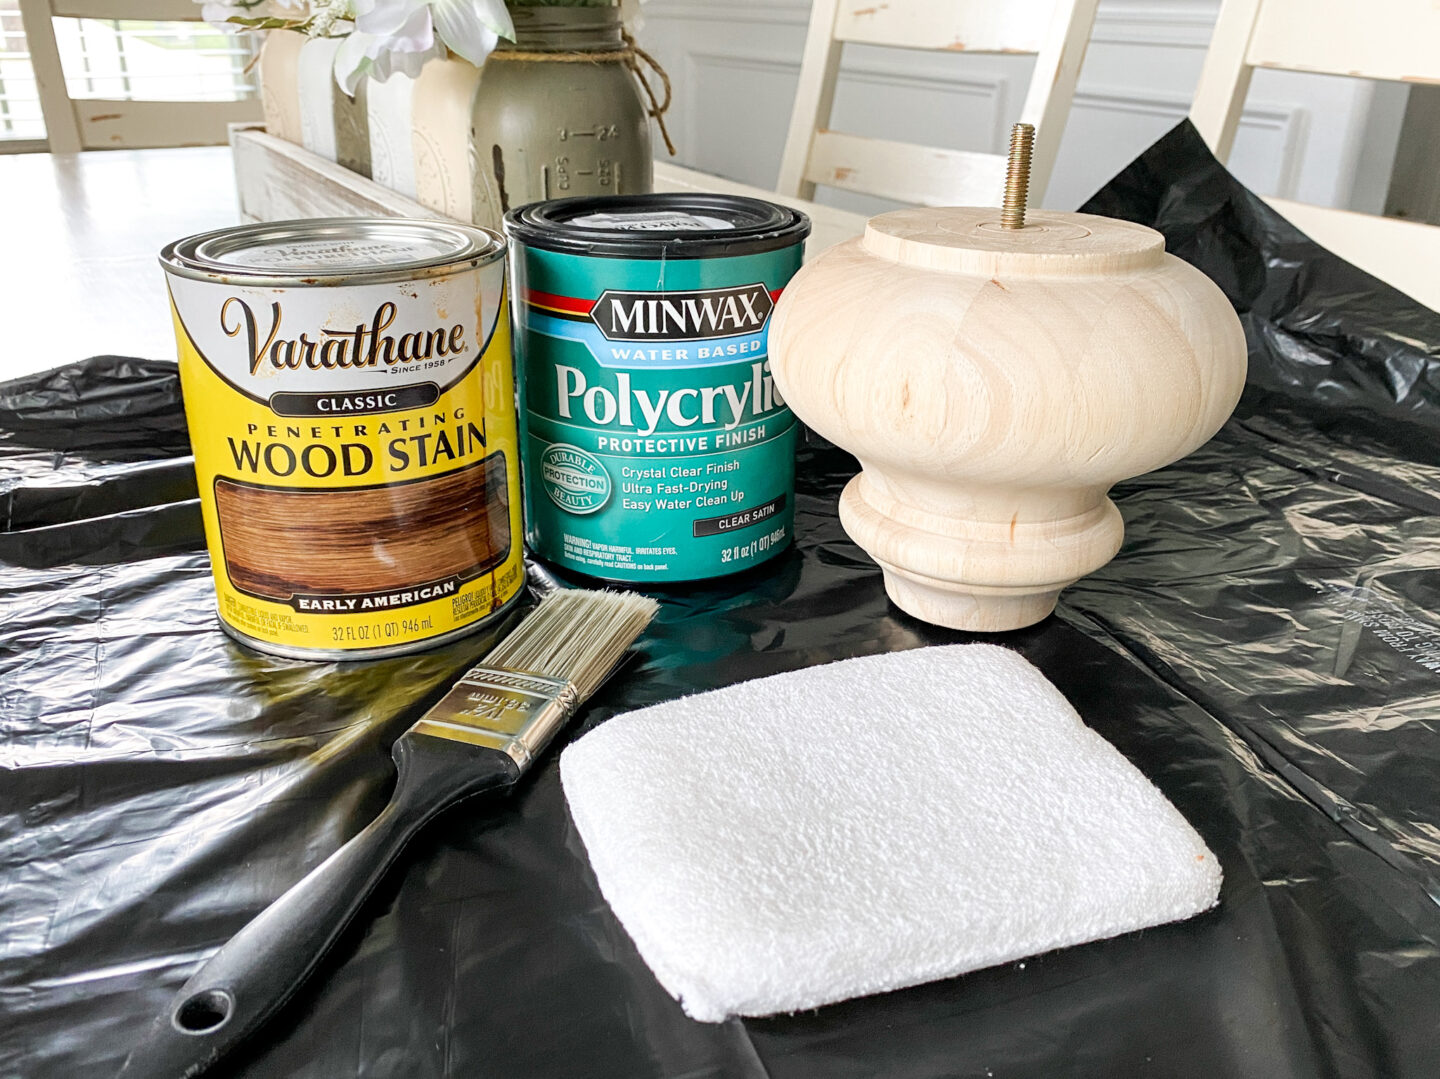
Let’s get started on finishing these feet! I can’t wait to see how they turn out, but I have my fingers crossed they will be perfect! The first step in this process is to find a flat surface to work on. For me, that is my dining table, so I made sure to cover it with a protective plastic sheet to make sure any spills I make land on that and not my beautiful refinished table.
Staining Unfinished Wood
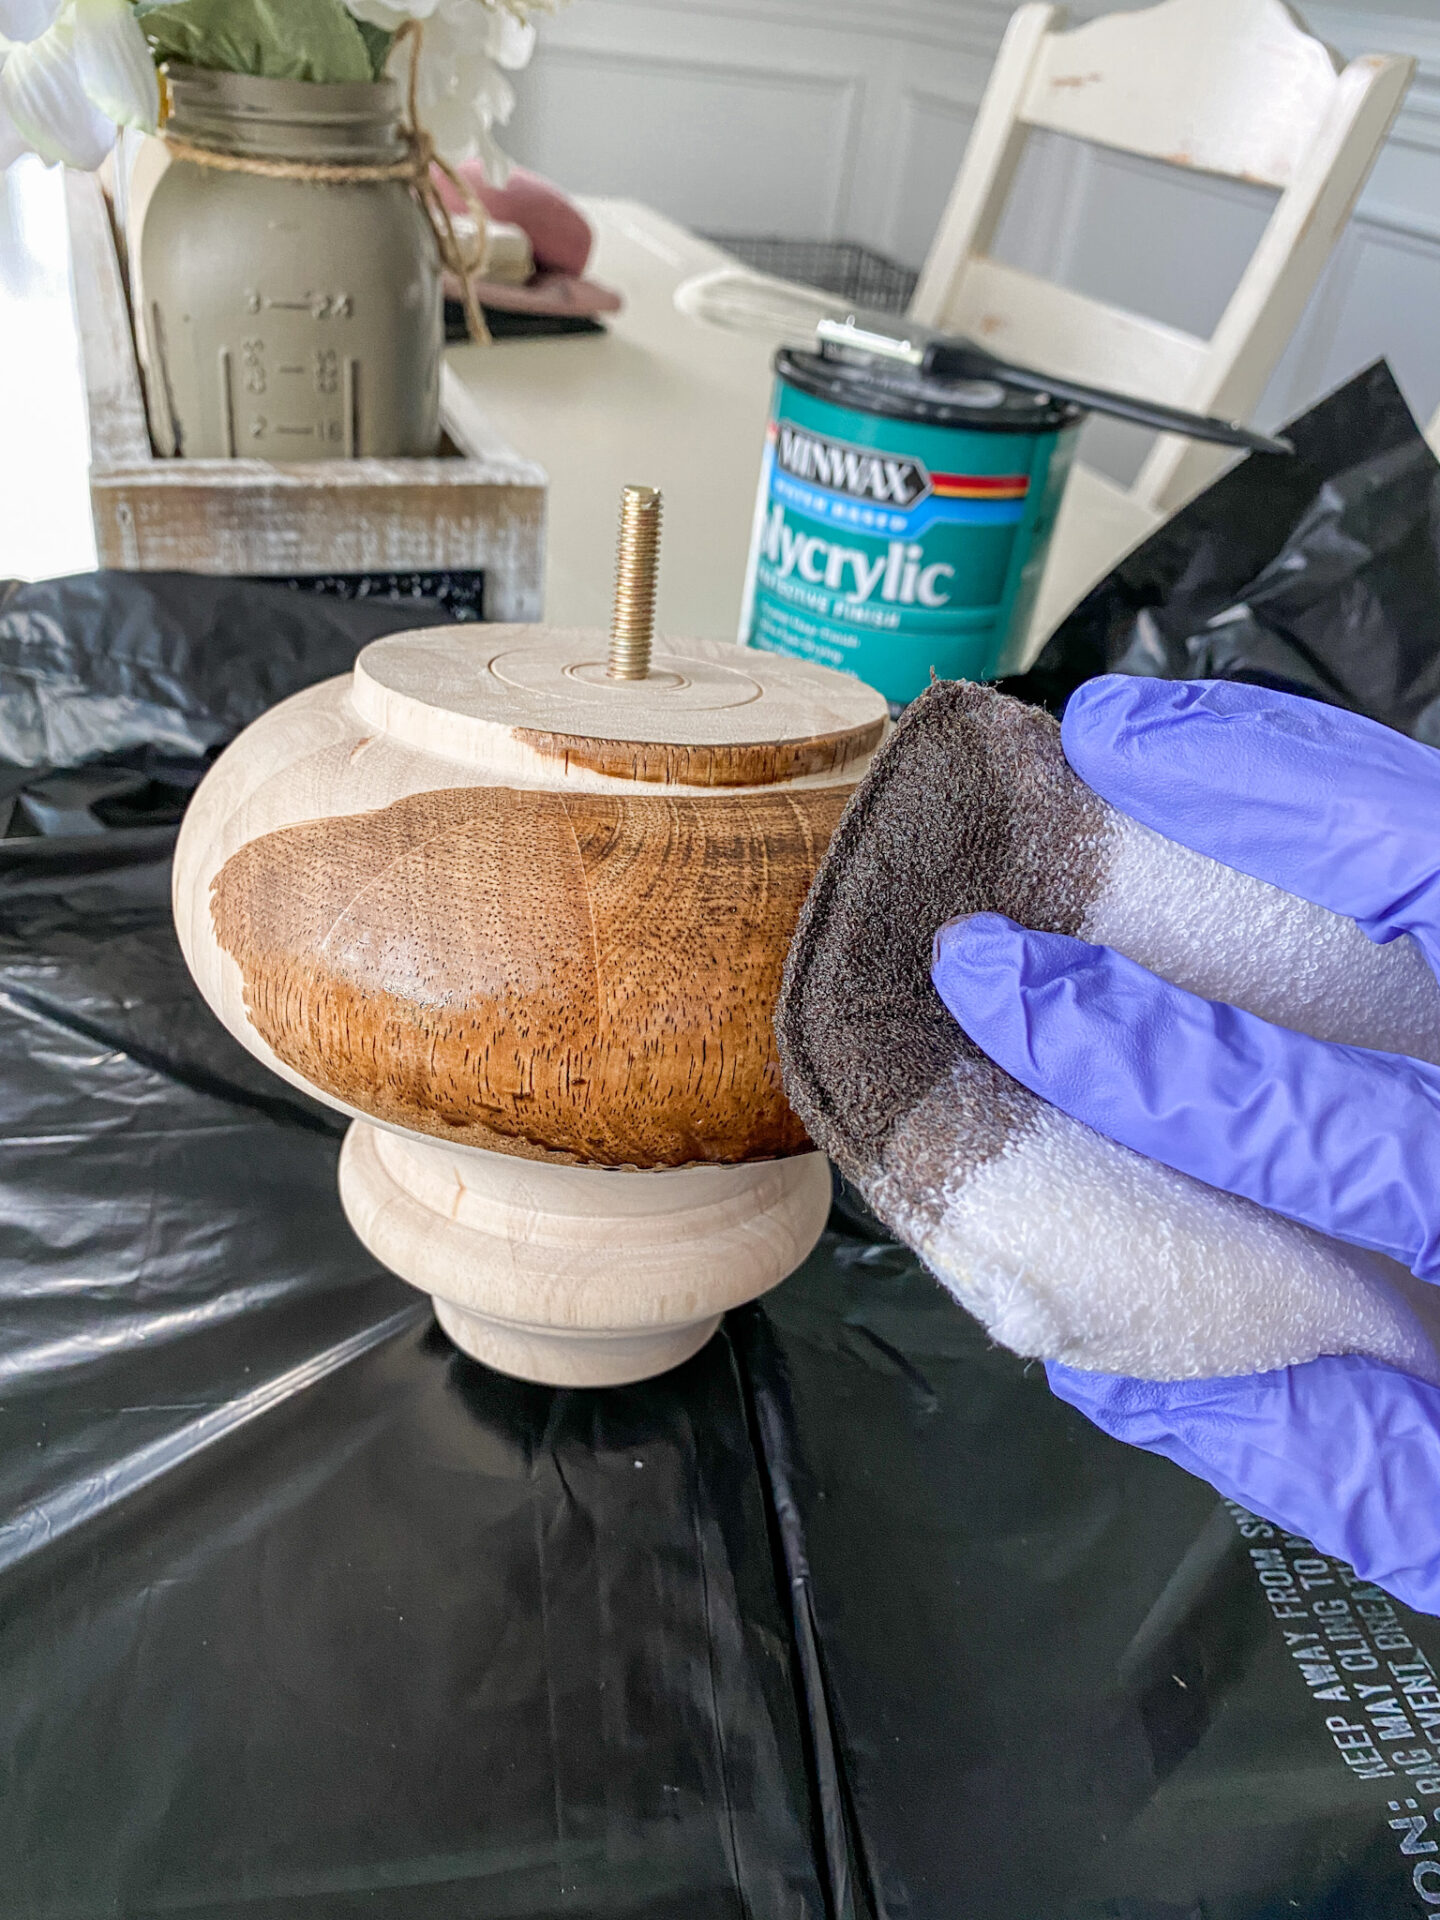
Make sure to stir your stain prior to staining! I like to use either a plastic spoon or fork when I’m working with stains. Next, grab your staining sponge and dip it into the stain, but not too much! You don’t want to get too much stain on your project, a little bit can go a long way. You may even want to condition your wood with a Wood Conditioner prior to staining, but it really depends on how porous your wood is. Because I am staining hardwood, I did not condition my wood, but if you were staining something like Pine, you would want to condition.
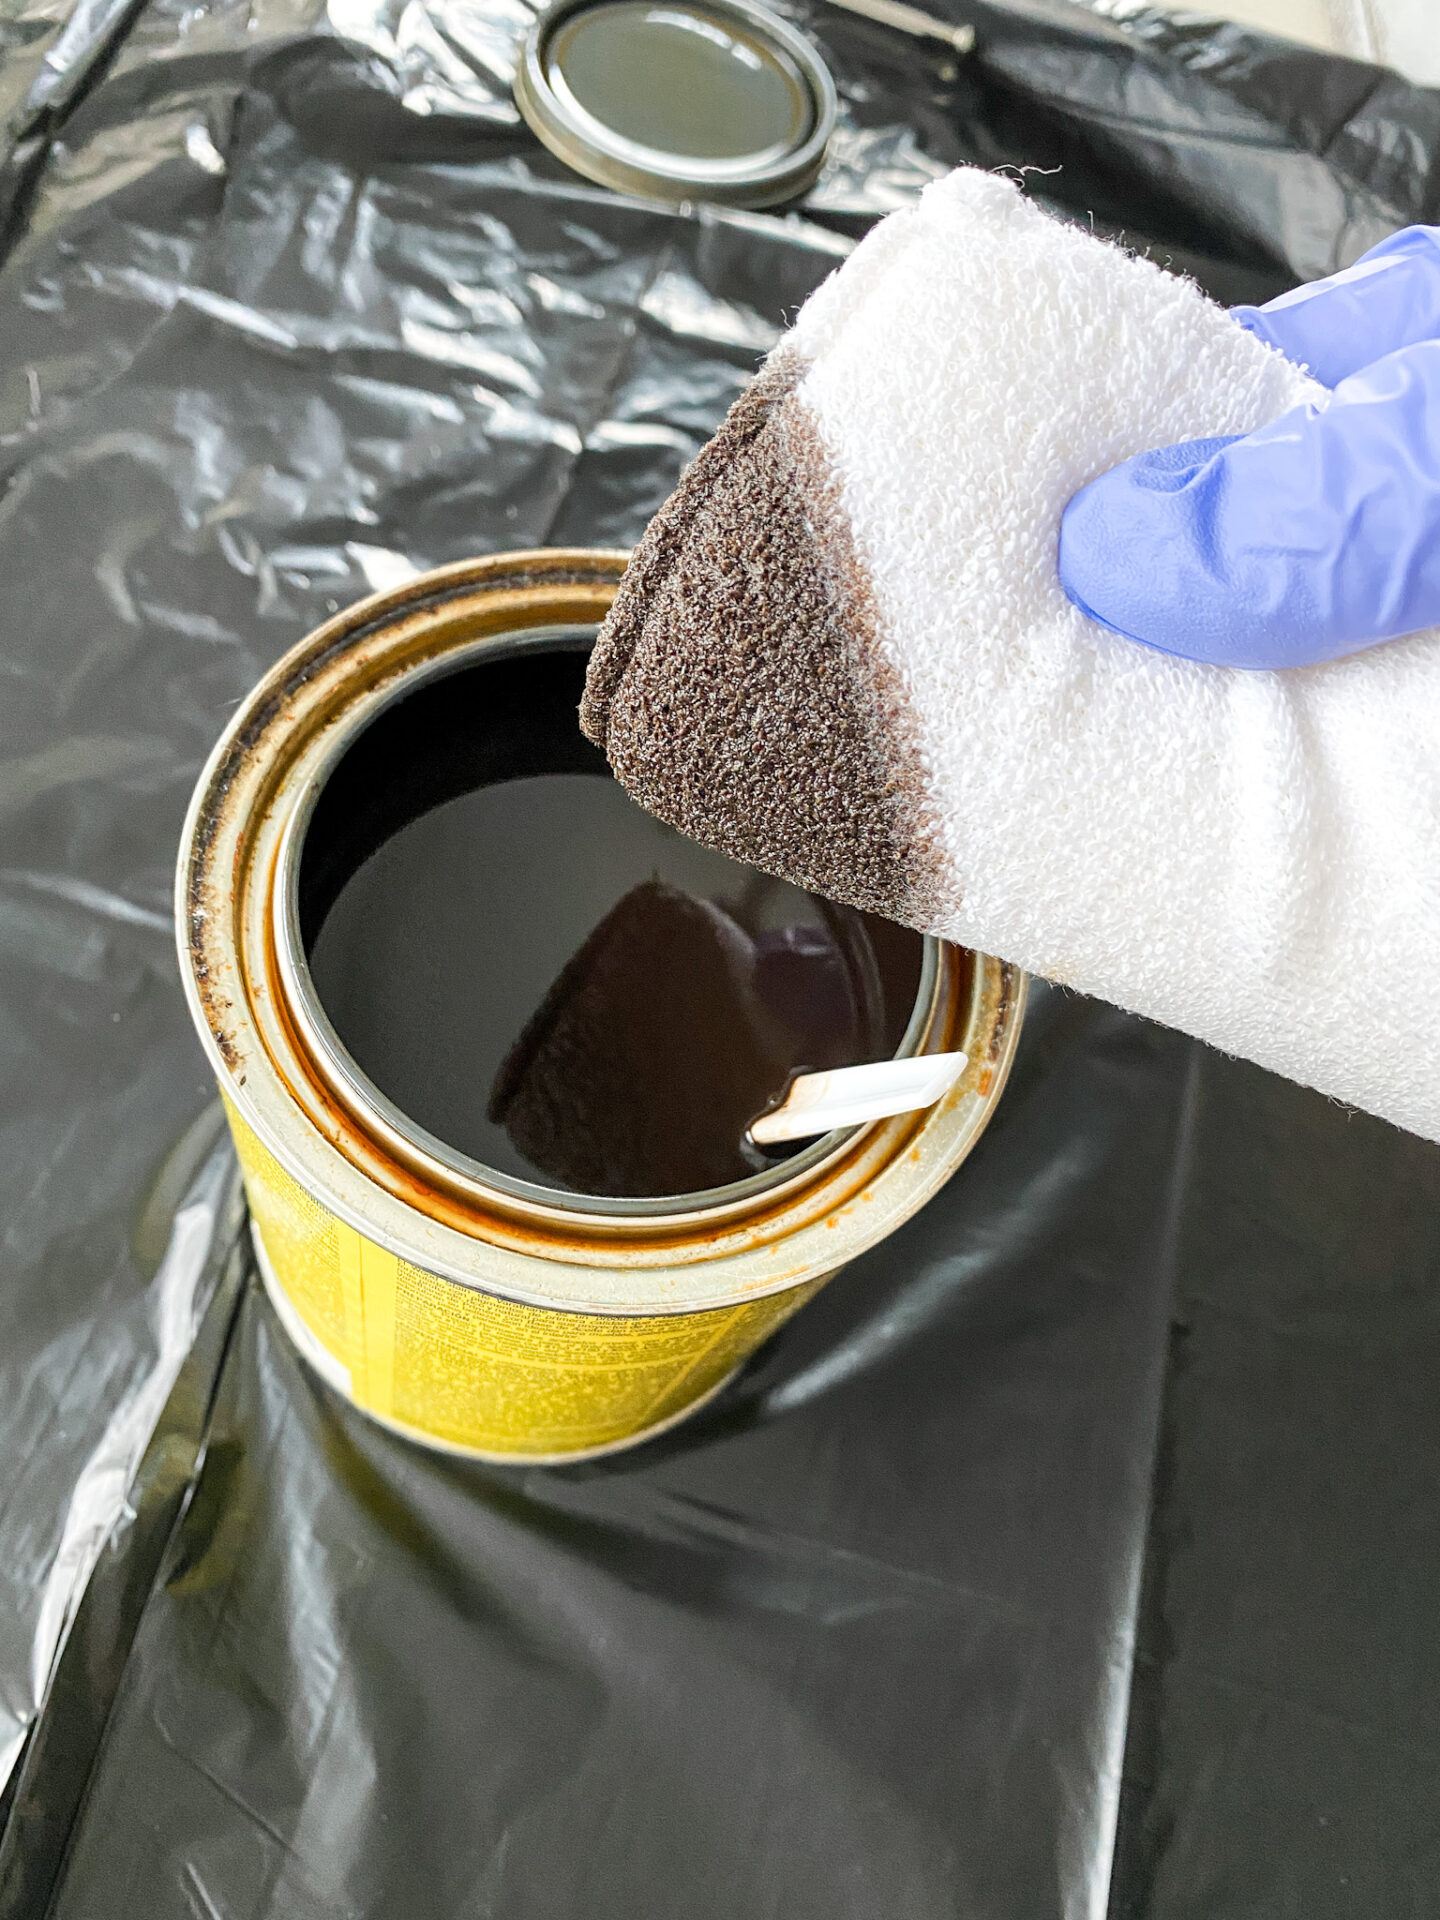
Another thing you may want to purchase is some gloves to protect your skin from getting stained along with your project! Those have been invaluable whenever I am staining. Also, isn’t there something just so satisfying about staining unfinished wood?! Especially when it comes out exactly as you had envisioned it. Early American is one of my favorite stains because it comes out beautiful every time I use it!
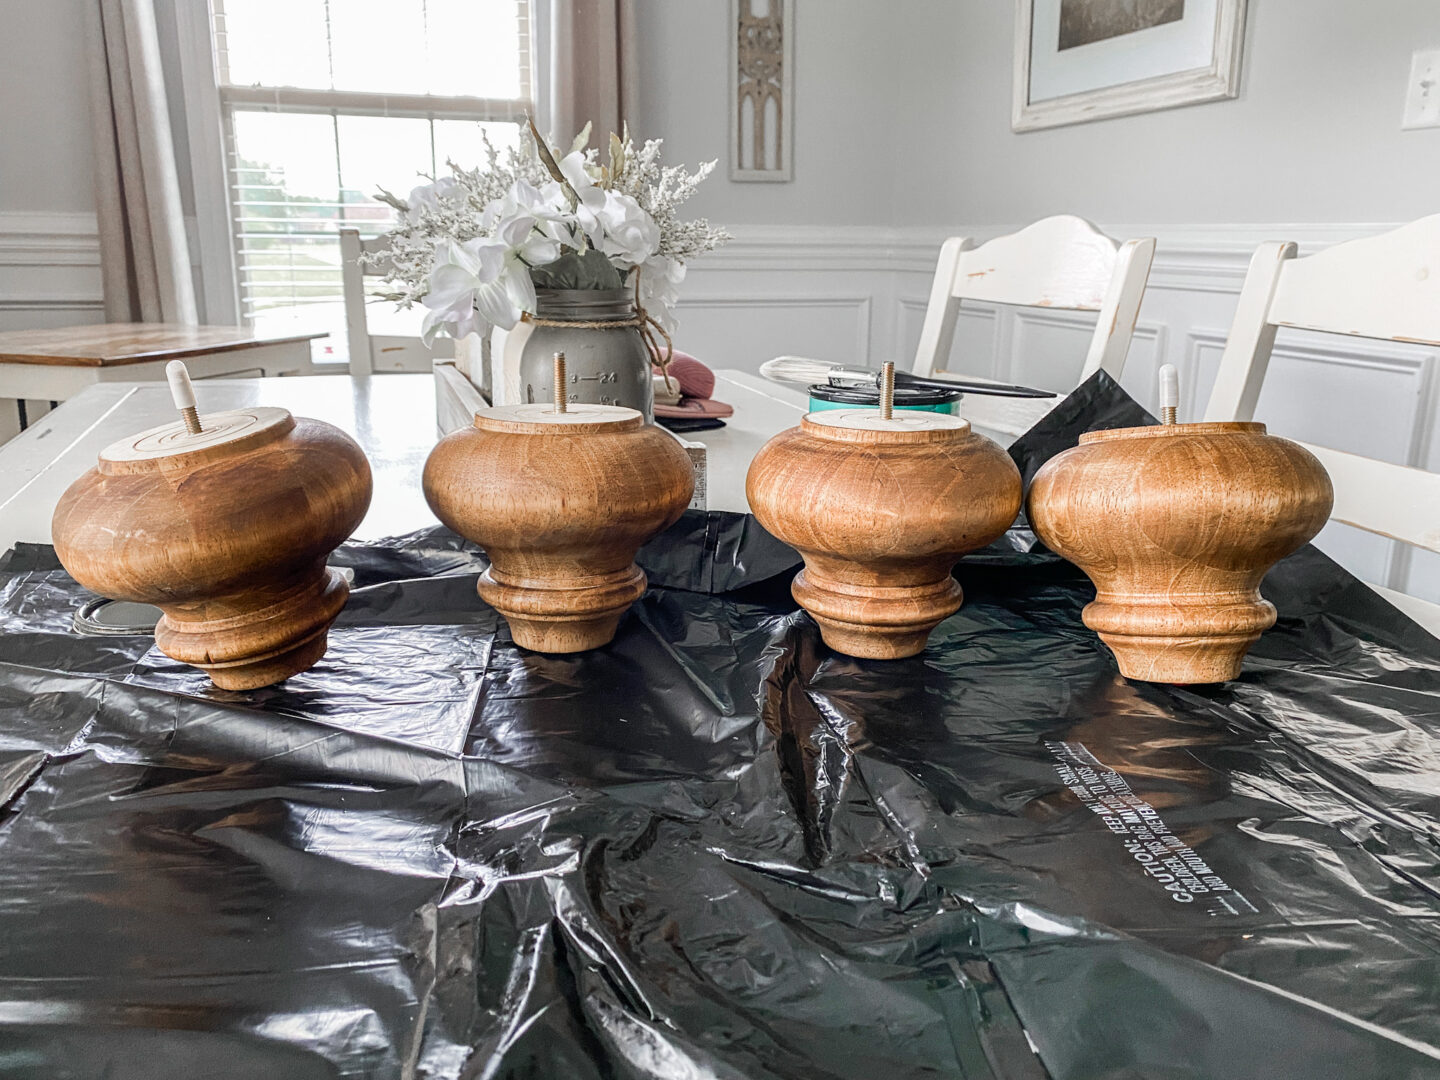
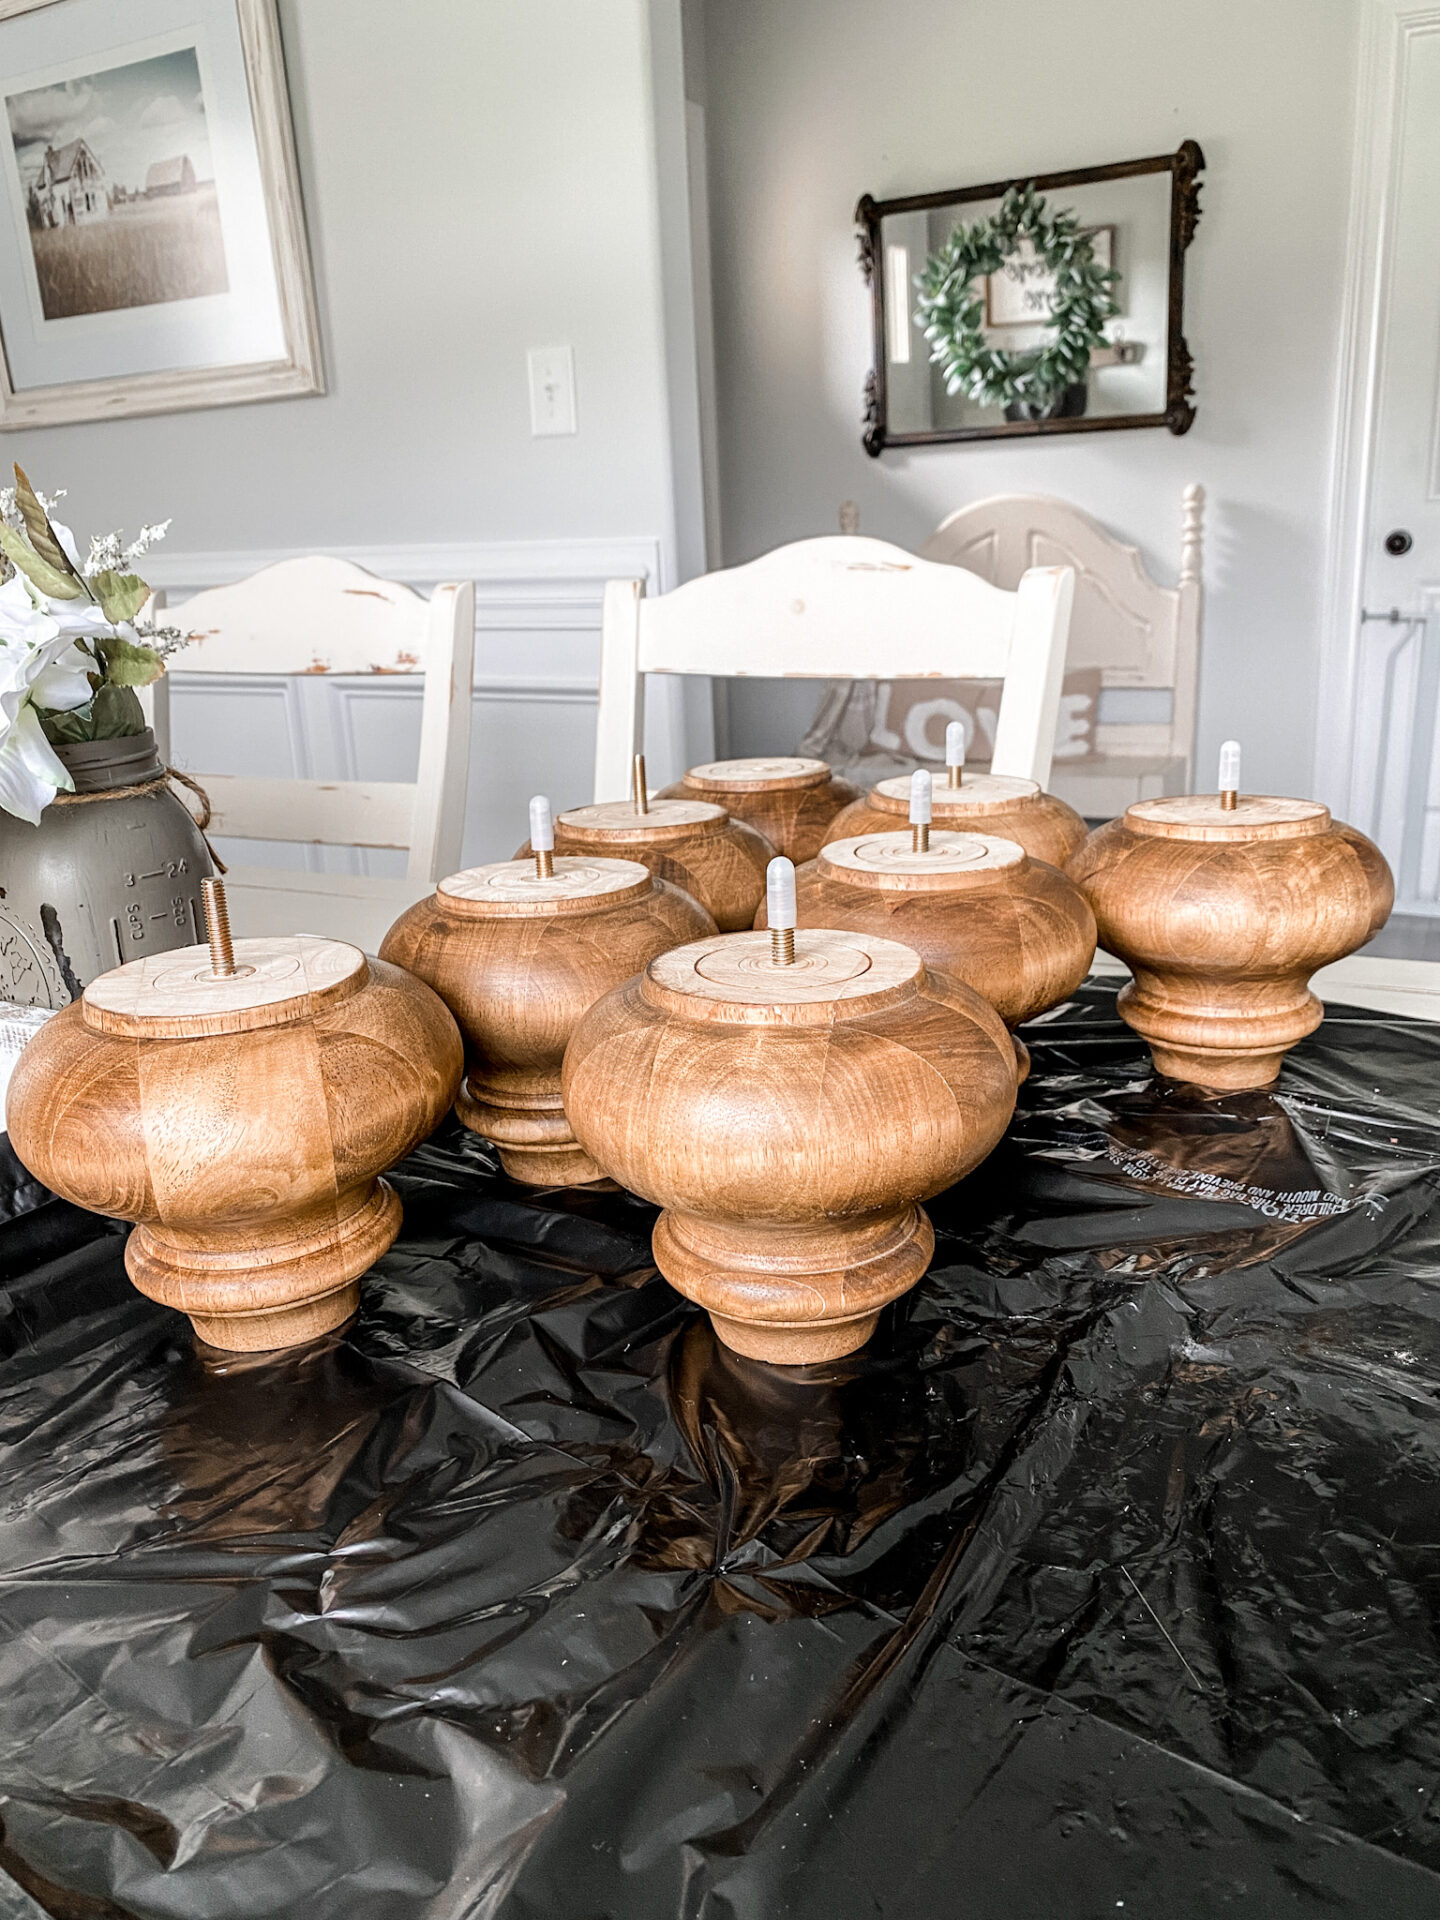
With the first legs done, I just couldn’t help myself…I then finished them all lol! And oh my goodness, they are all so gorgeous lined up together! What do you think of how they’re turning out so far? Well, we’re not quite done yet, because there are 8 legs total, and now it’s time to make a few adjustments.
Prepping for the final coat
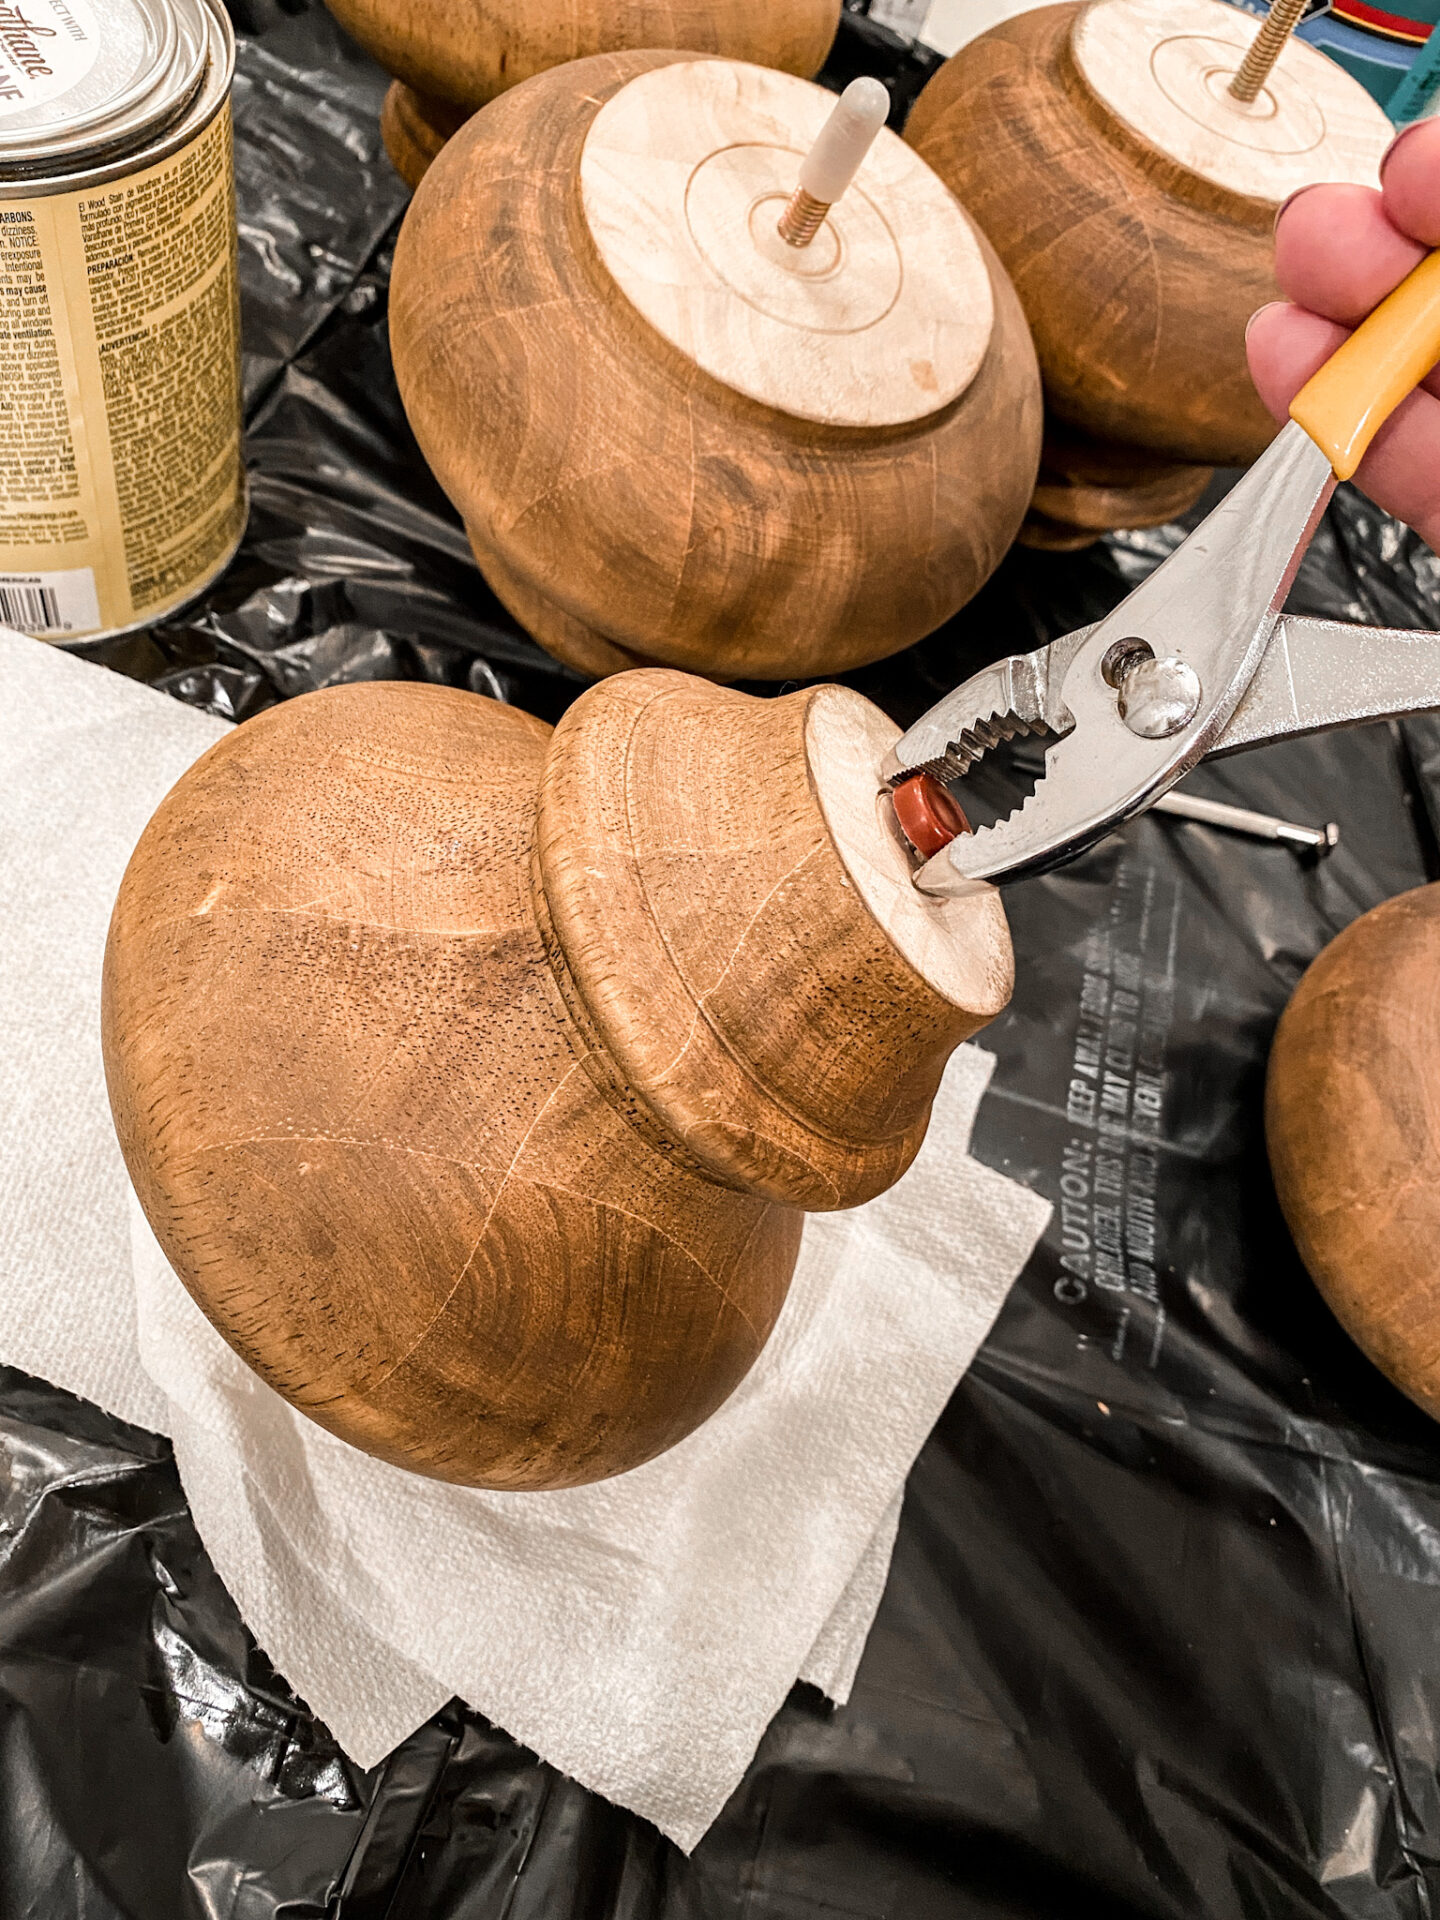
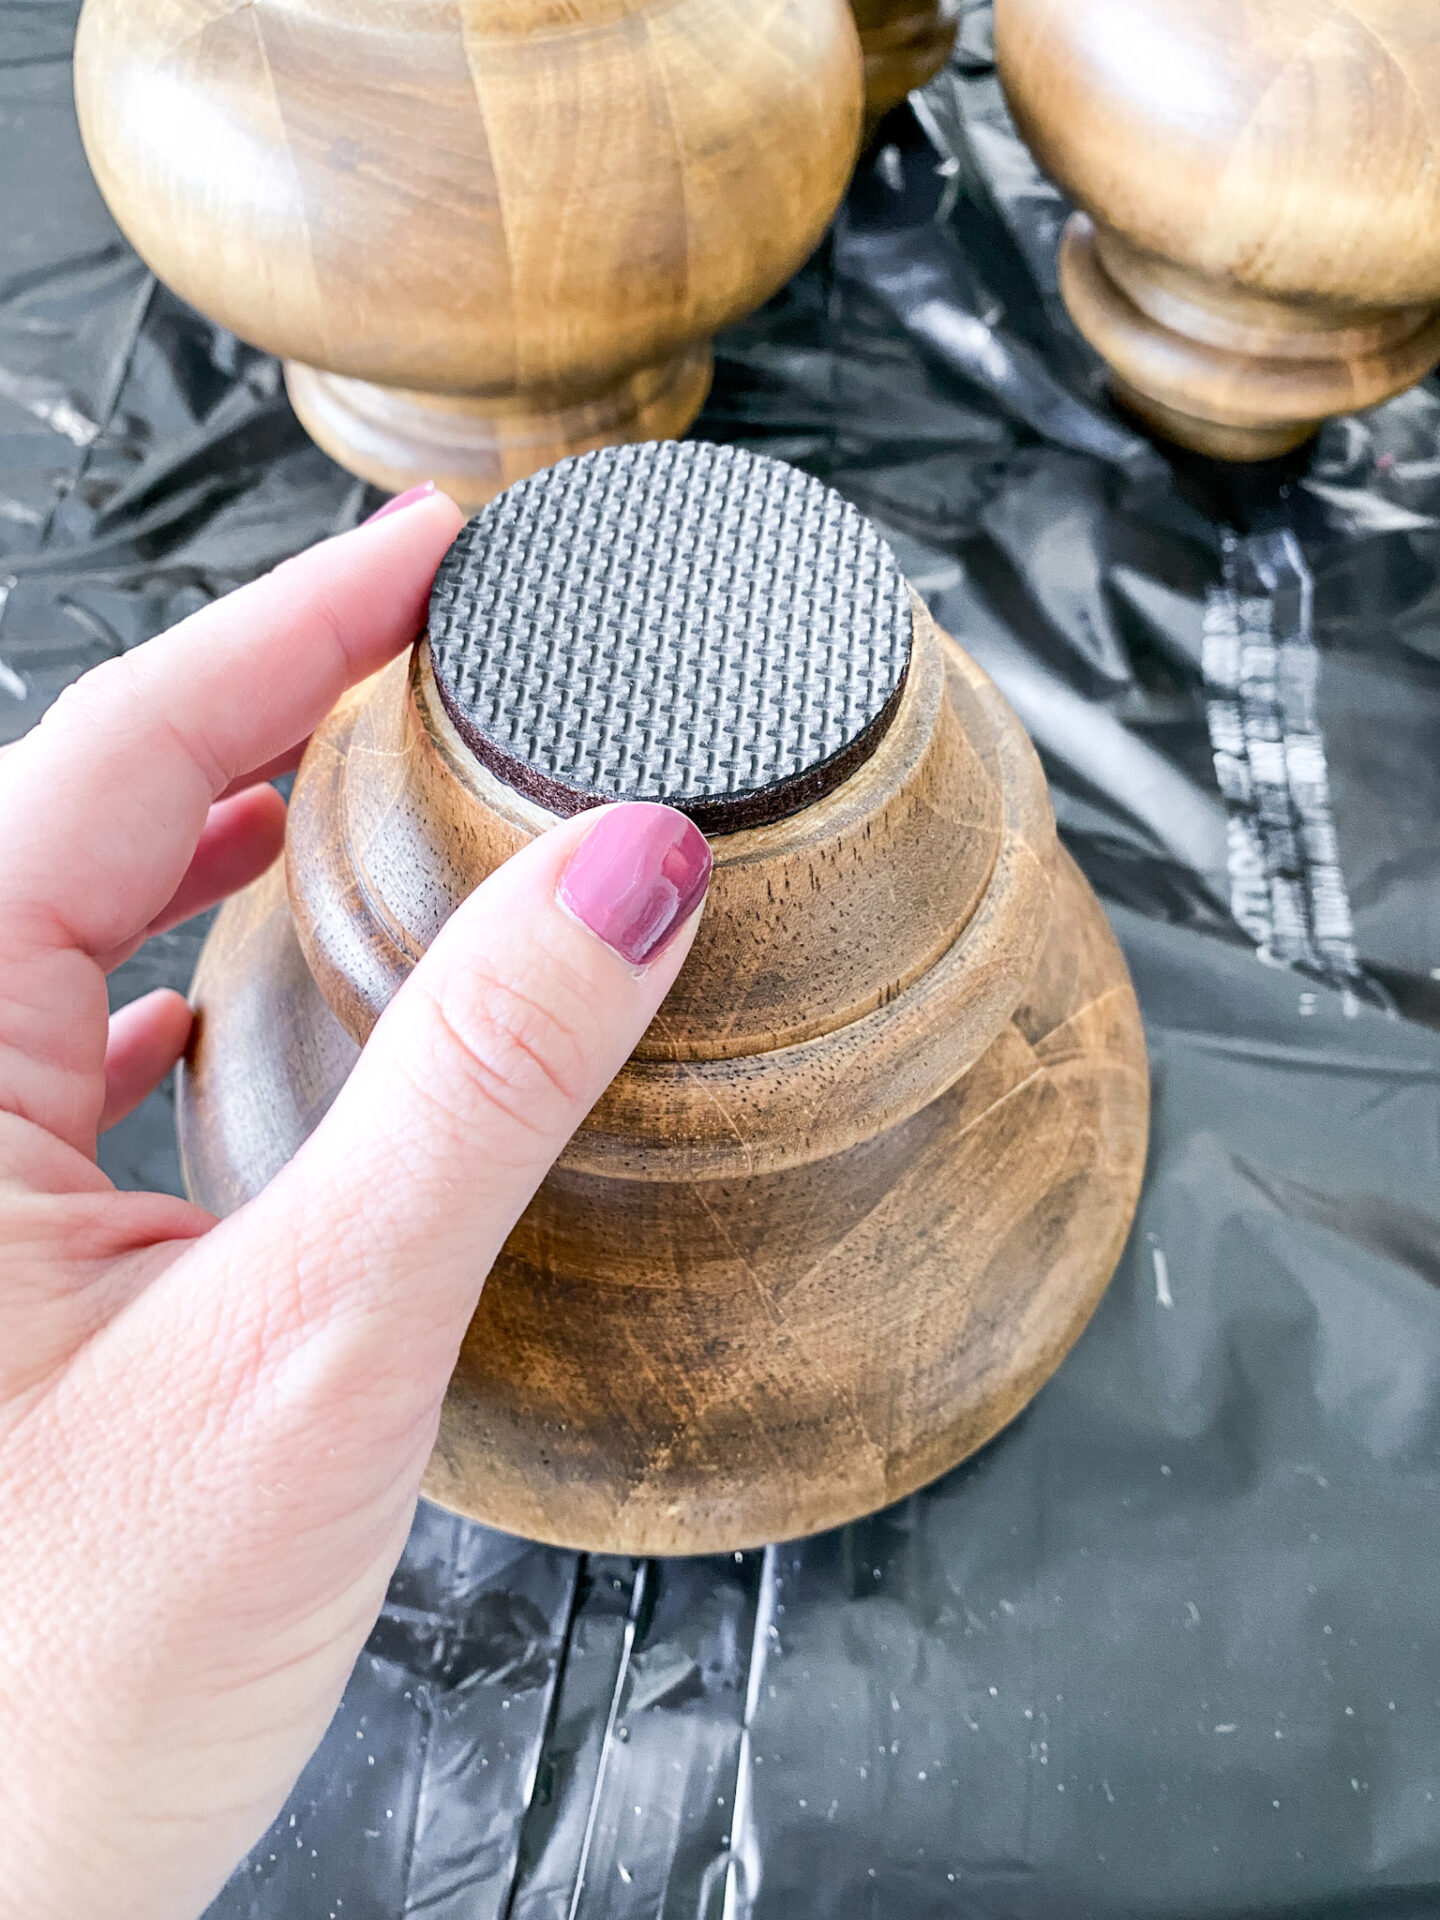
These legs came with so great gliders, the only problem is…I wanted grippers instead! So, I removed each glider one by one to prep them for my grippers.
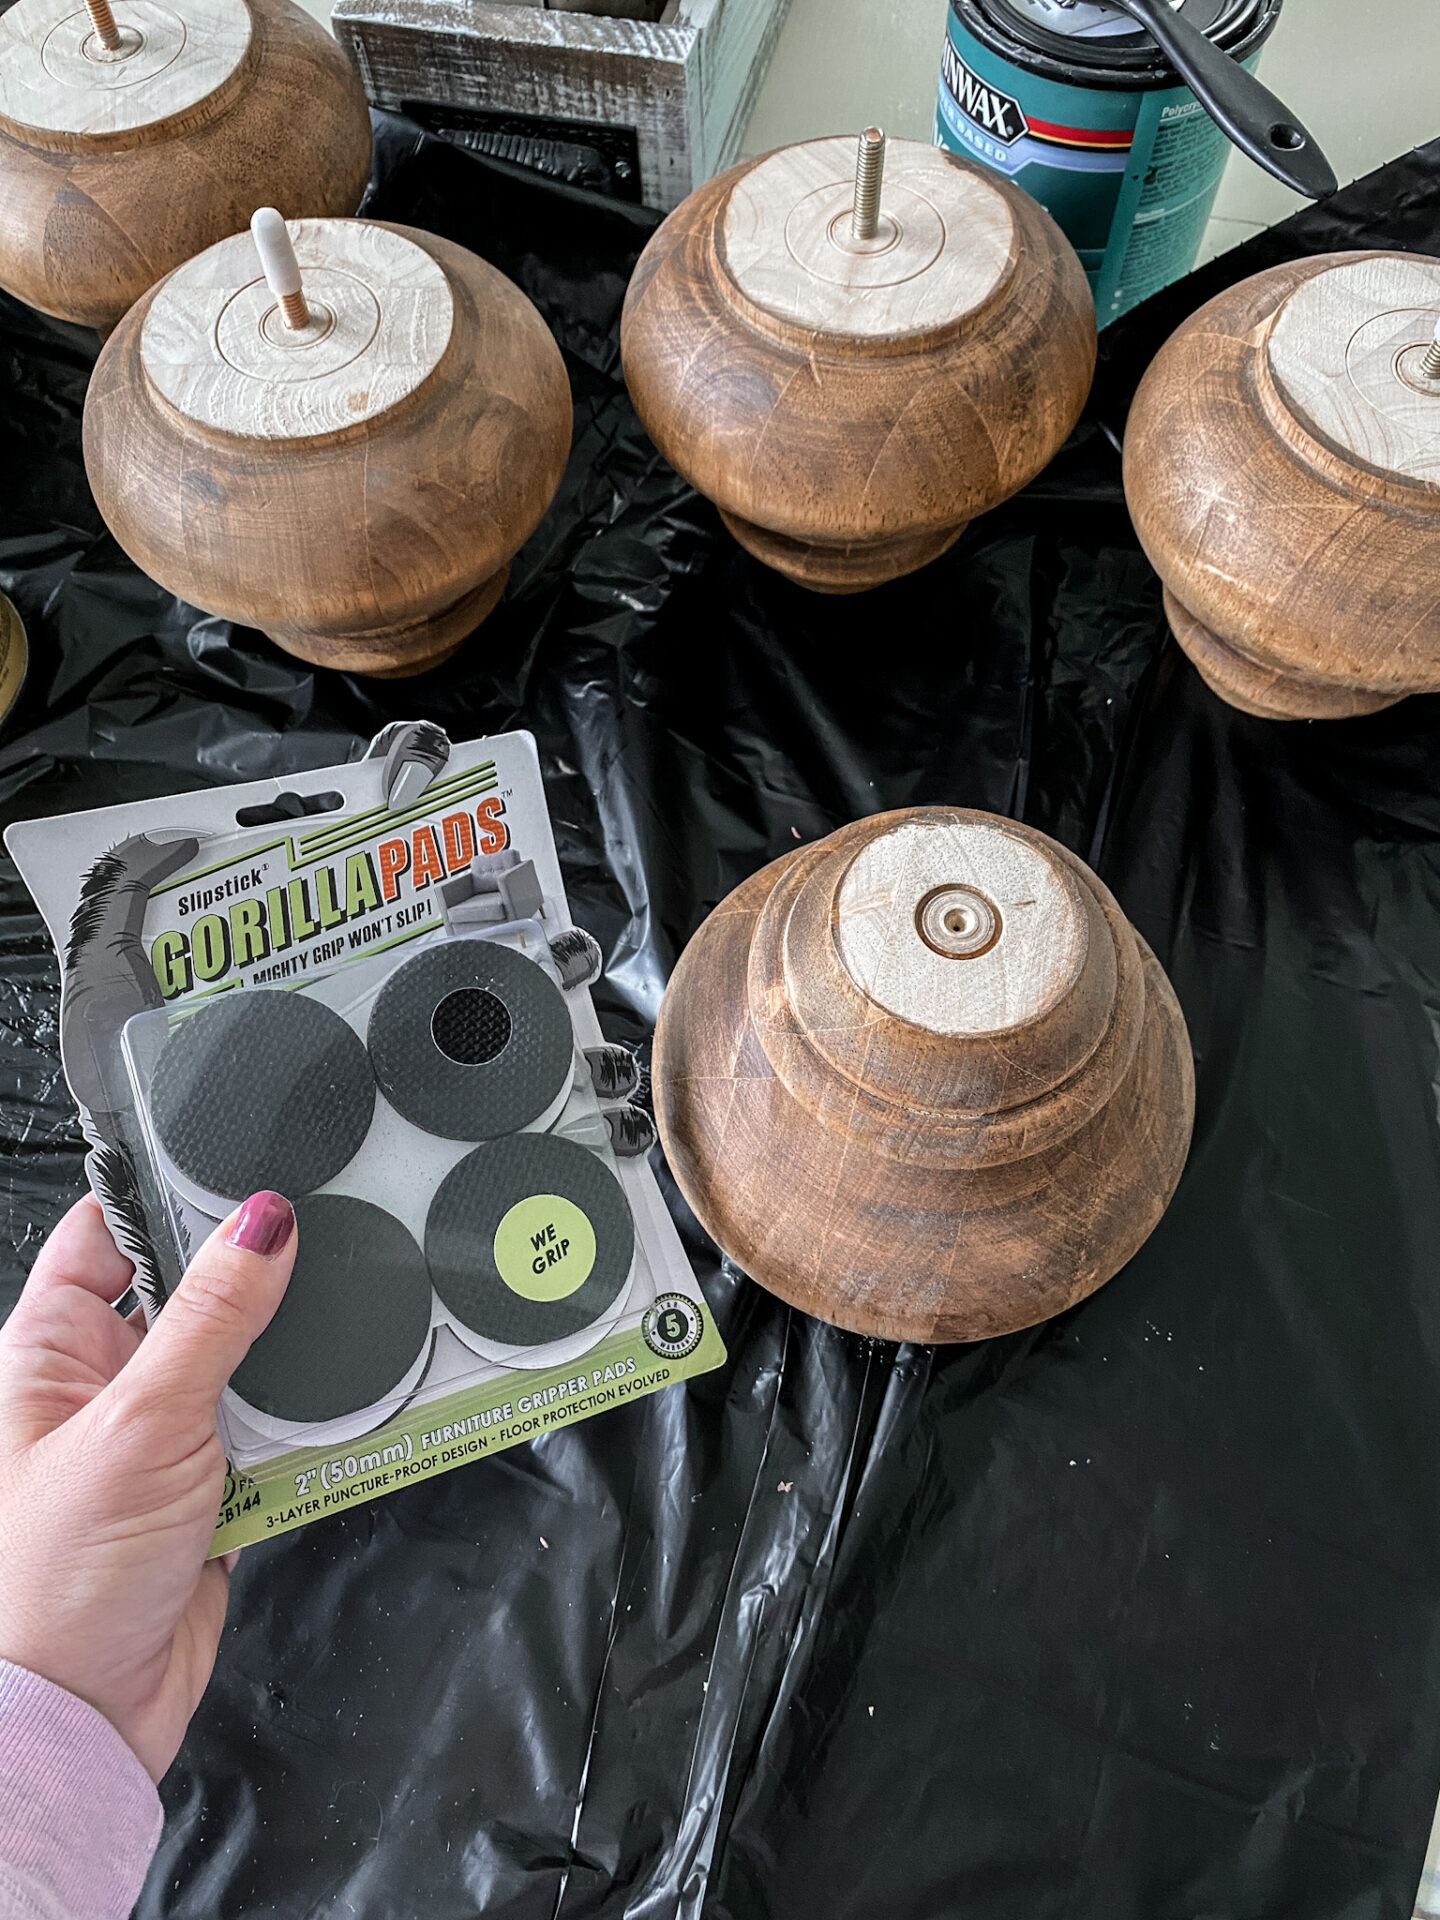
After letting the stain dry on the legs for 24 hours, I was eager to finish and install these as soon as possible! I still needed to install the grippers and do a coat of Polycrylic before that could happen though. The grippers I chose are the Slipstick Gorilla Pads, which are 2″ wide, and the perfect size for the bottom of the legs.
Now that my stain is all dry, these legs are ready for the final coat! Grab your Polycrylic, stir it up with a plastic spoon (or fork), and apply a very thin layer of it to your project with your paintbrush. This coat will work as a protective layer on your stained wood. If your kids kick your couch legs, spill juice on them, etc. this clear coat will allow you to just wipe that right off! Polycrylic coats are a definite must-have in our house. Plus, they give wood a rich shine that is just gorgeous.
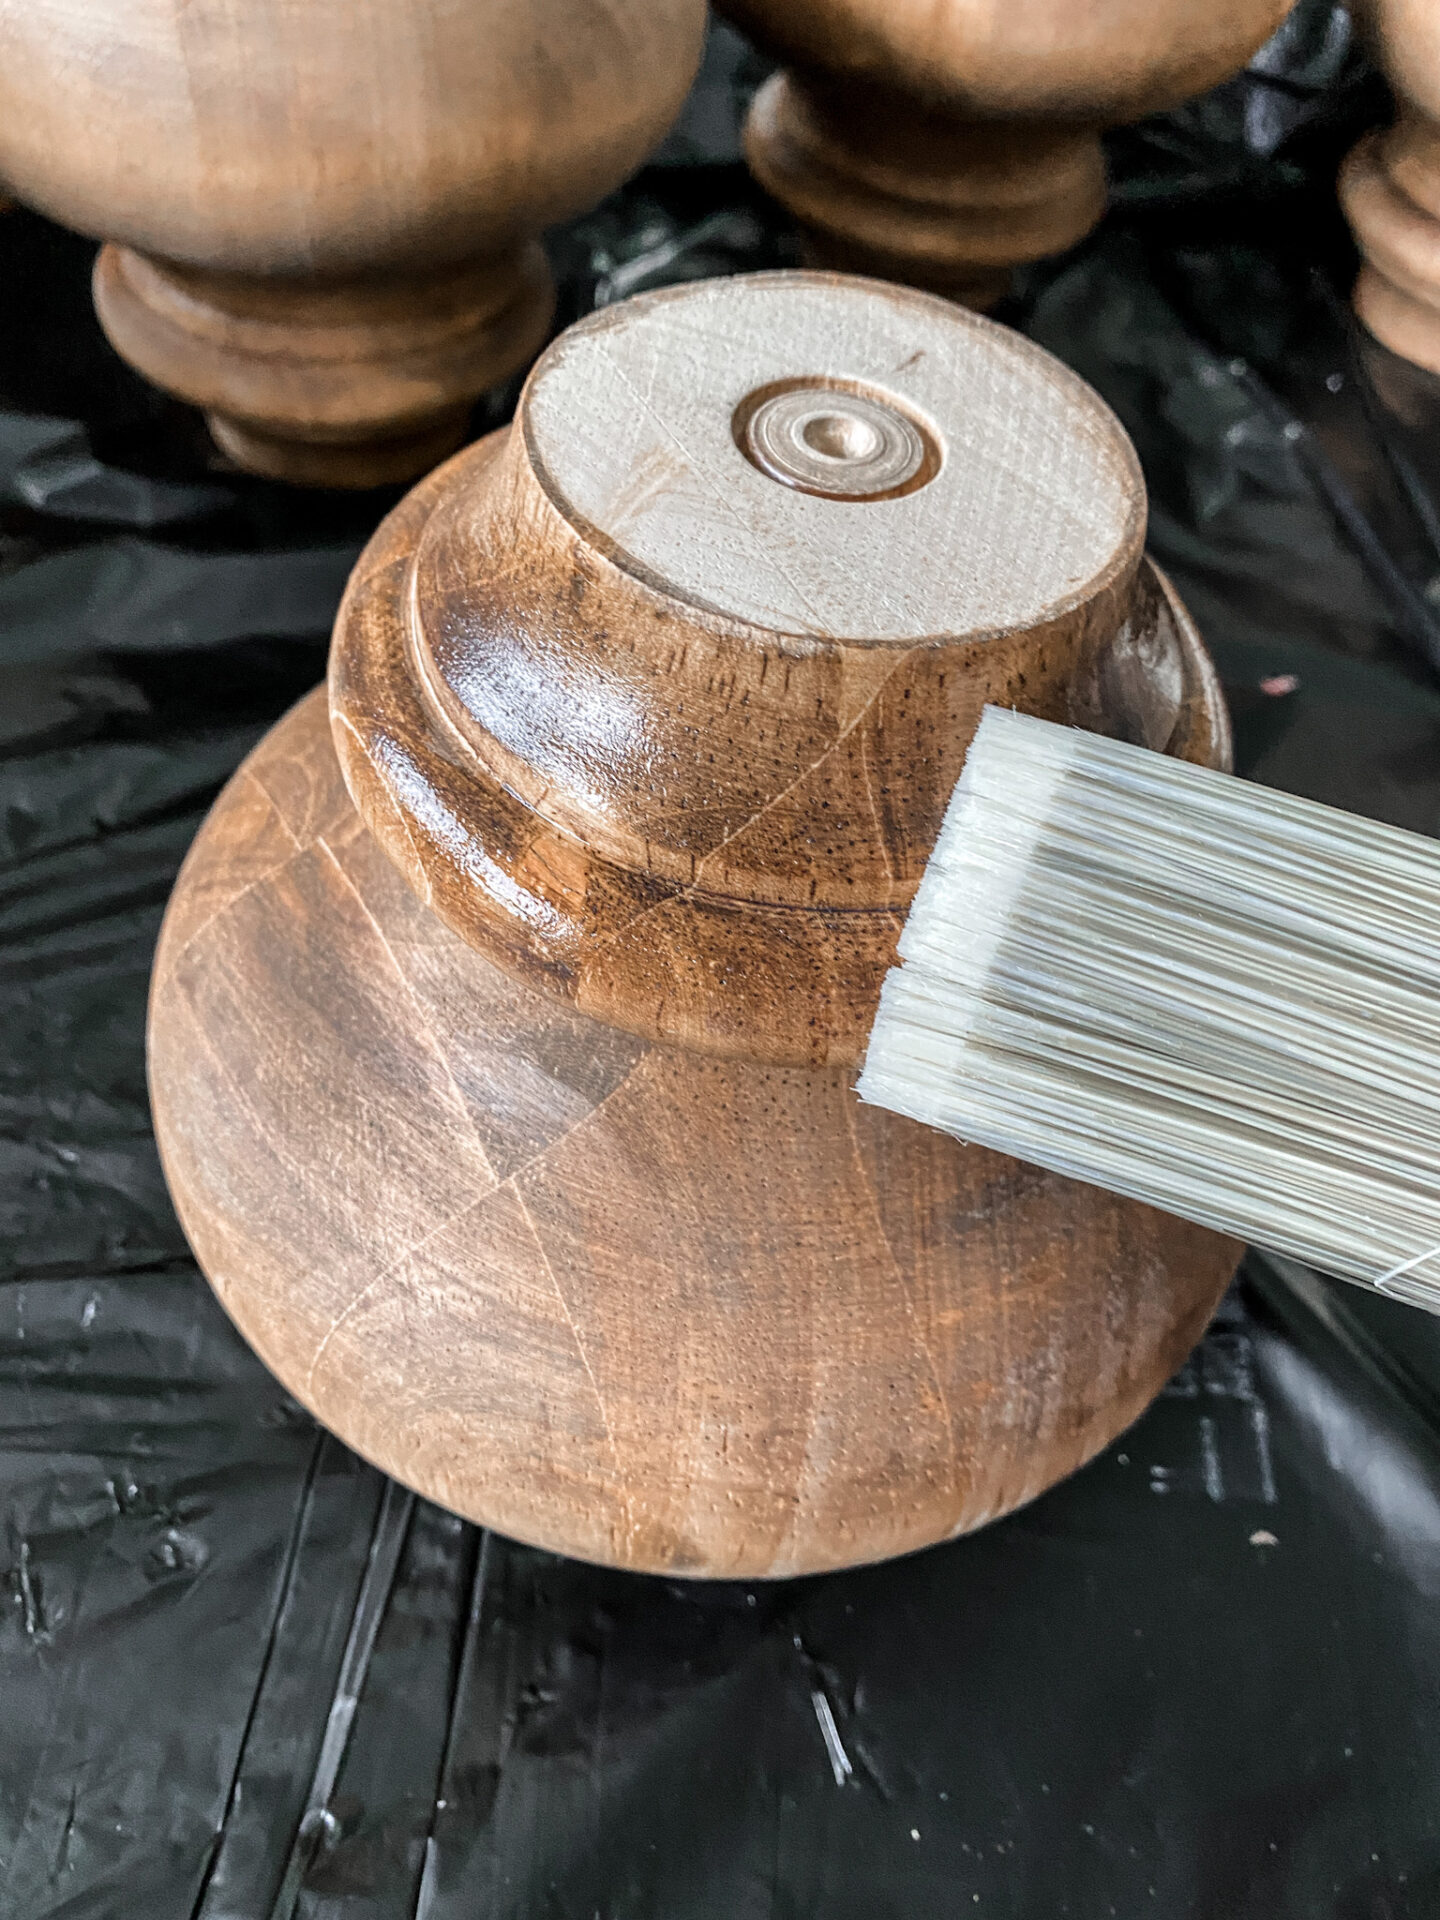
Now that each of these 8 feet has been Polycoated, it’s time to let them dry for the next few hours before handling them. But just look at that sheeeeeen!!! Ugh, so pretty. I’m in love. I just love that wood grain coming through with all the different hues!
Time to finally add the grippers and attach the feet to the couches! Ahh! So excited! I’ve literally been wanting to do this since the day we brought our couches home haha!
Attaching new legs
To attach new legs to your sofa, you must first remove the old ones. And after you do, feel free to do a happy dance as you throw the old ones into the trash. I may or may not have done that.
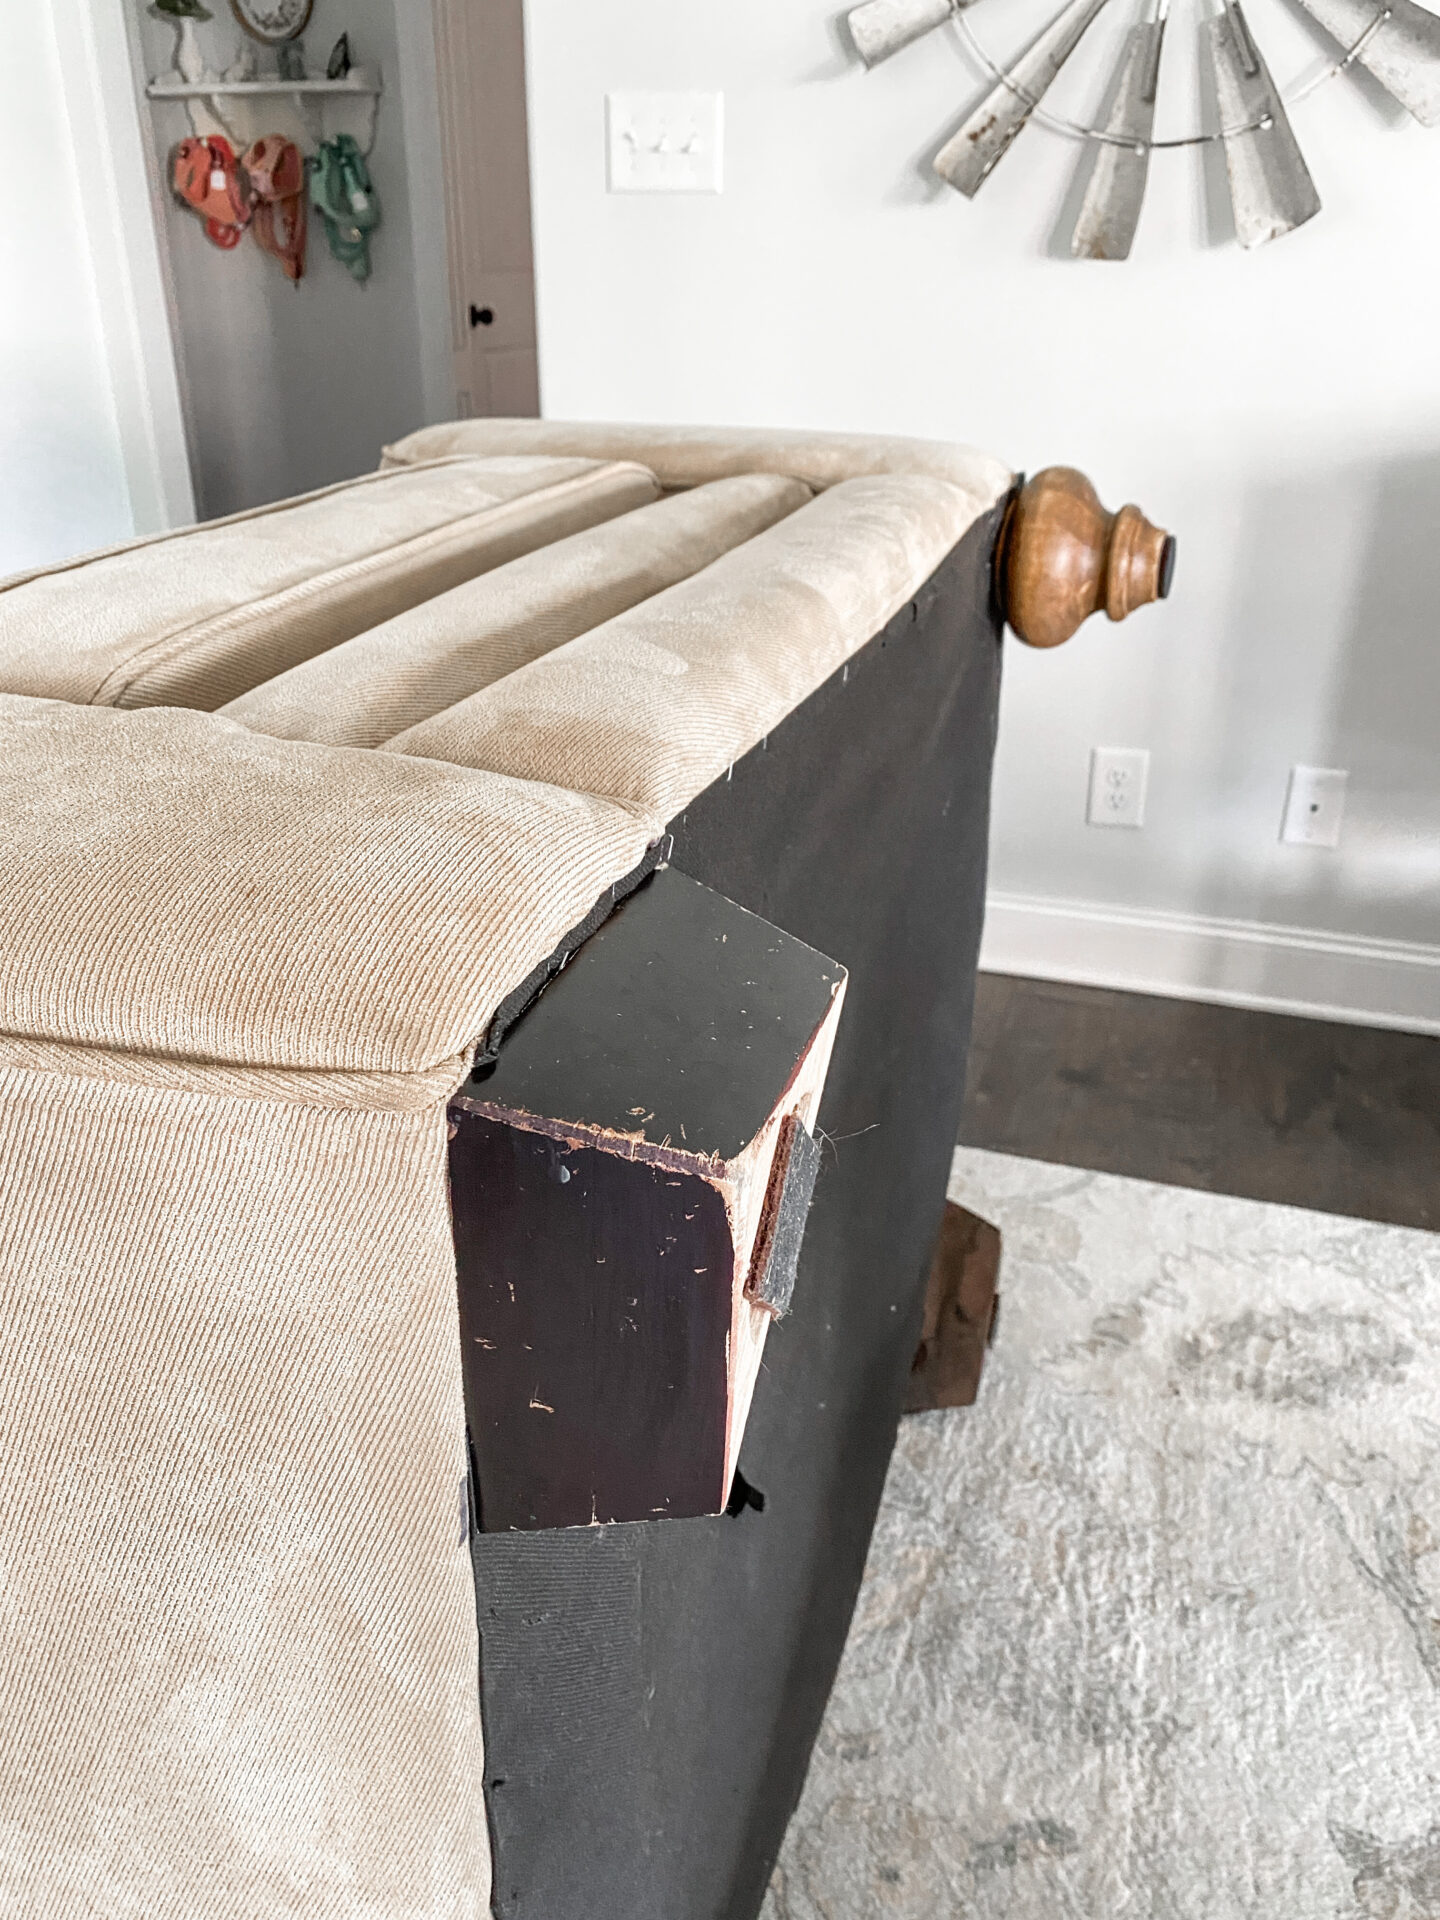
My old couch feet were attached with screws, so I took those out and then drilled a hole the size of the thread on the new feet and spun them on. It was really easy!
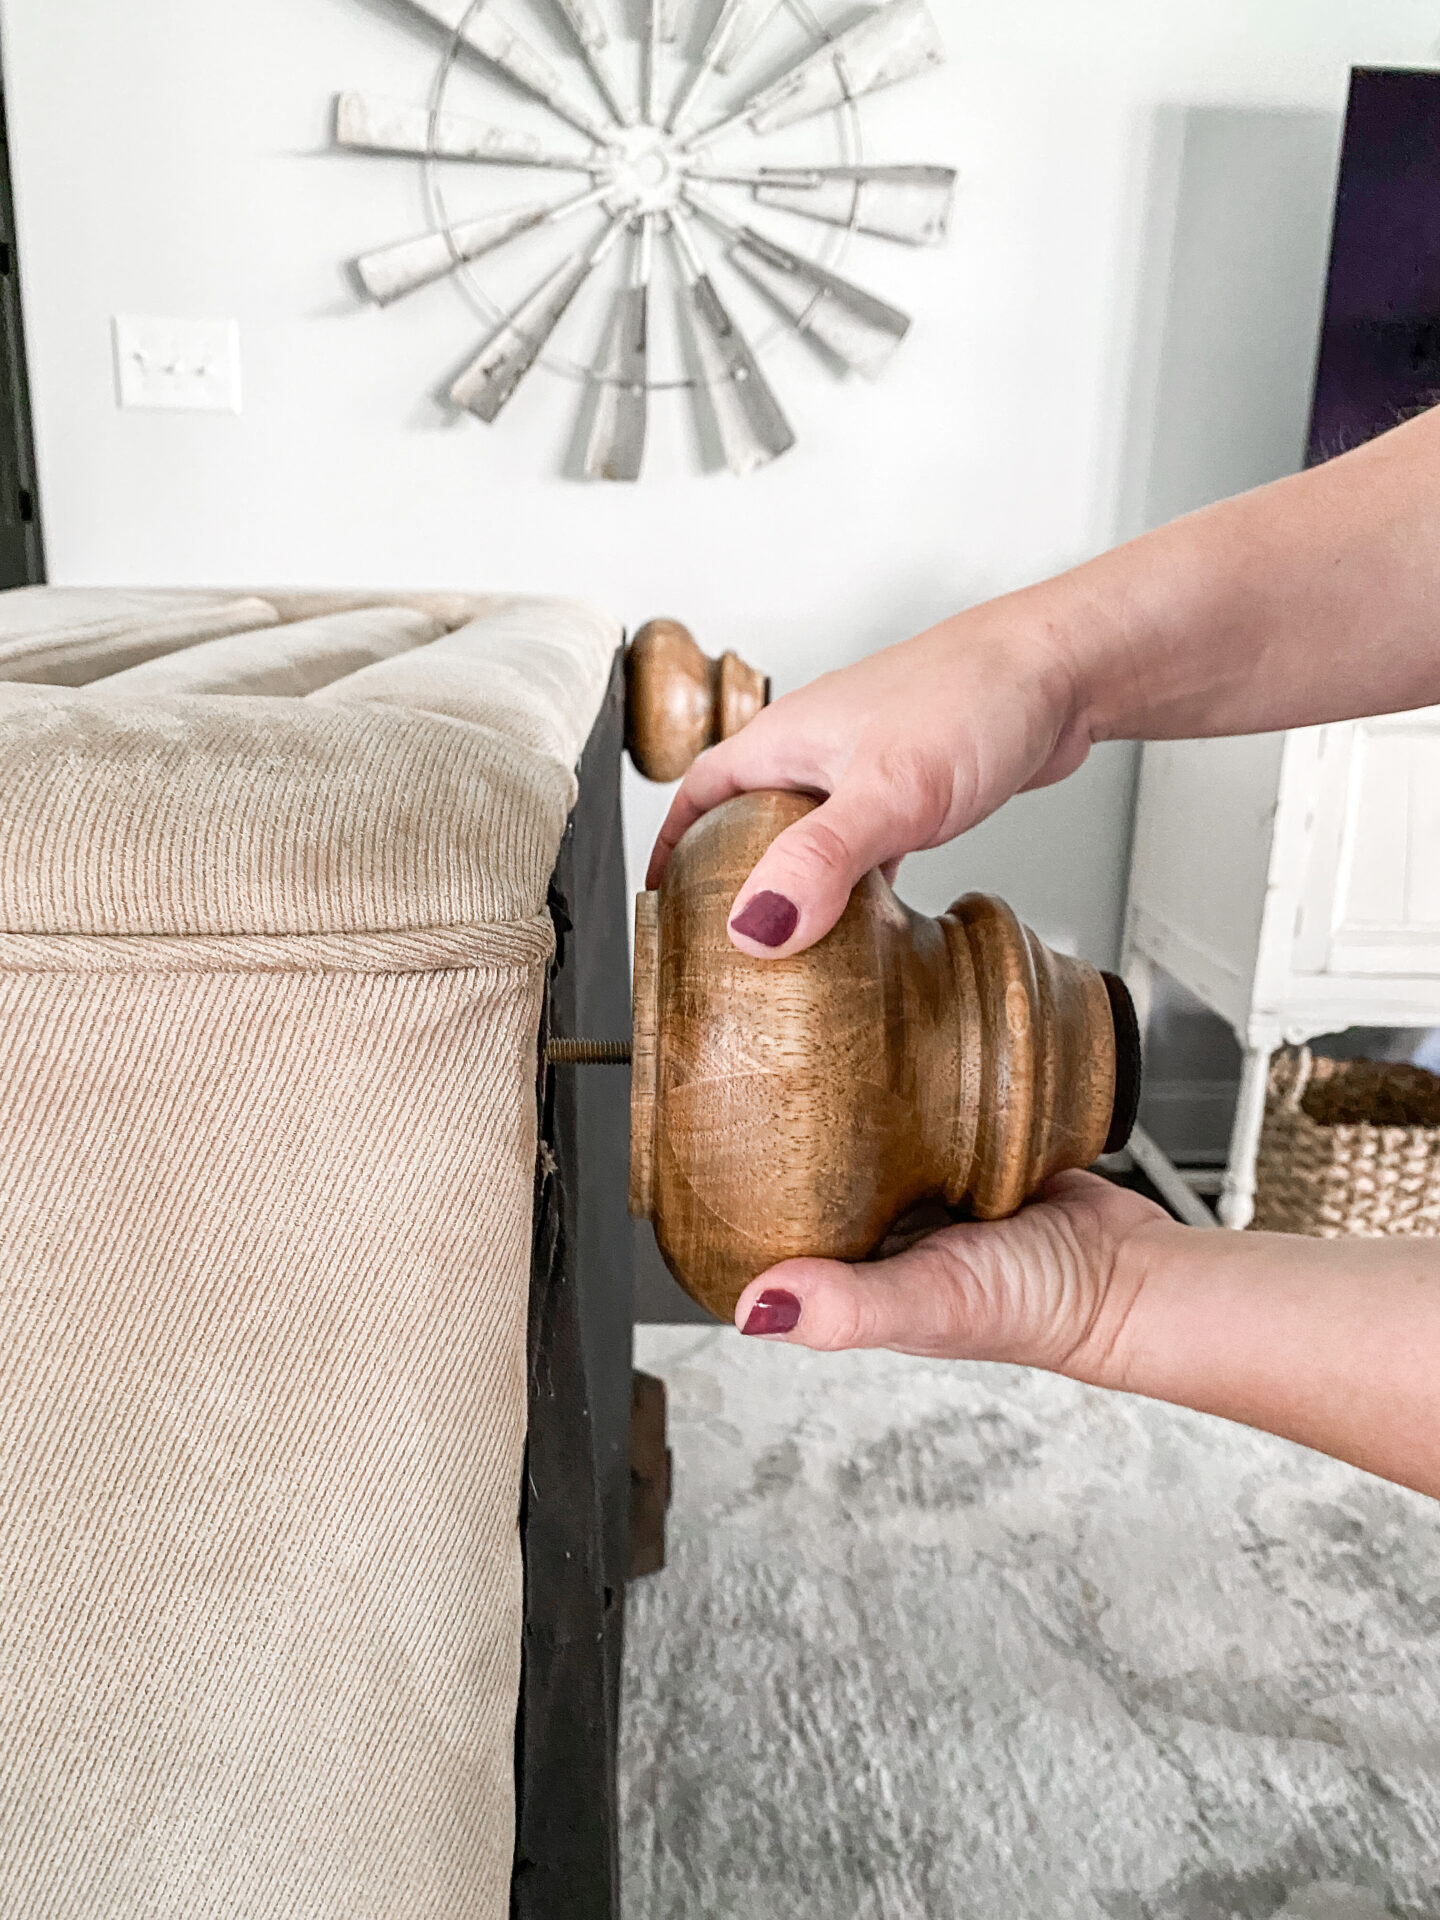
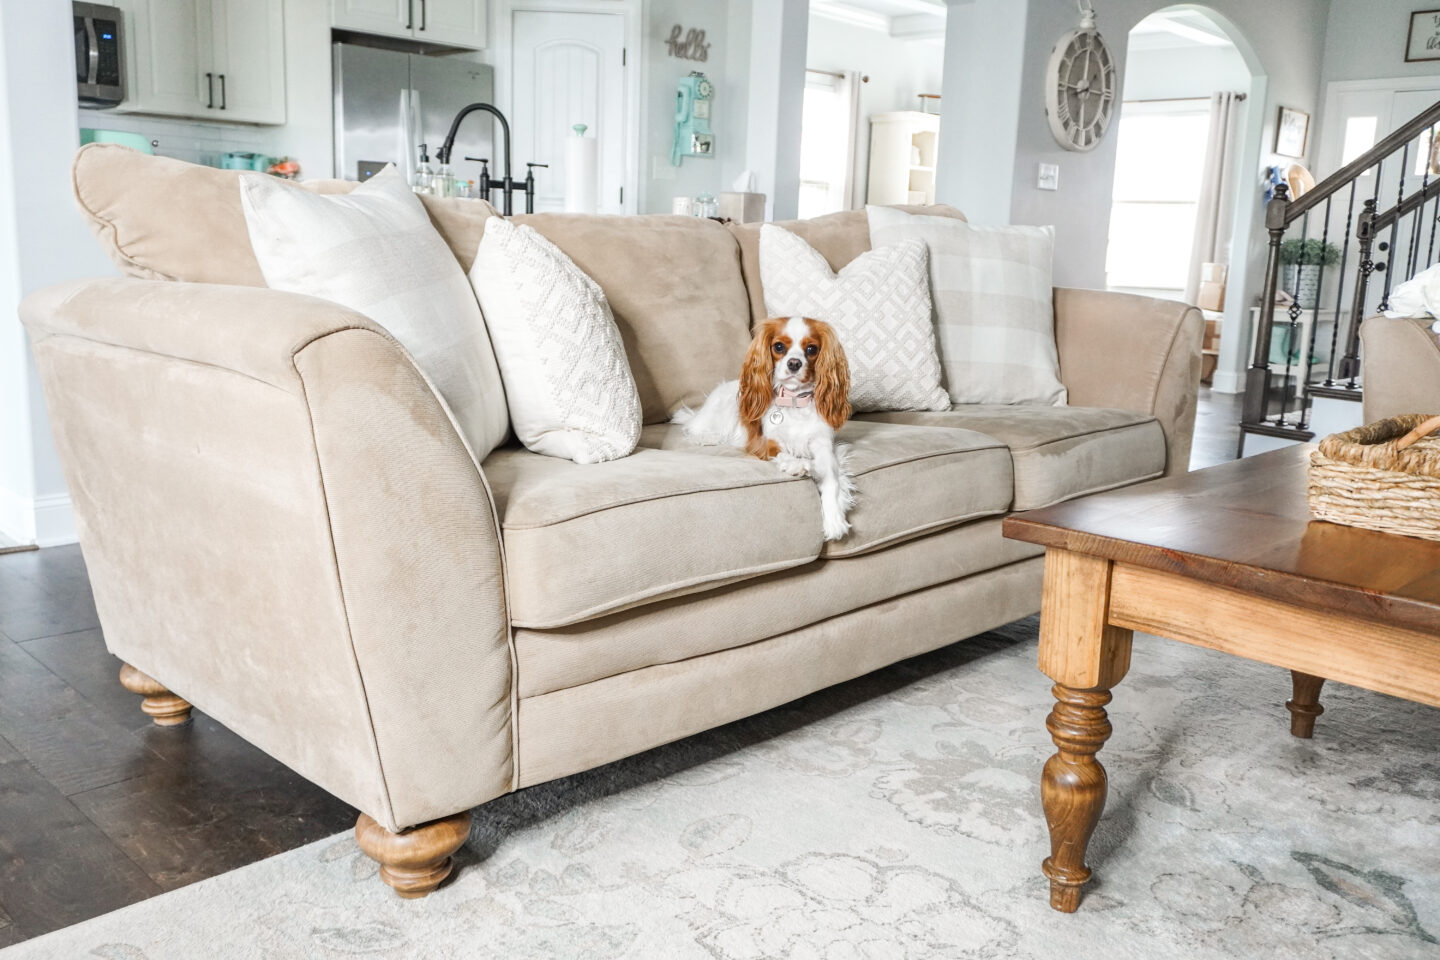
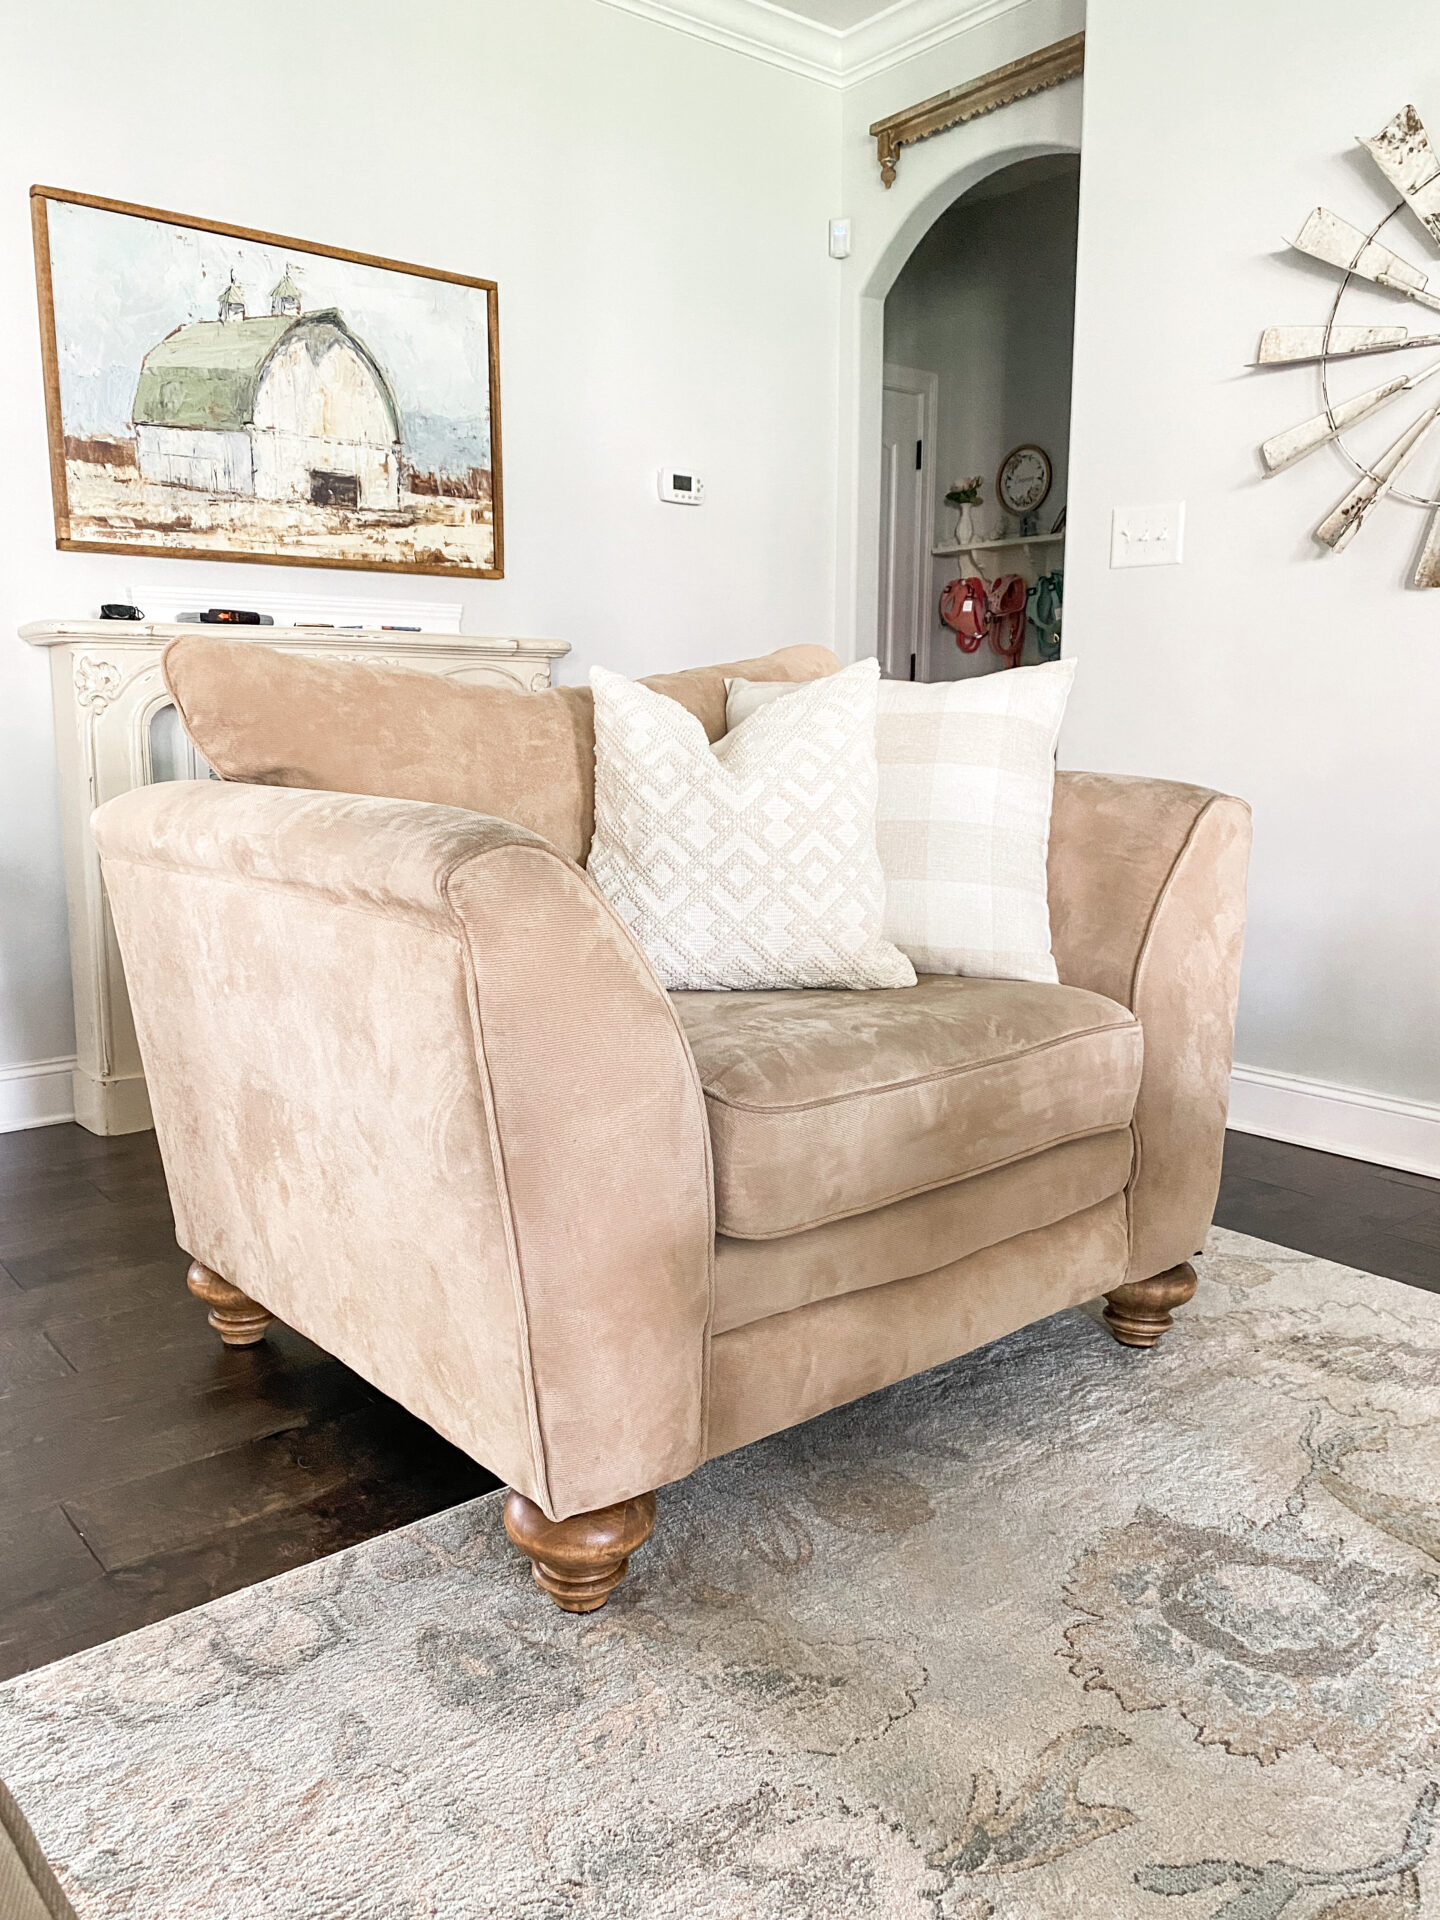
Just look at the difference! It blows my mind how just adding new feet to your sofa can update it so easily. I really wished I had done it sooner!
Now that the new feet have been added, it’s time to deep clean these couches! I purchased the Bissell Little Green Pro Heat and, I’ve gotta say, I LOVE it! If you want to see how well it cleaned my sofas, watch the video below!
Now that both sofas have brand new feet and have been deep cleaned, don’t they look like new?! I am seriously loving it! Comment below to let me know what you thought of this quick and easy DIY! If you’re looking for more fun and easy DIY projects, make sure to visit my past projects!